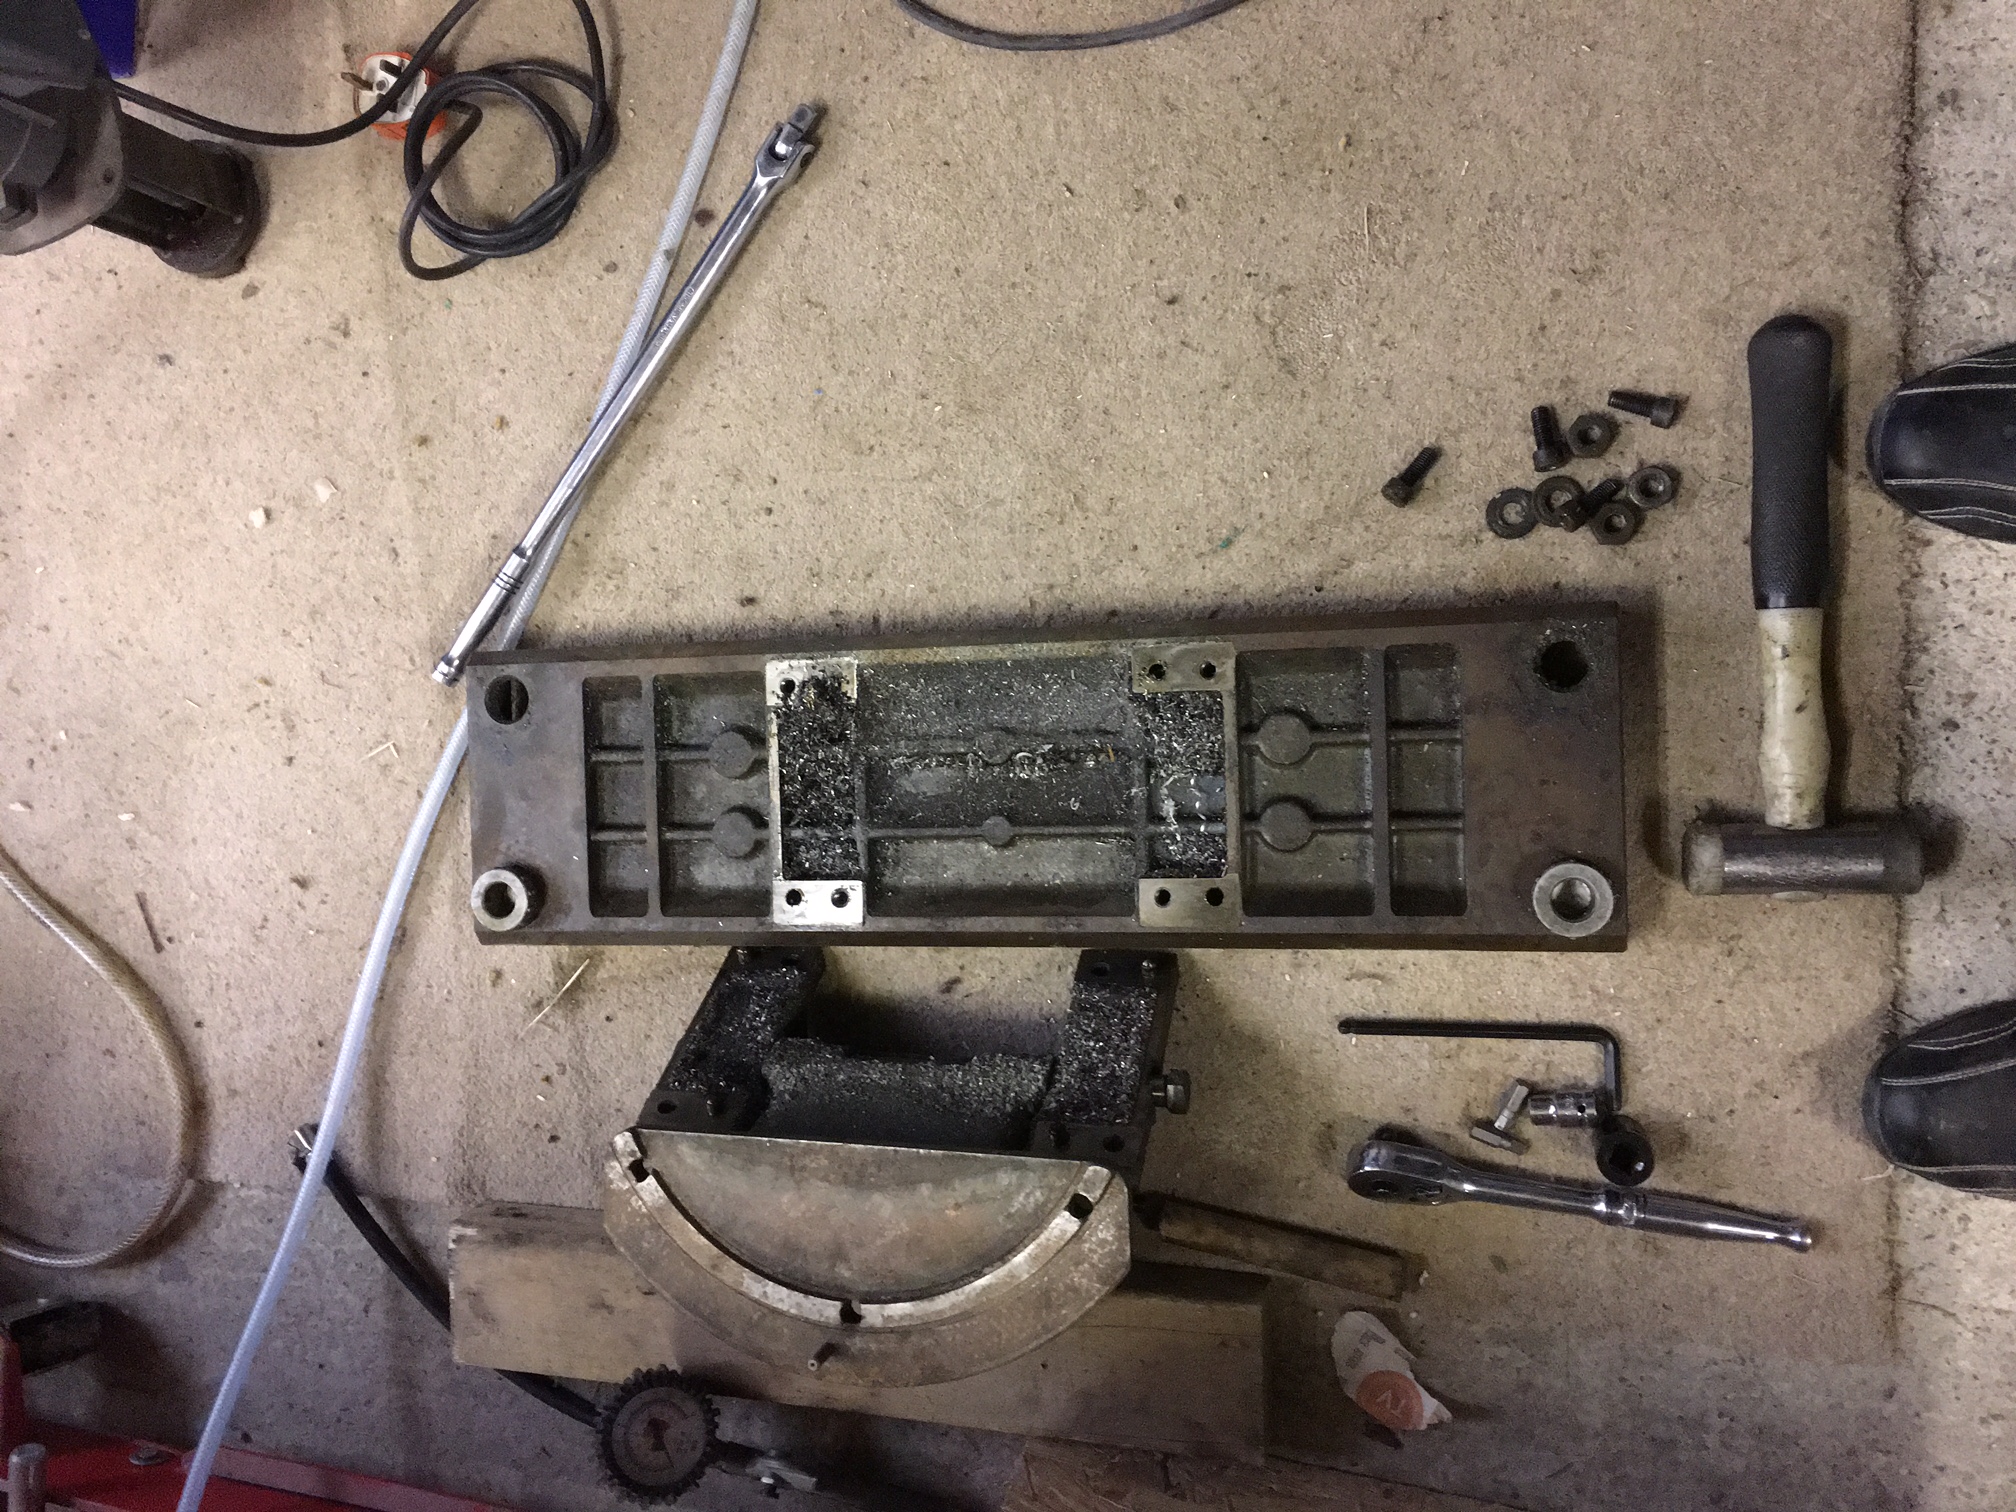
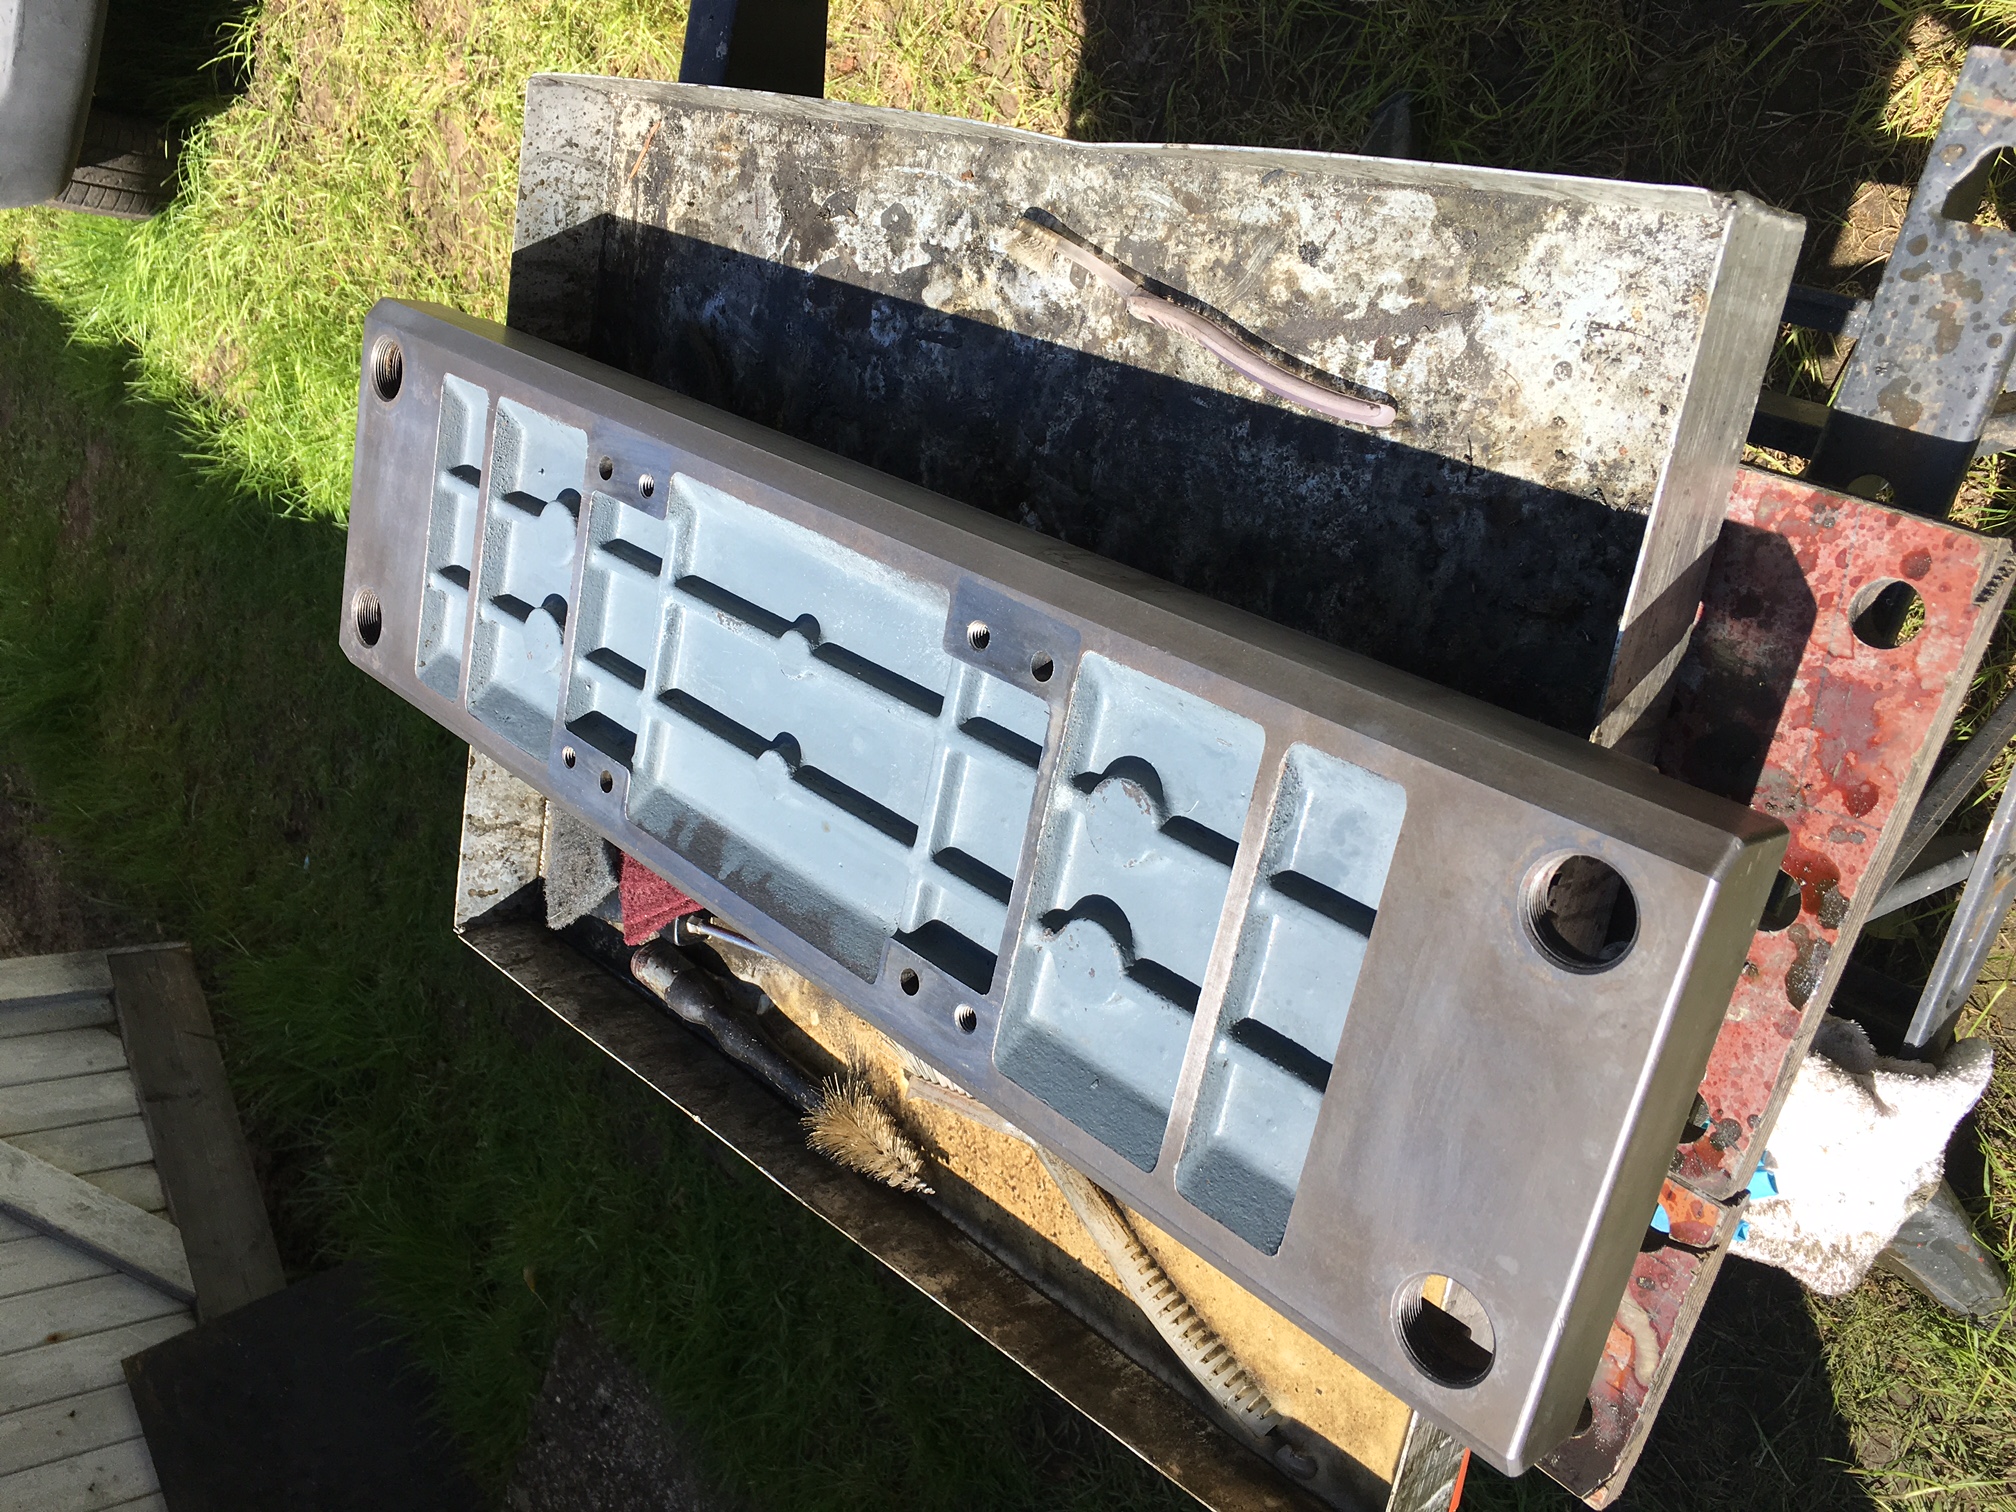
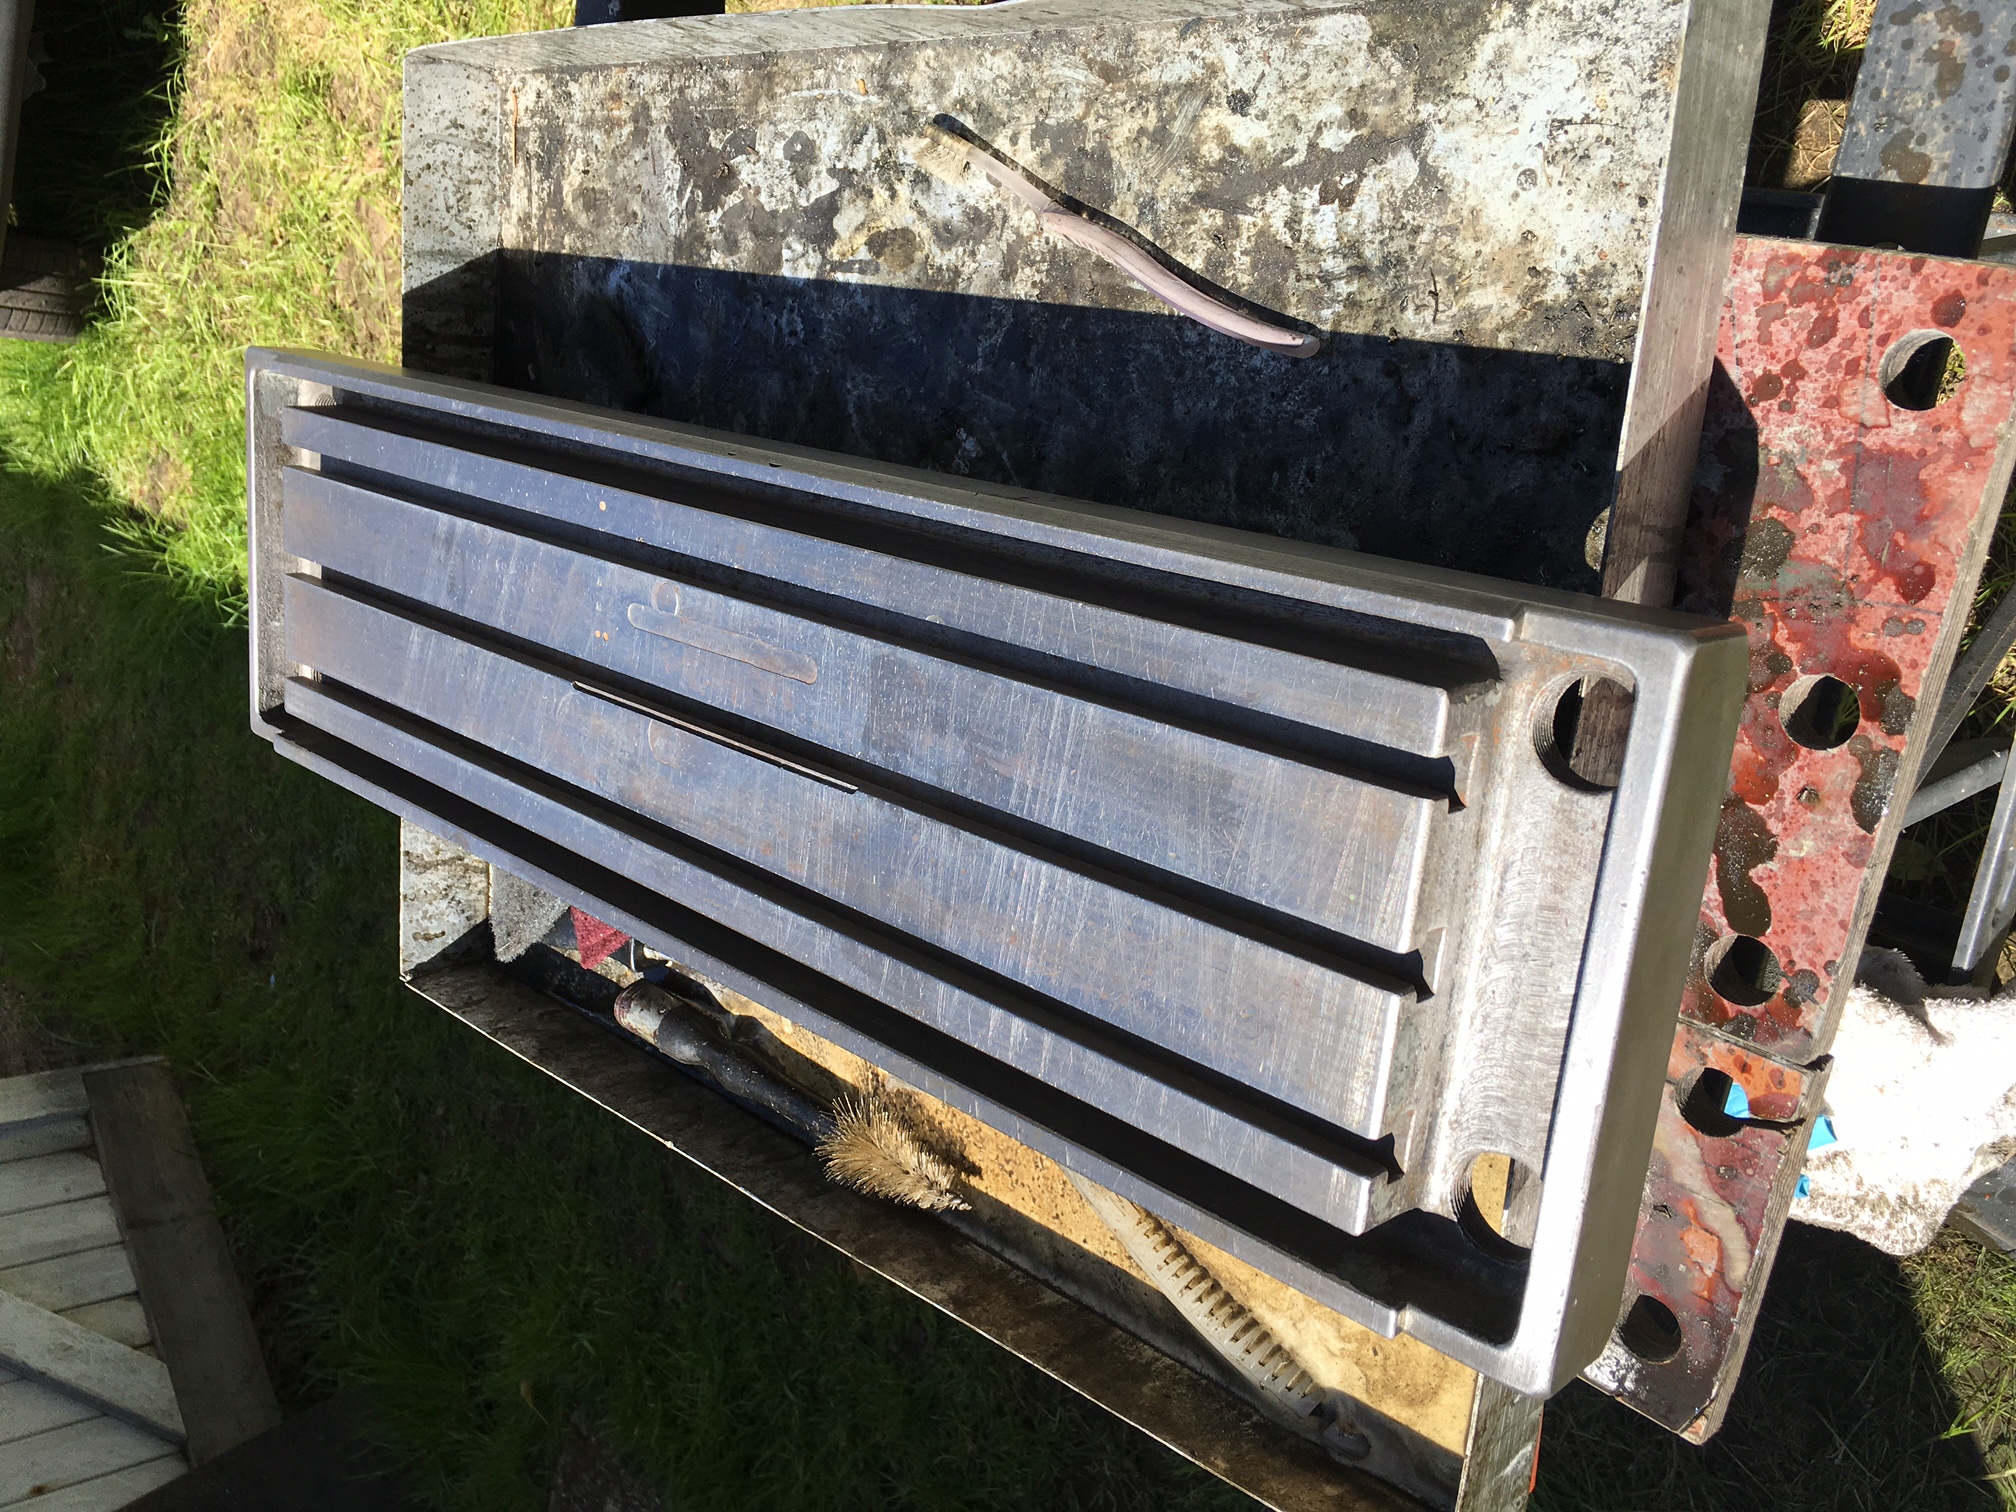
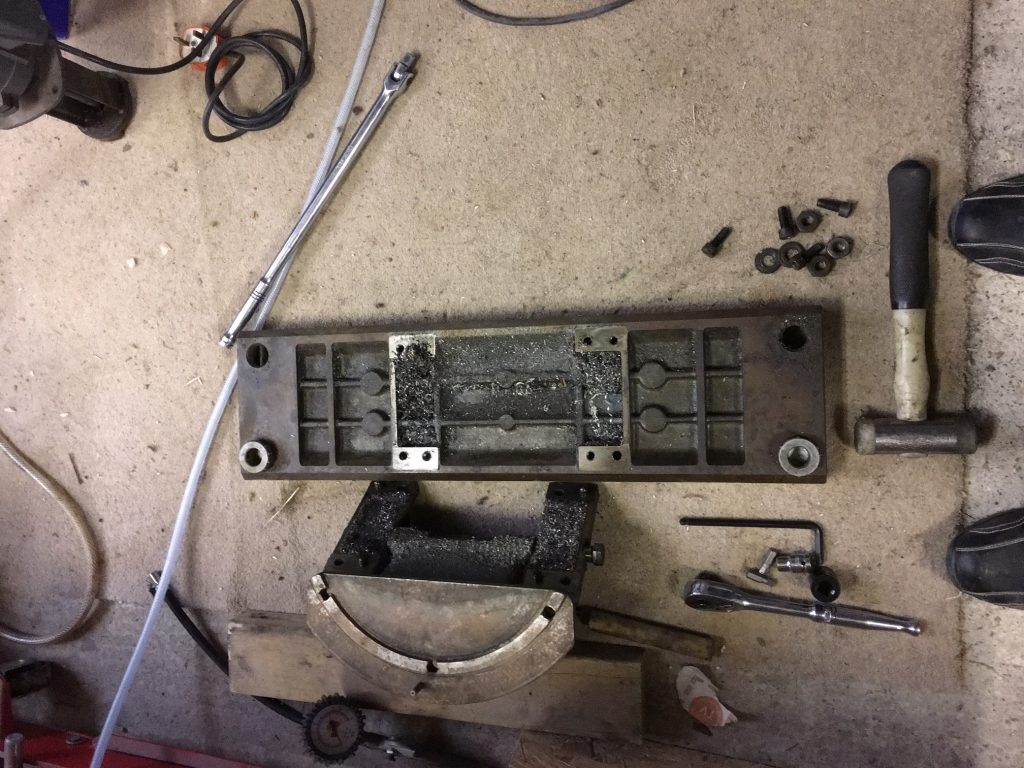
I vary the cleaning of the parts from using an aqueous alkaline degreaser to a solvent based one. I have yet to decide which is the better, however, when the sun is shining then I prefer to do the job outside and use the water based one! I use a fine scotchbrite pad when cleaning and this cleans off the dirt and any fine rust. Below is the table before cleaning.
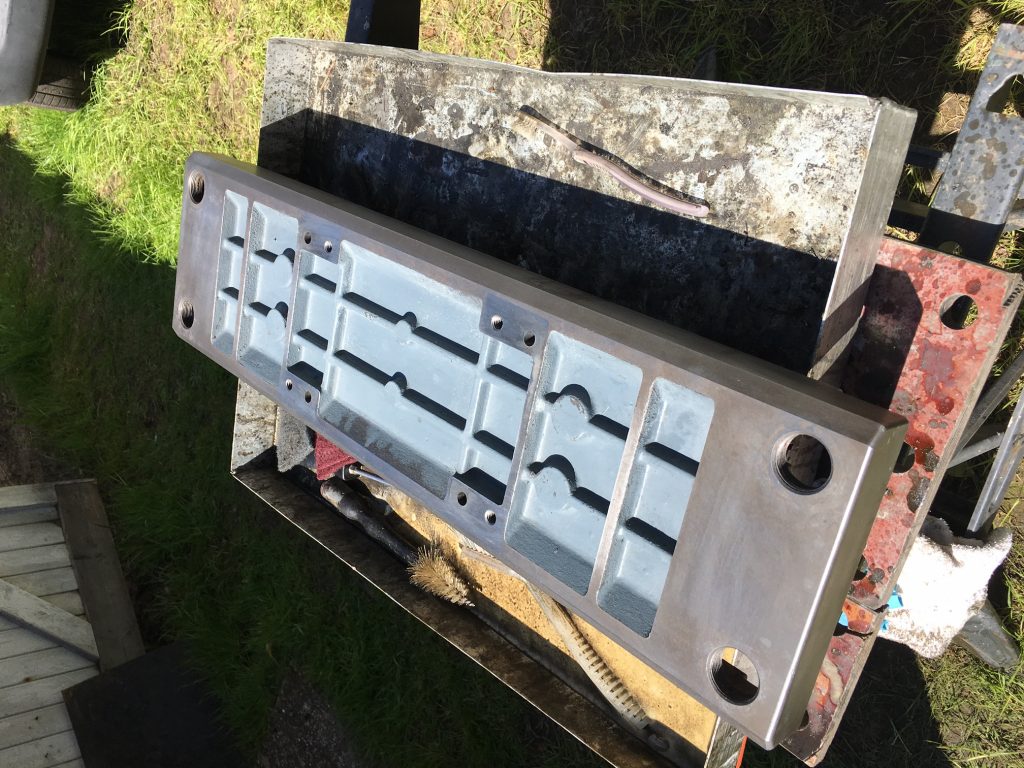
As you can see, it has come up reasonablty well. This is stage one and I will clean the top surface a bit more using the same techniques as I did on the apron slide.
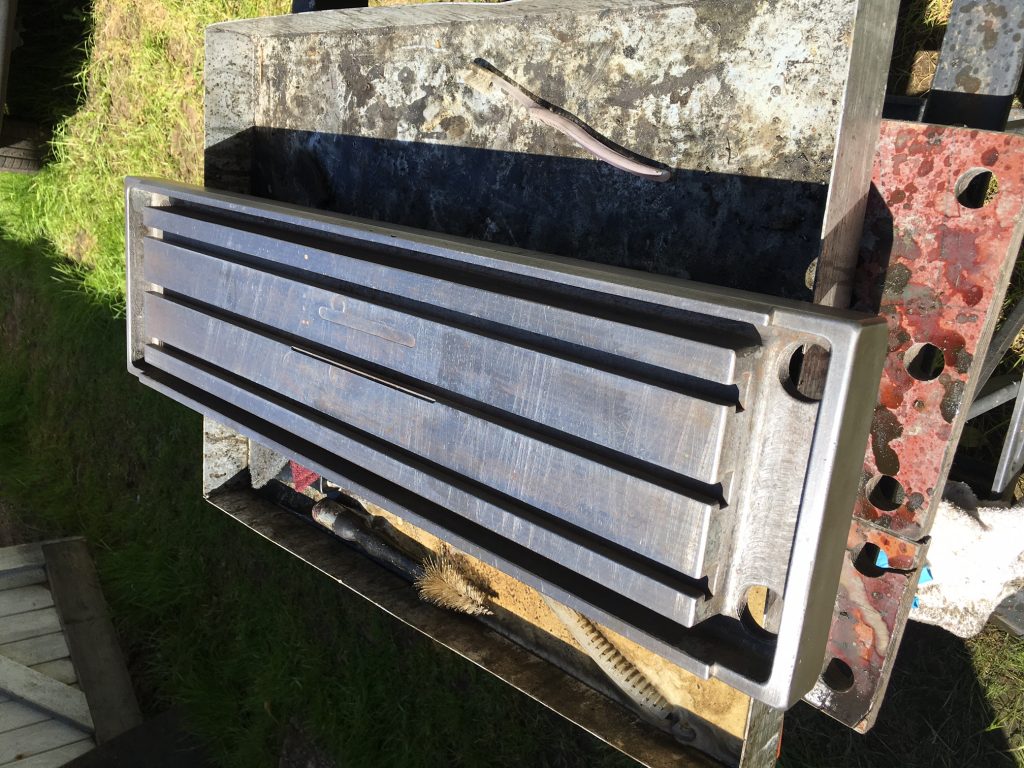
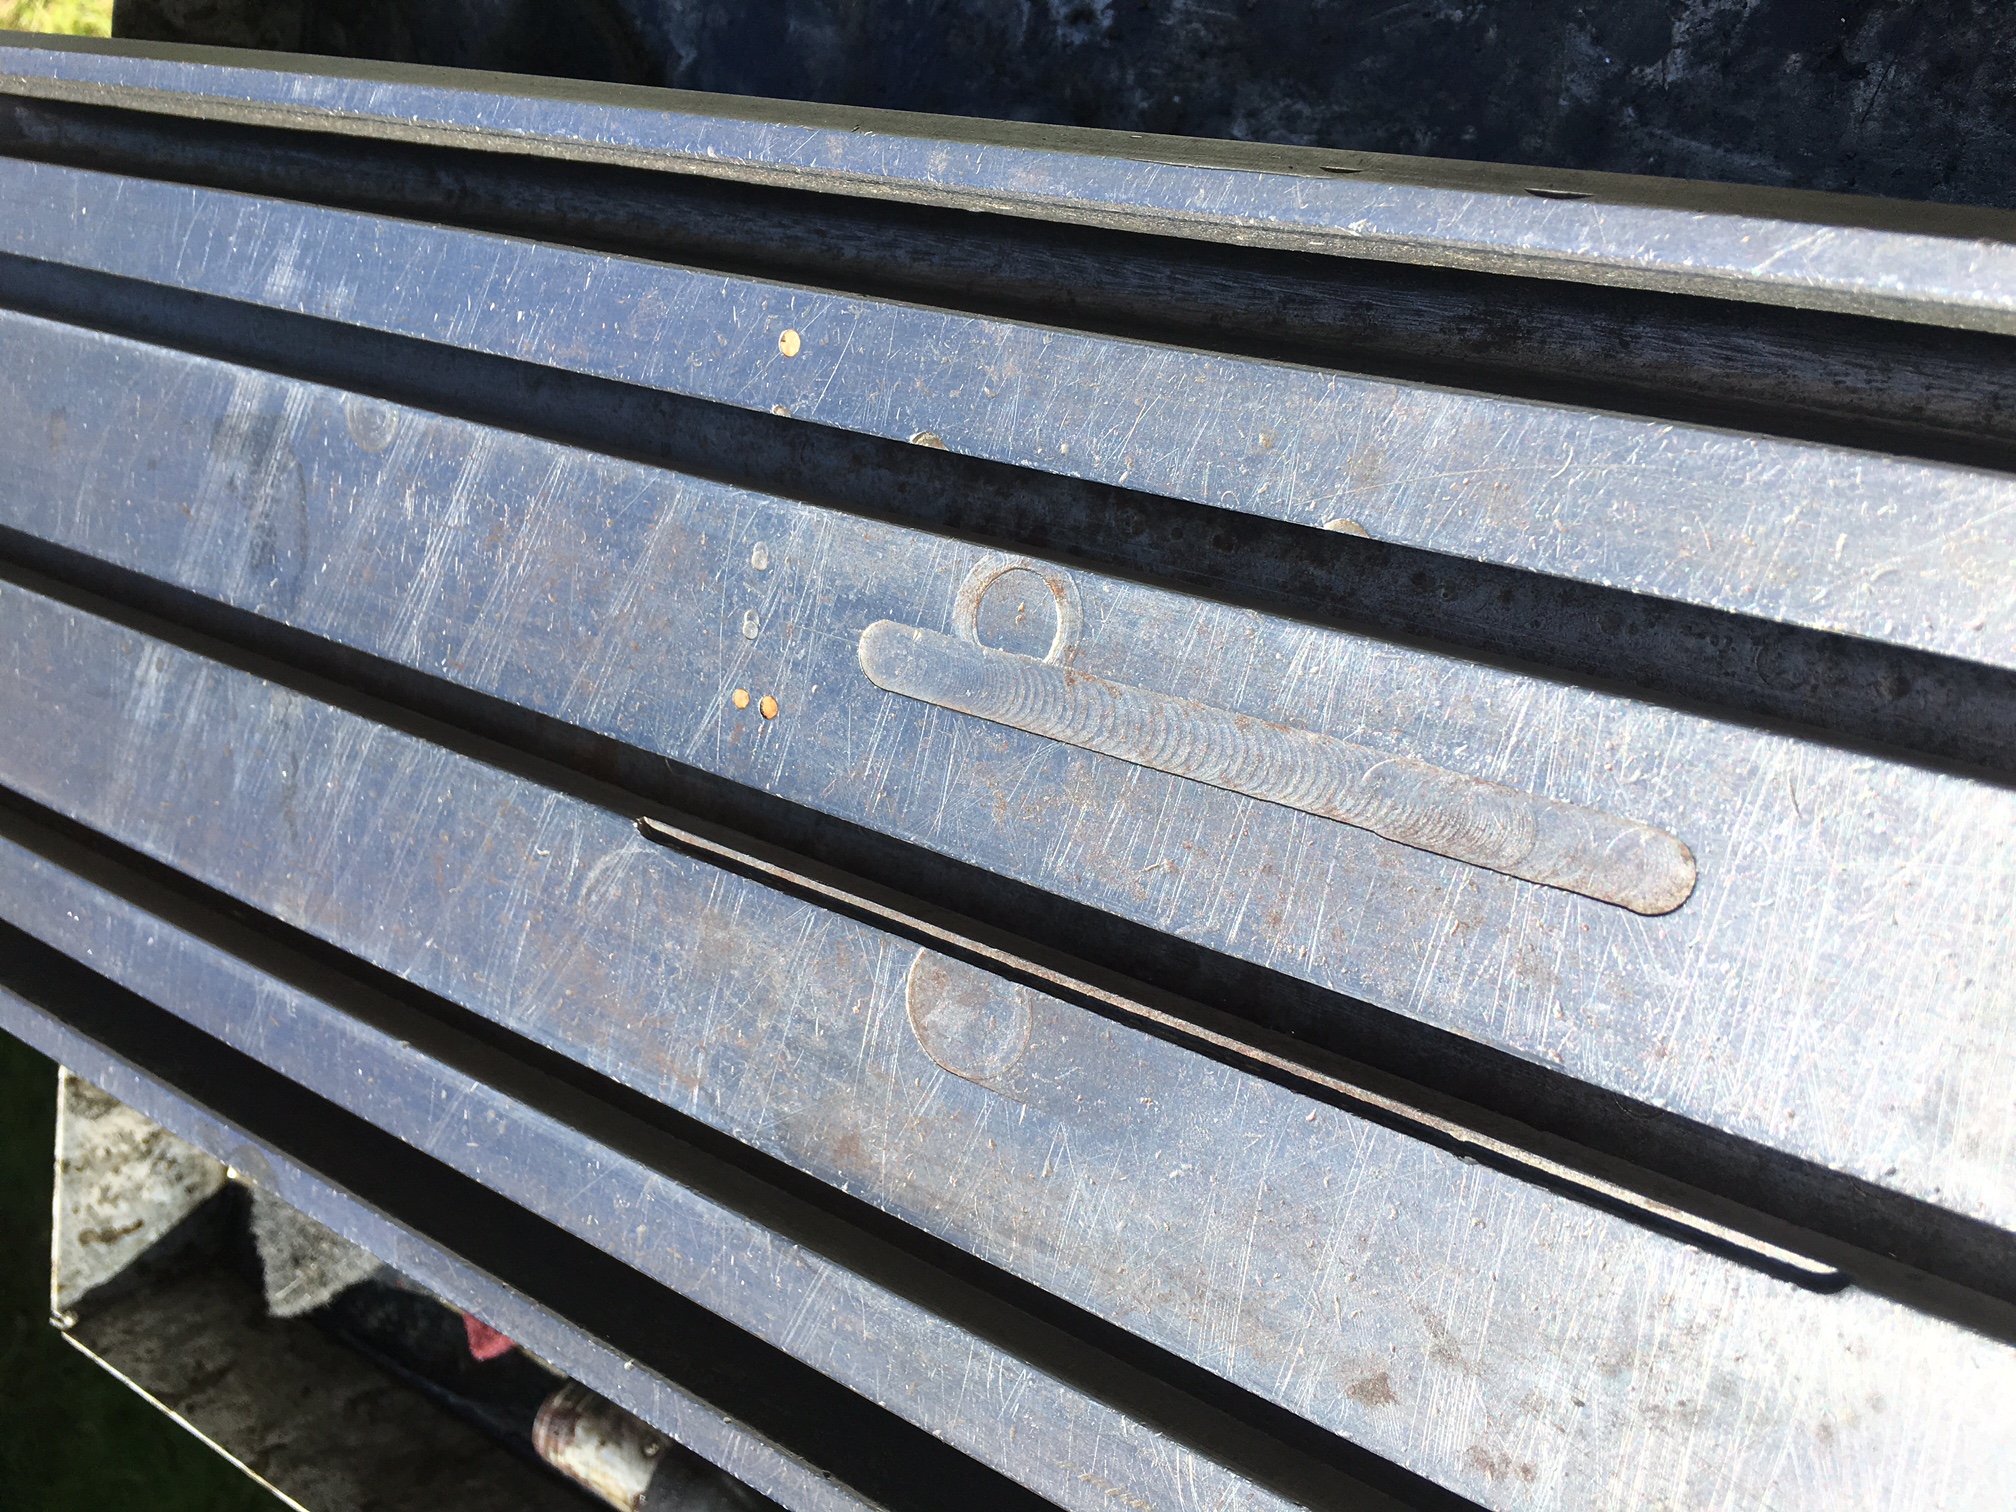
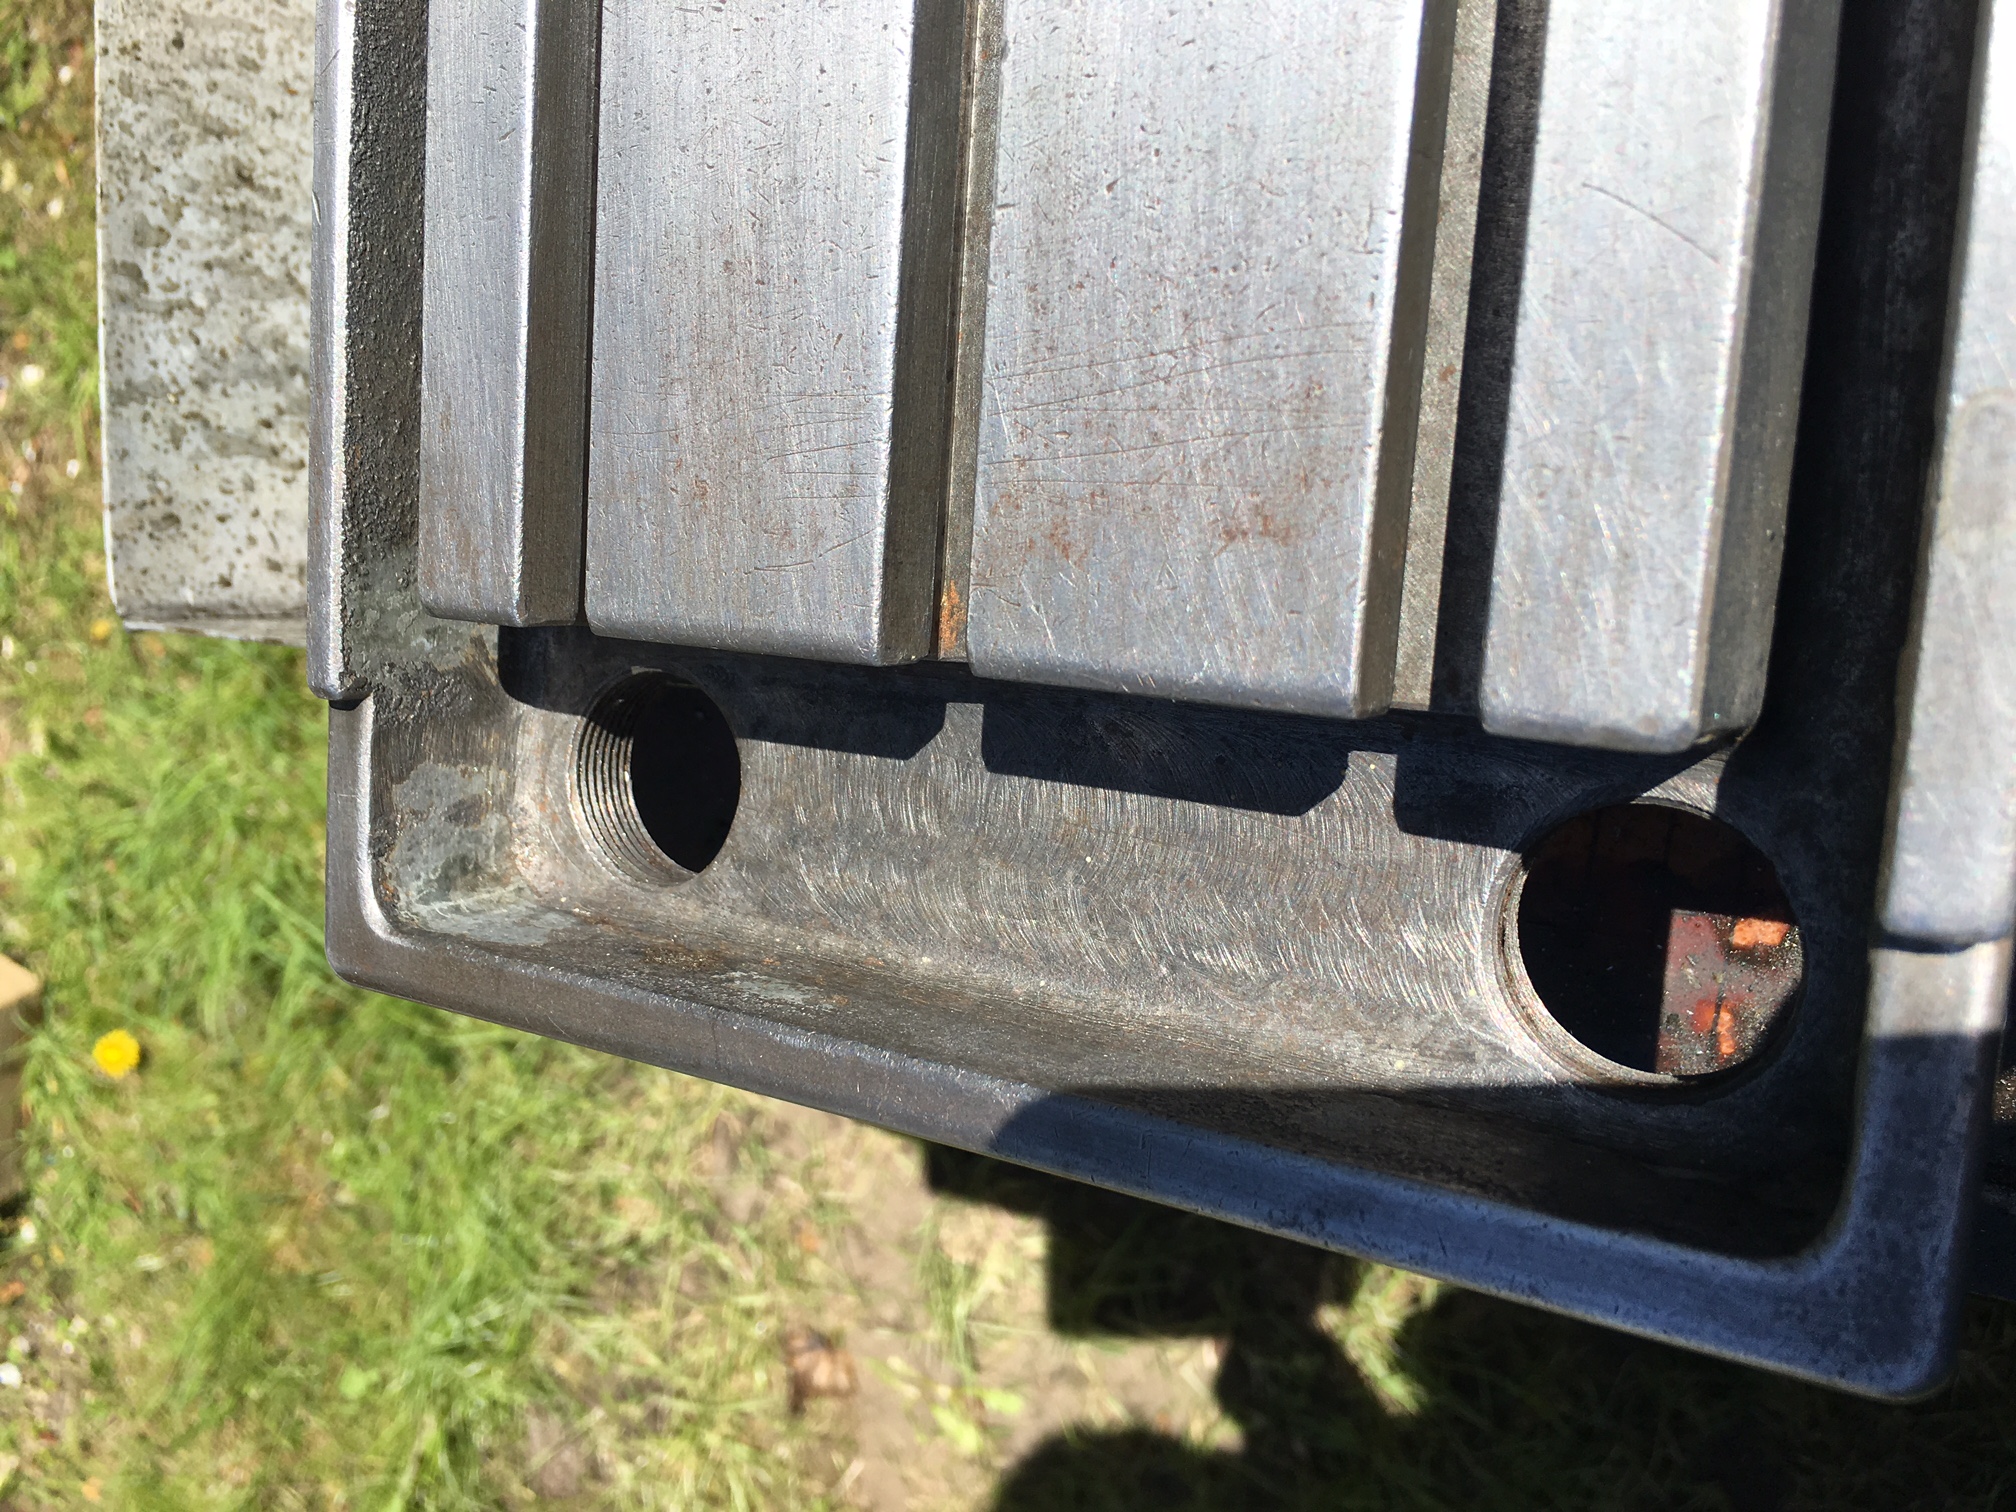
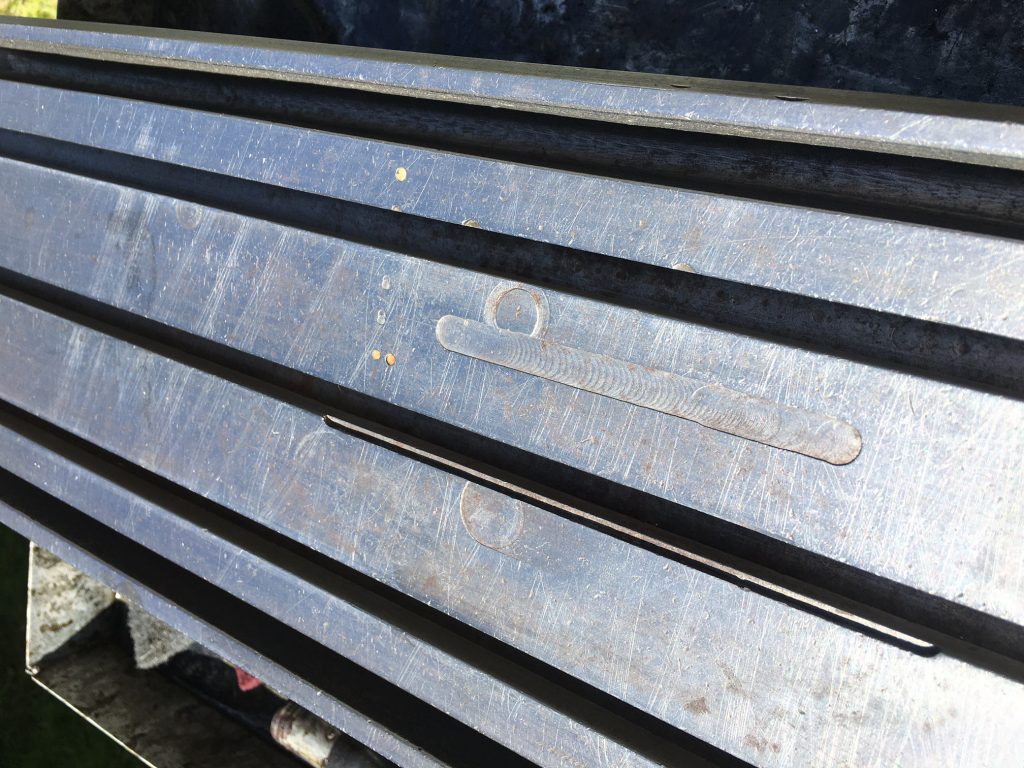
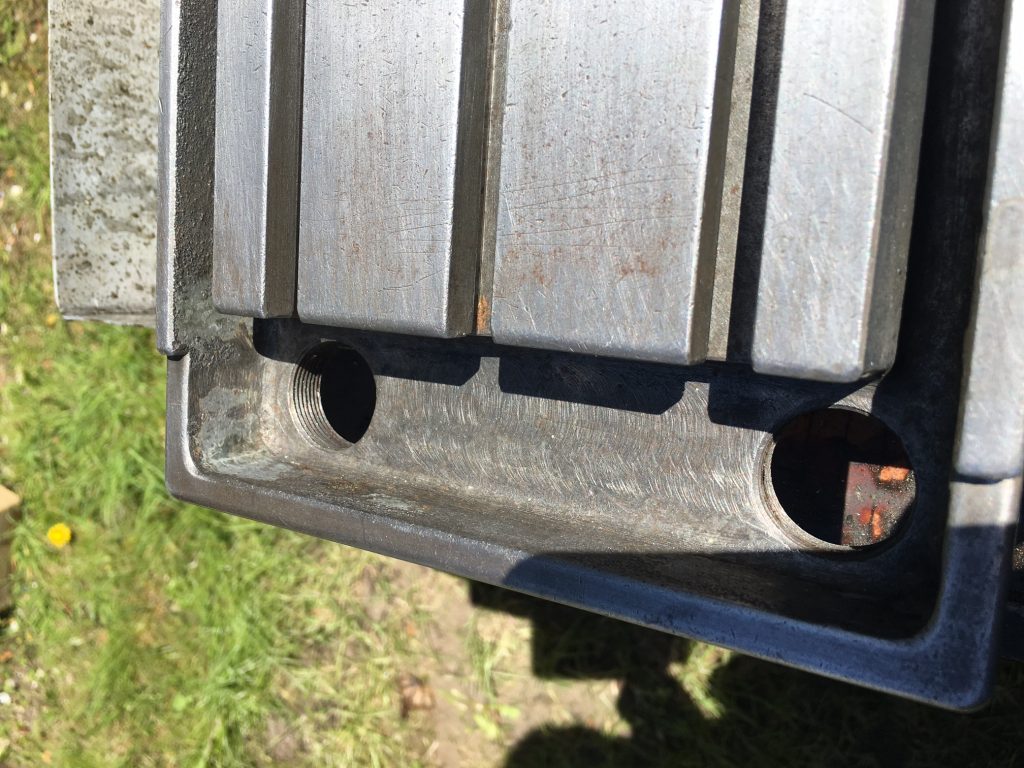
A close up reveals the damage to the top of the table. I’m not sure what to do here. I can either leave well alone or attempt some kind of repair. This needs careful thought. When I bought the mill, I never thought to remove the vise when inspecting the machine – this damage was completly covered by the vise and so I did not see it!
The oilo traps at the ends of the table were painted as I can see residue of paint. I need to establish if the side channels were painted as well. The screw threads on the drain holes need a good scrape as well!
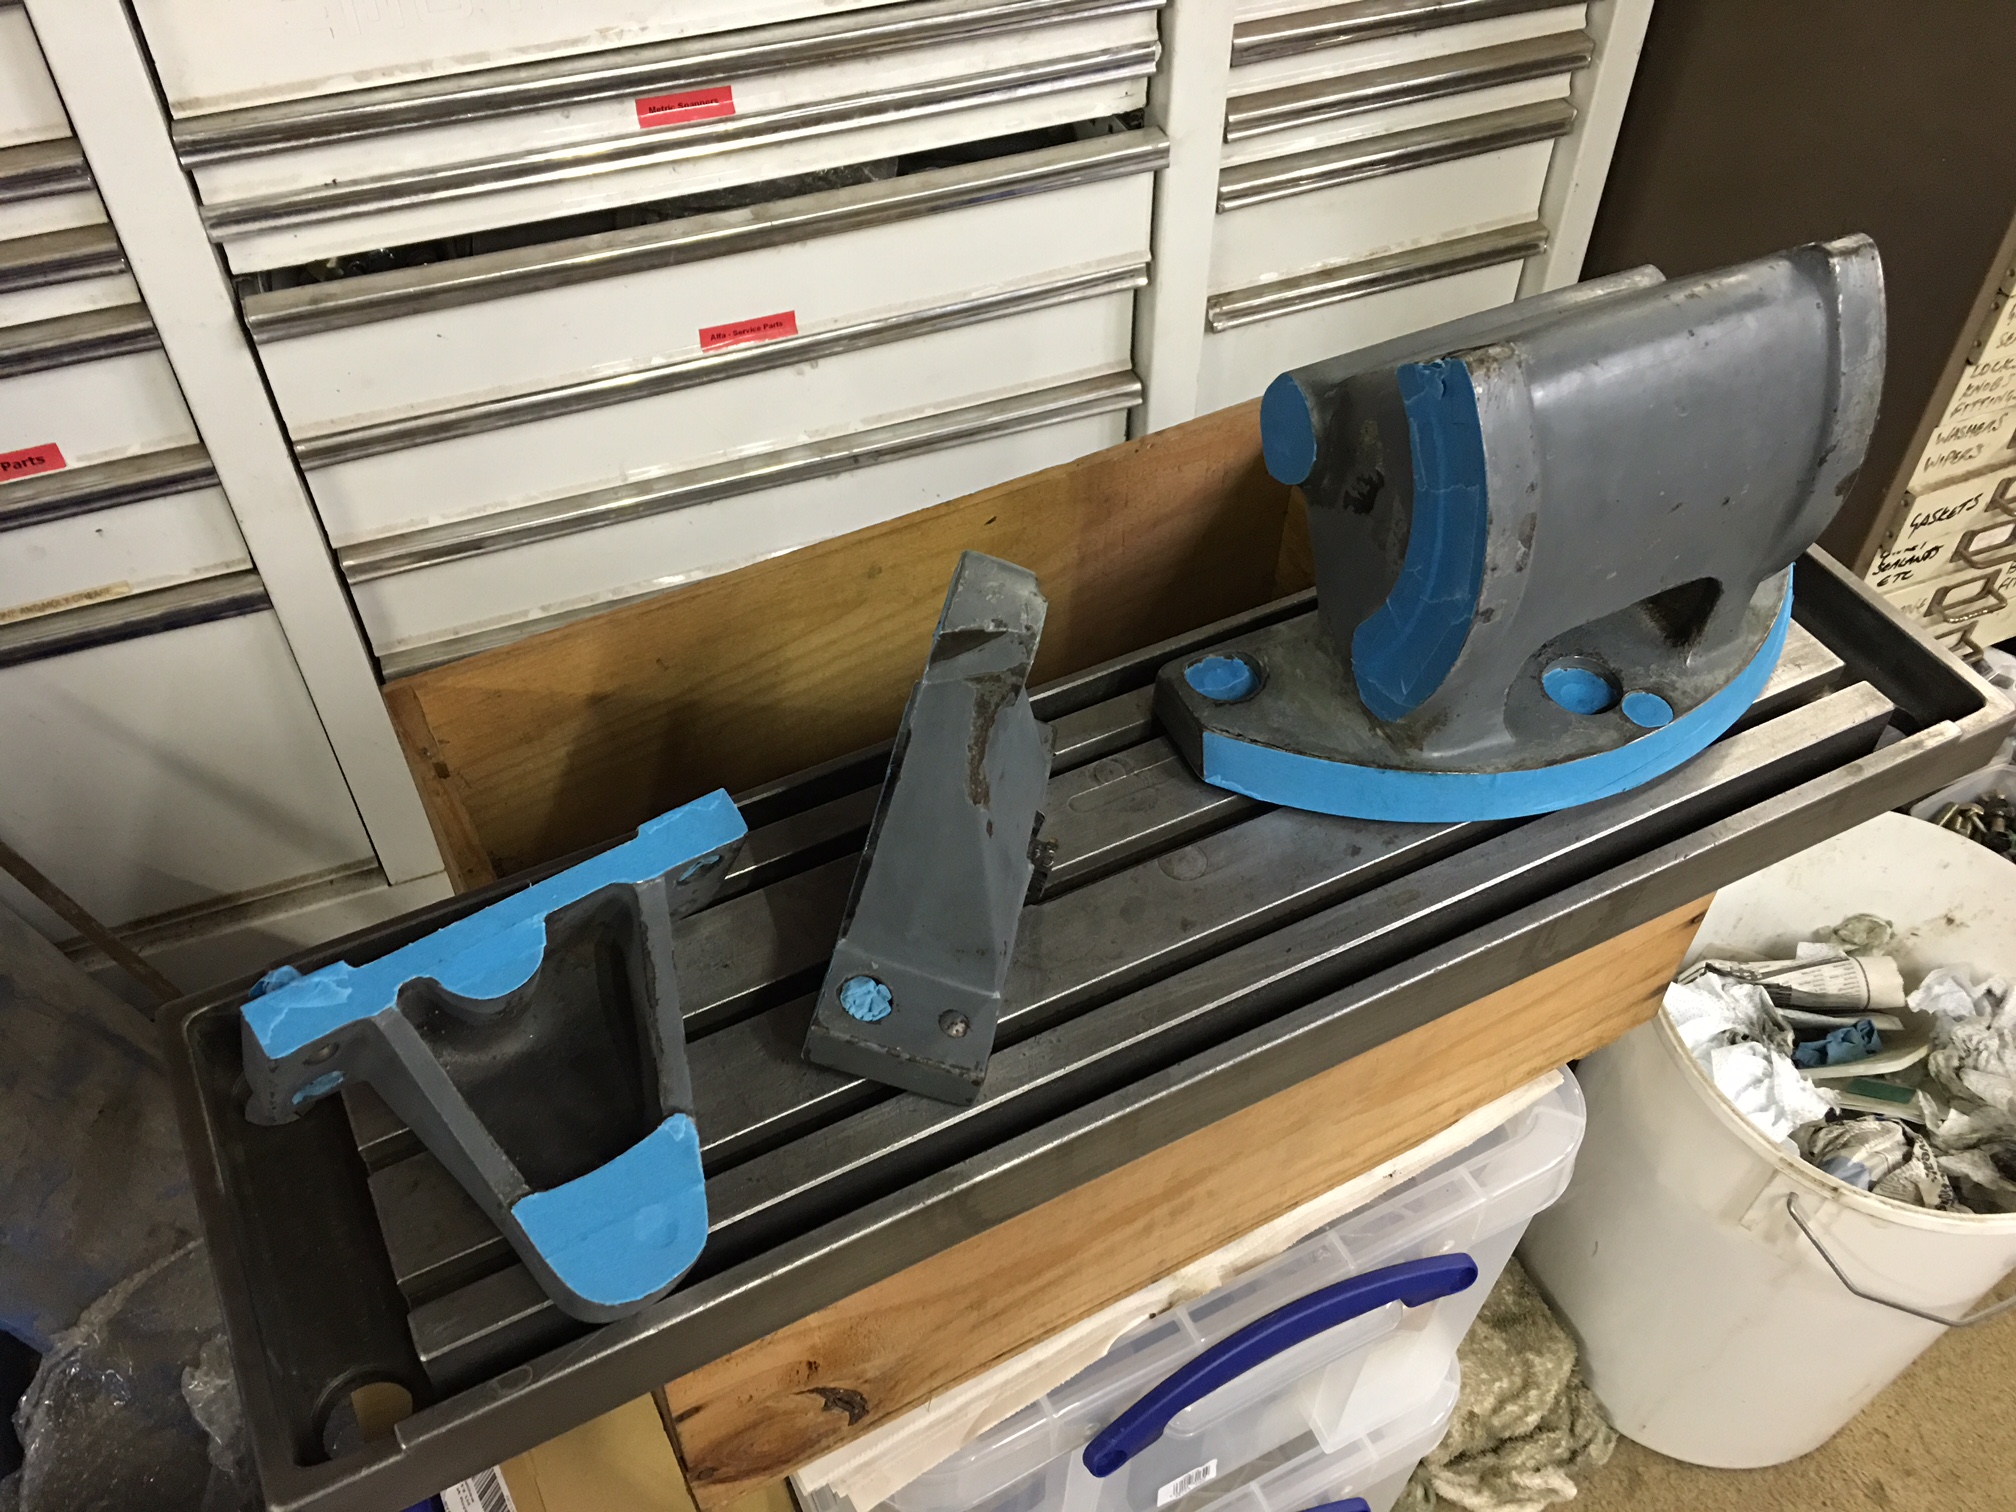
Next stage will be to clean up the tilting mechanism, clean up the meatal a little more and then mask up for spraying.
Below are a few items ready for paint
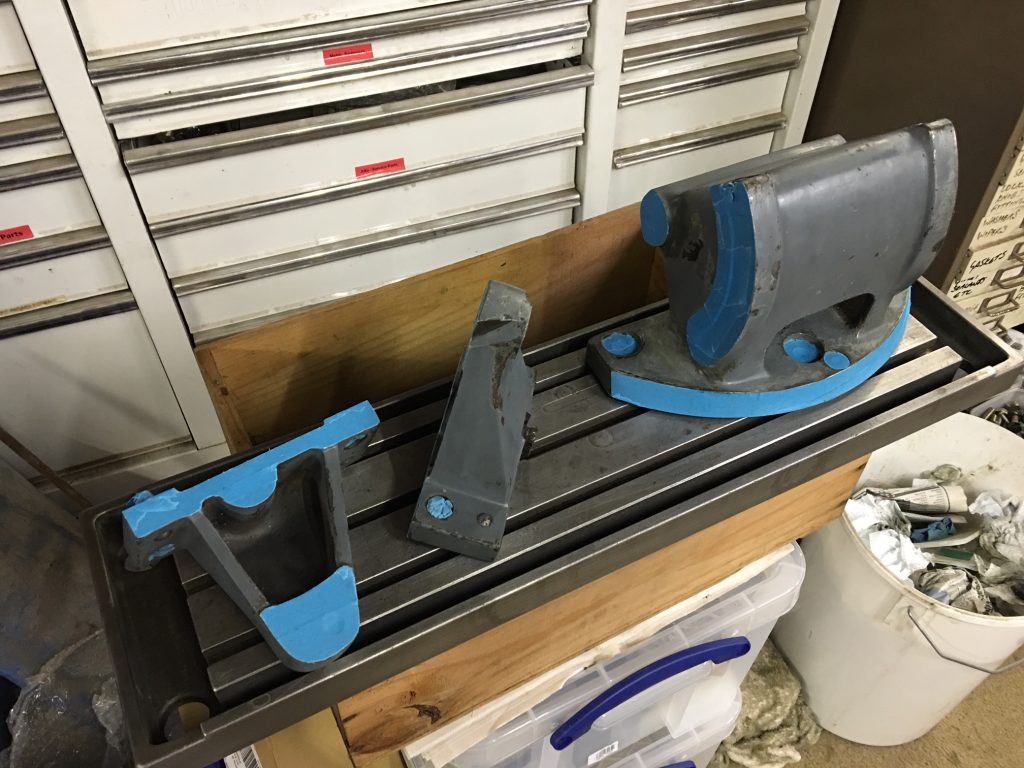
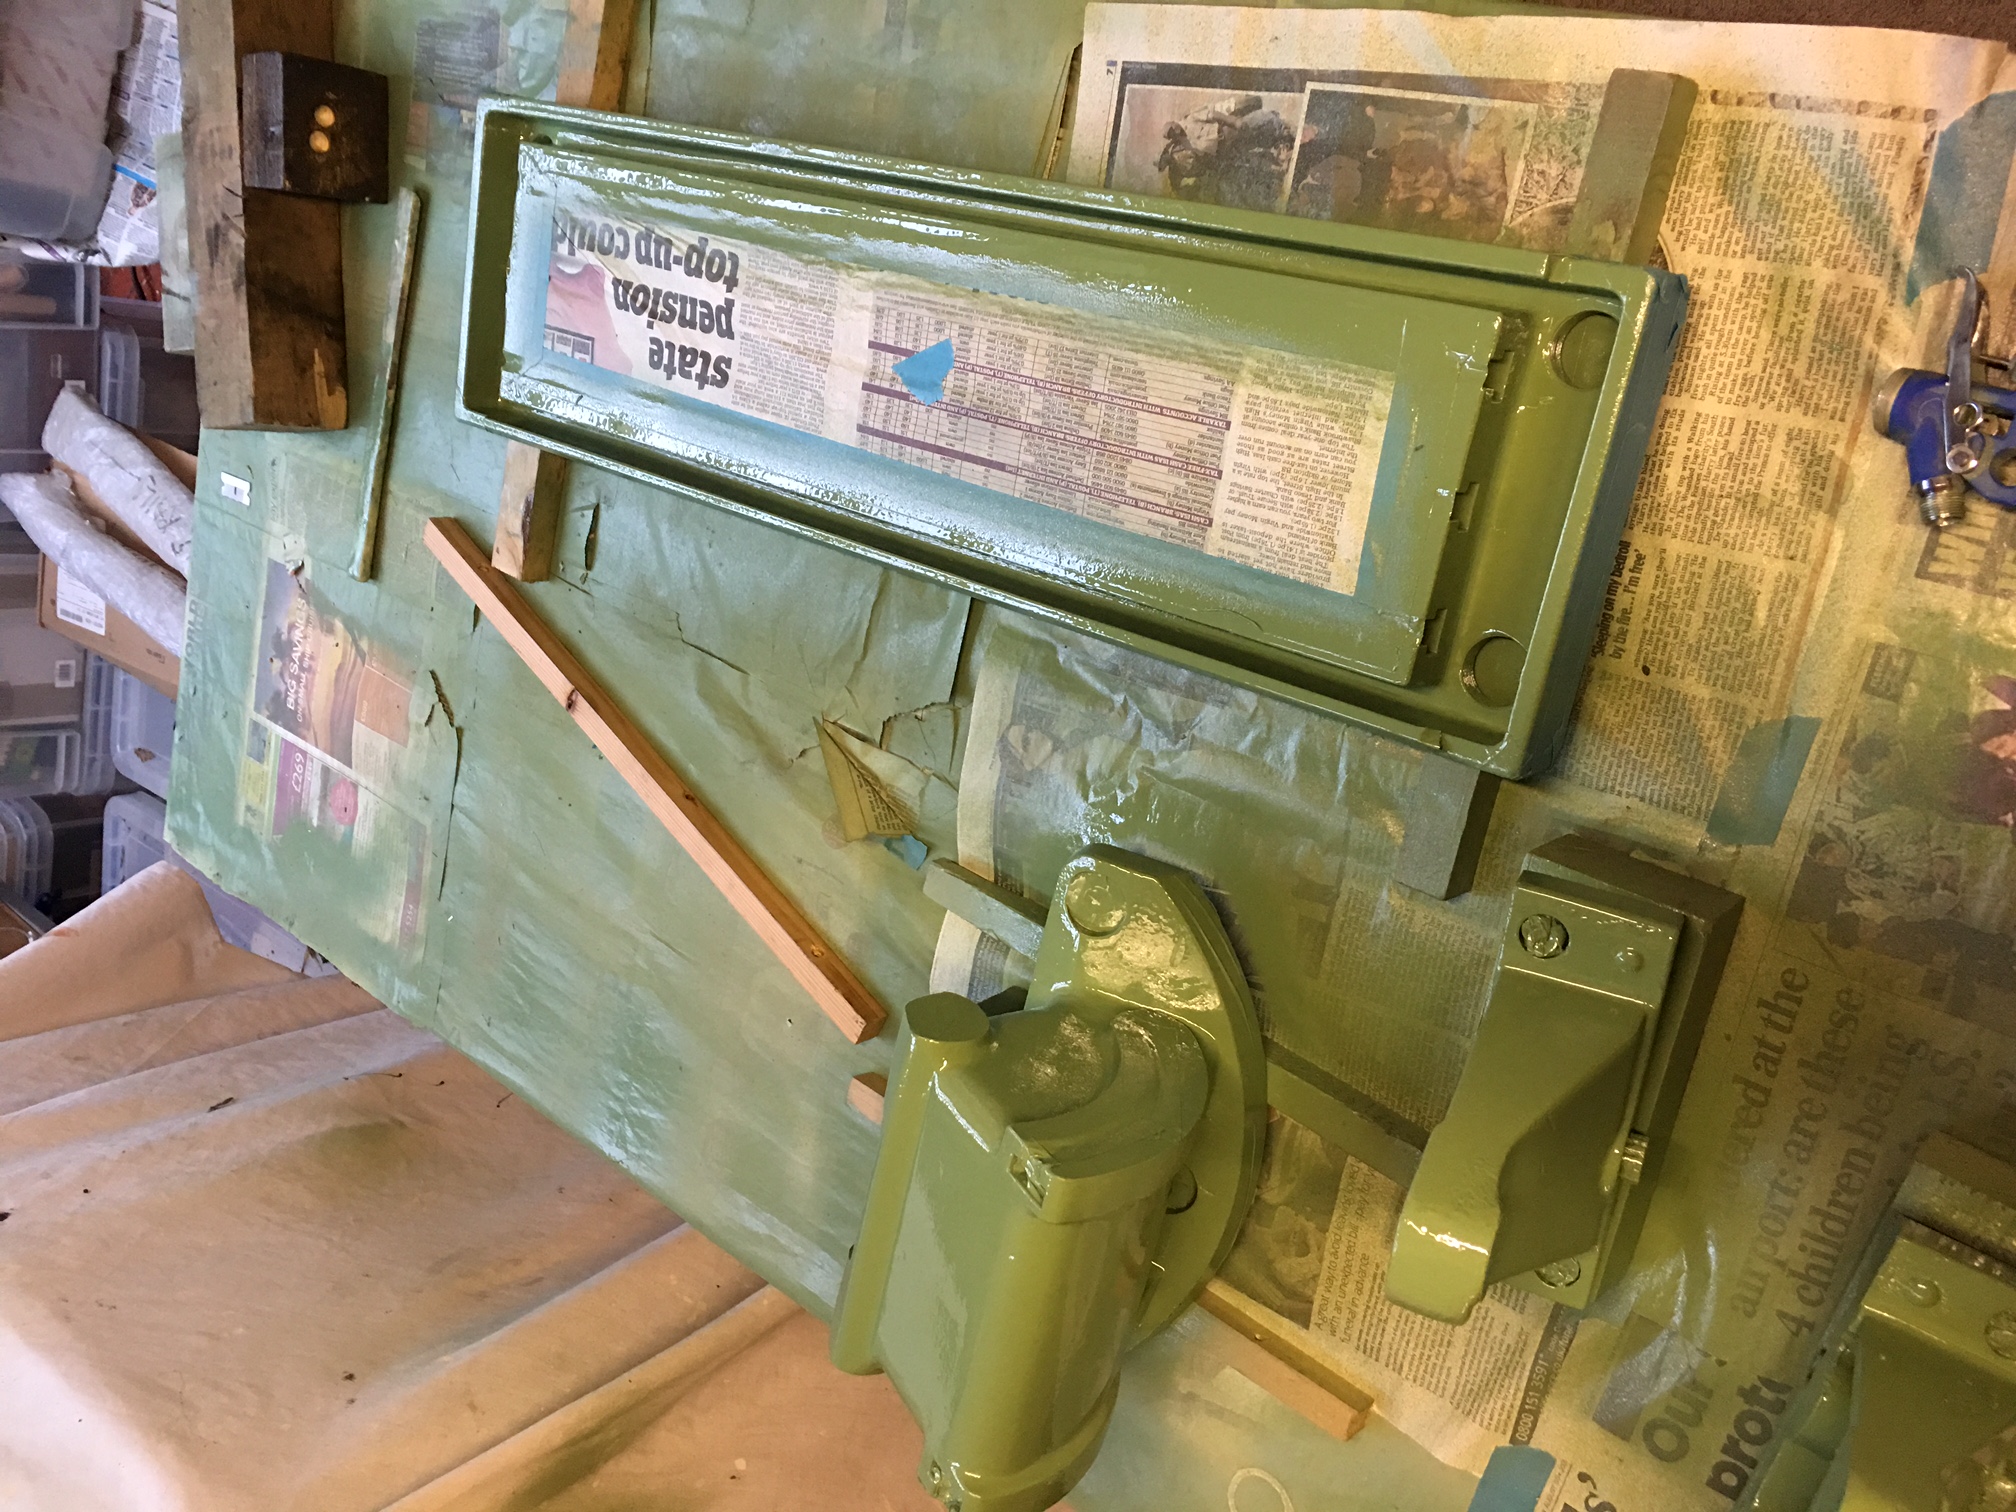
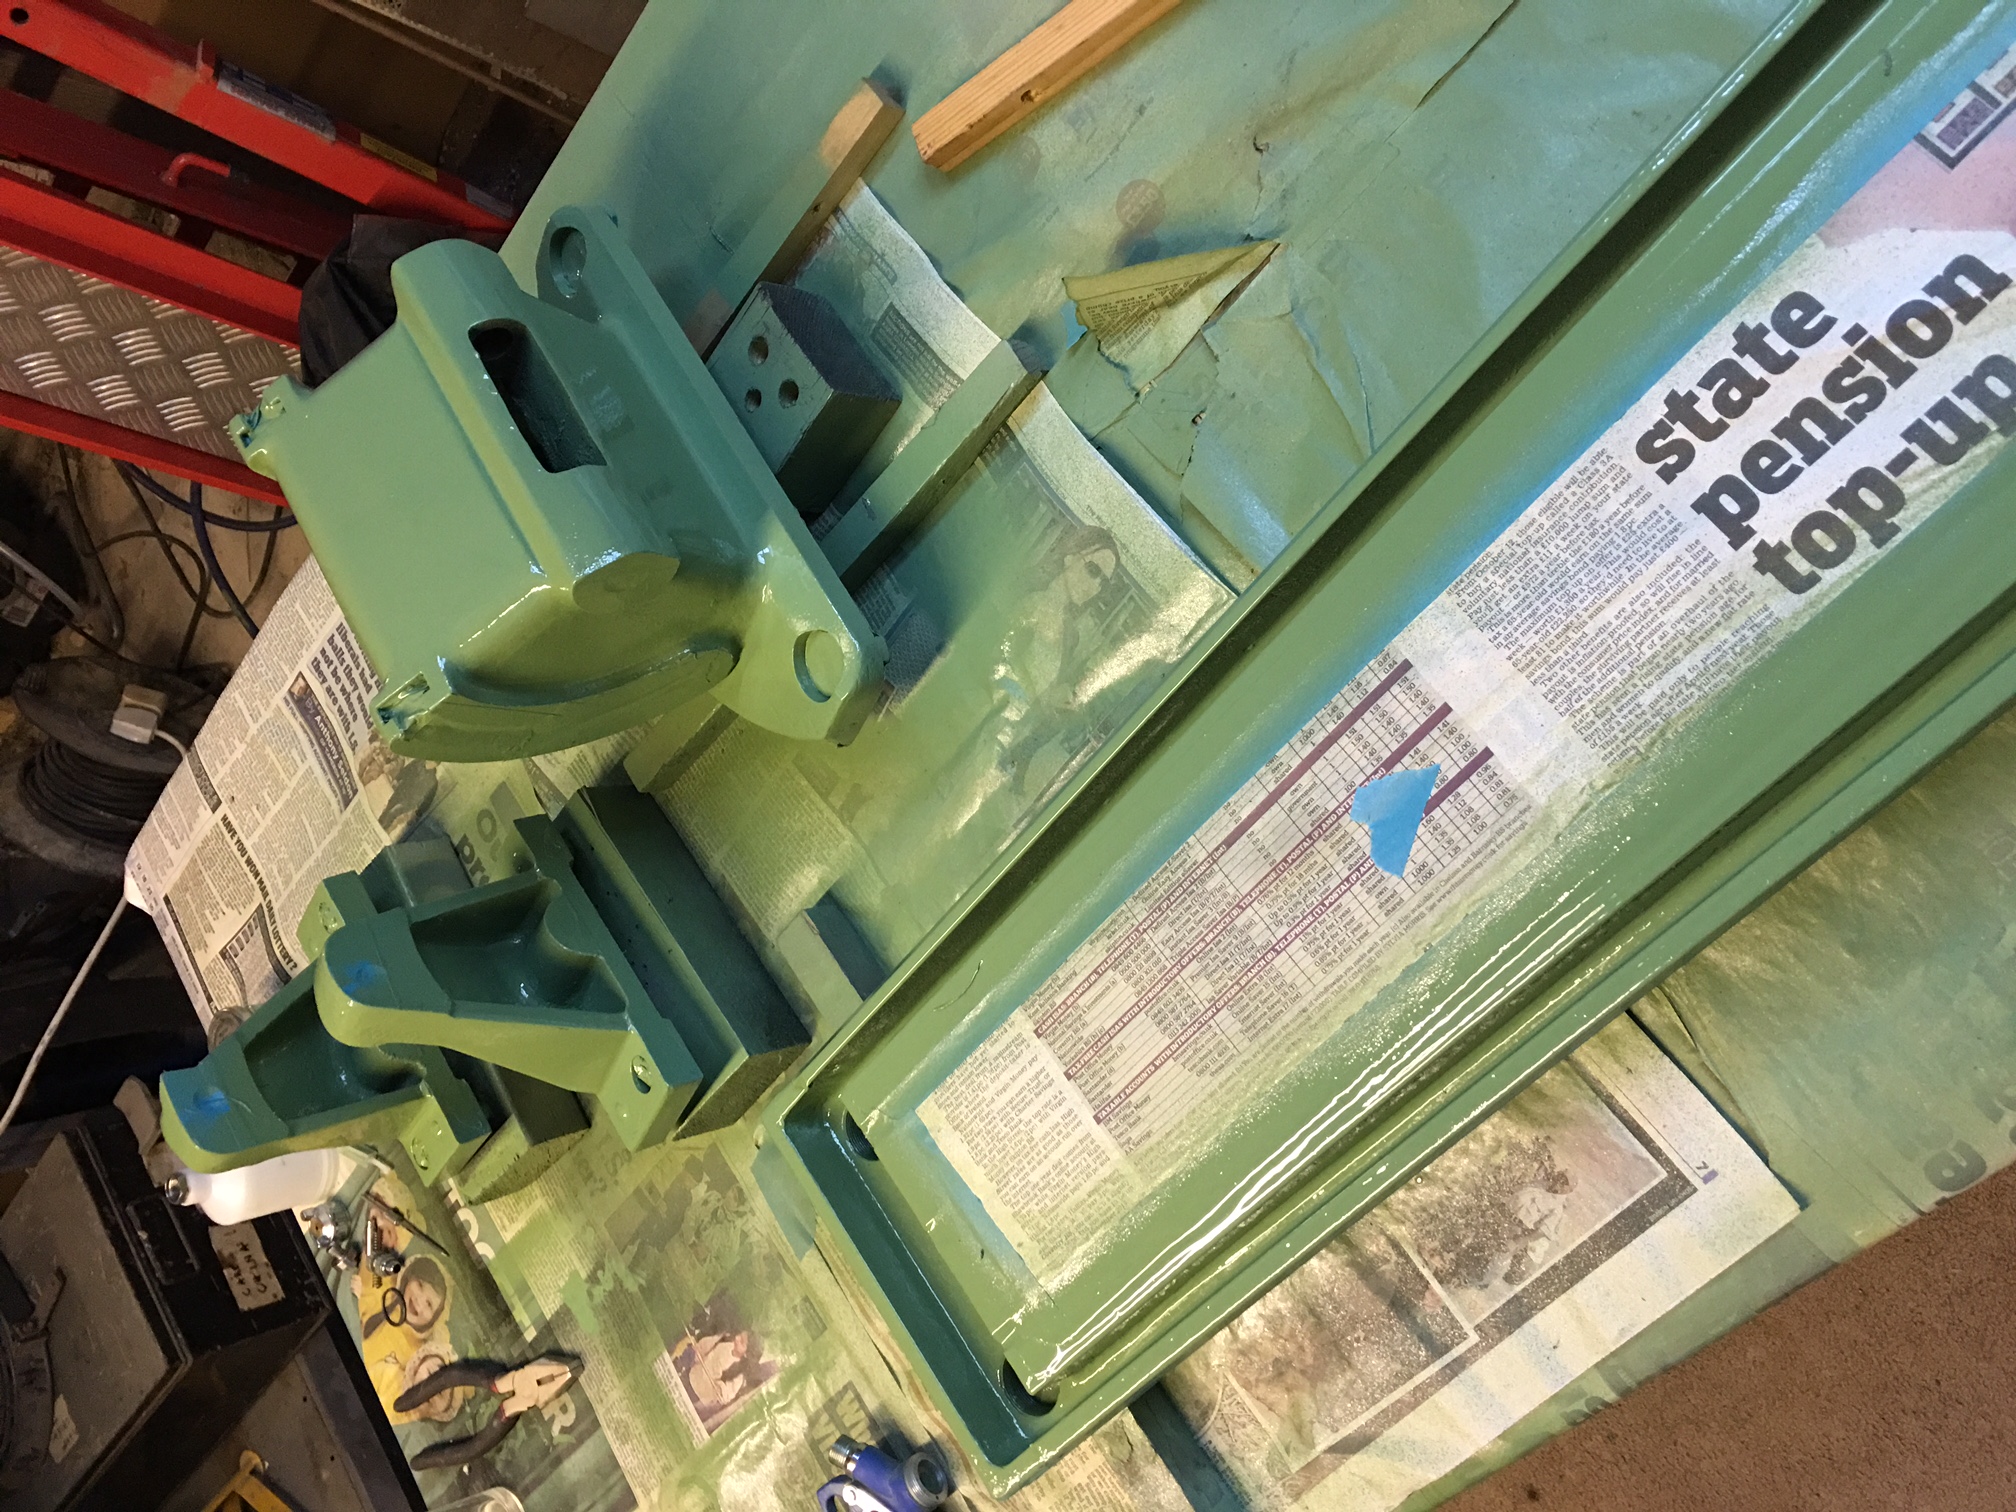
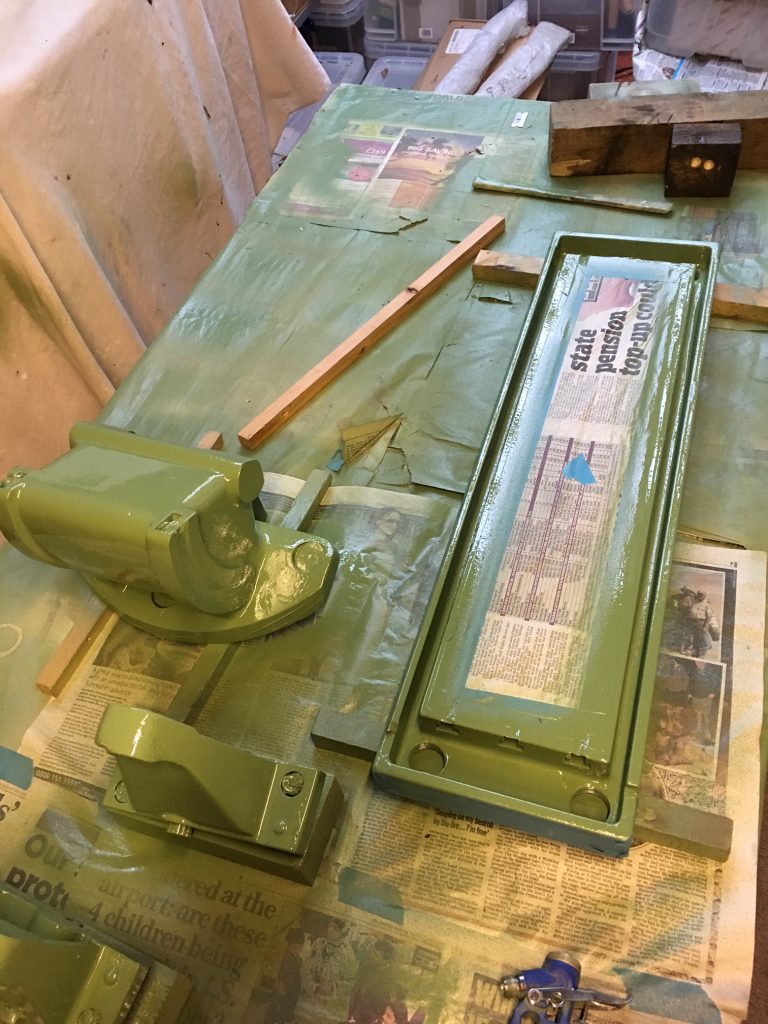
Table masked up and painted
Another view with the brackets etc.
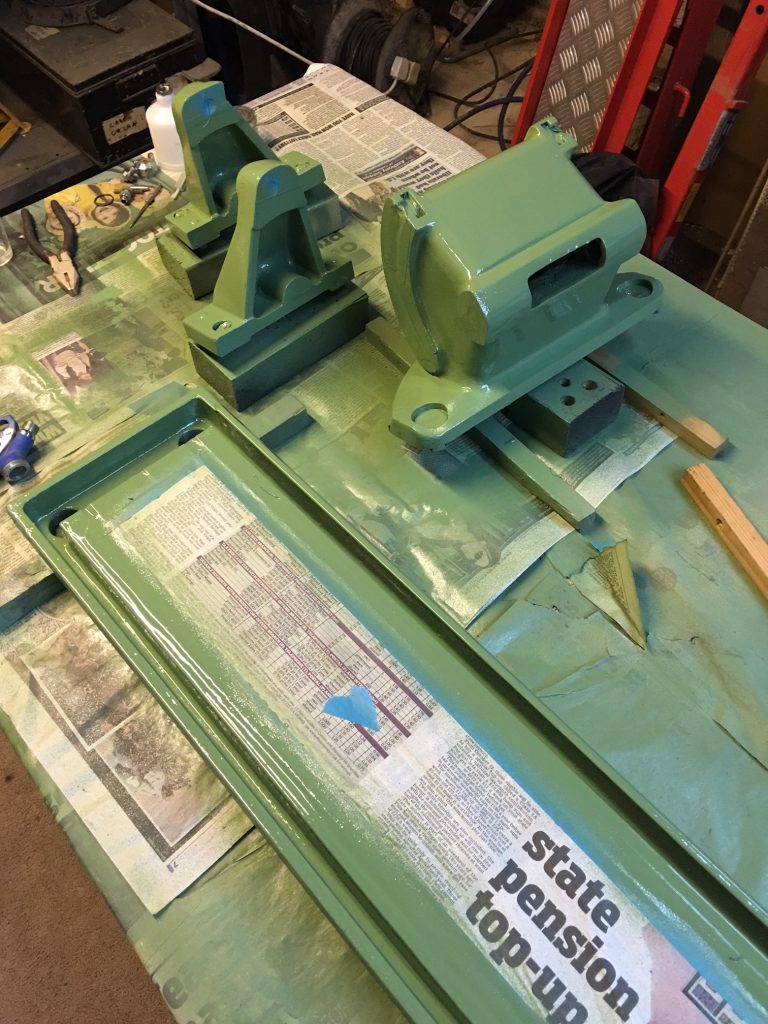
There isn’t much more painting to do for the F3 – just a little touch up here and there.