Oil Sight Glass repair

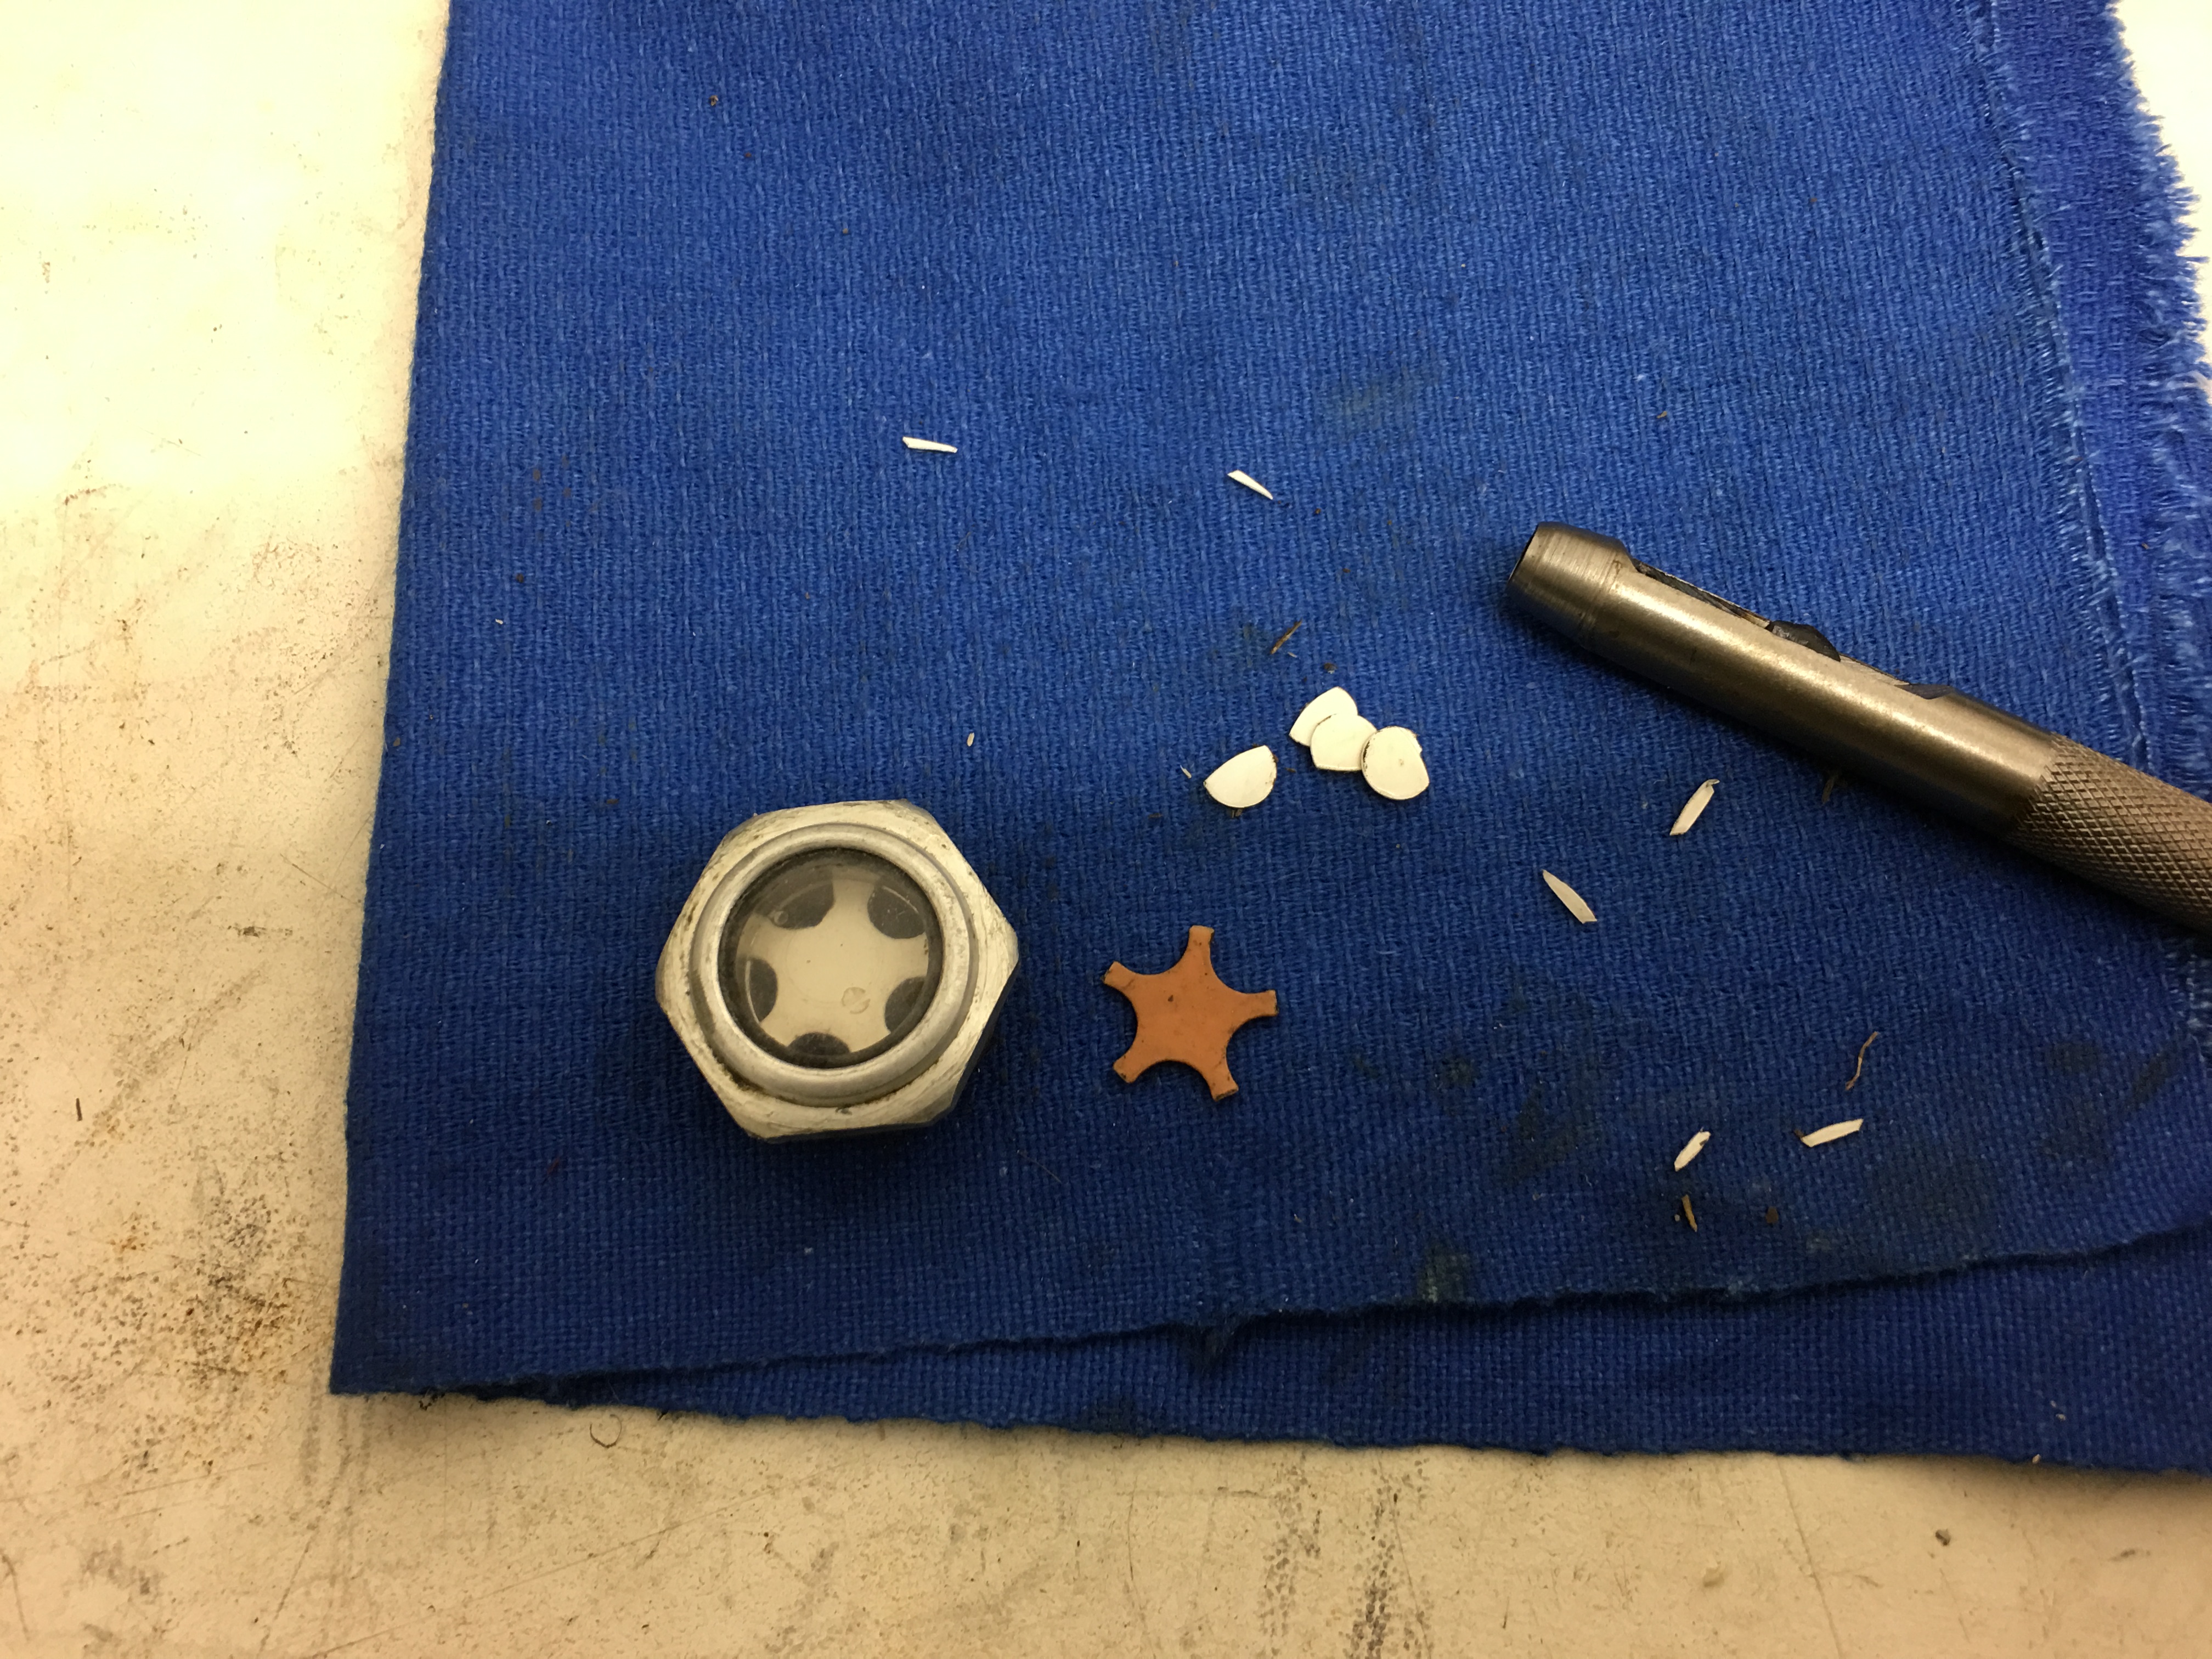
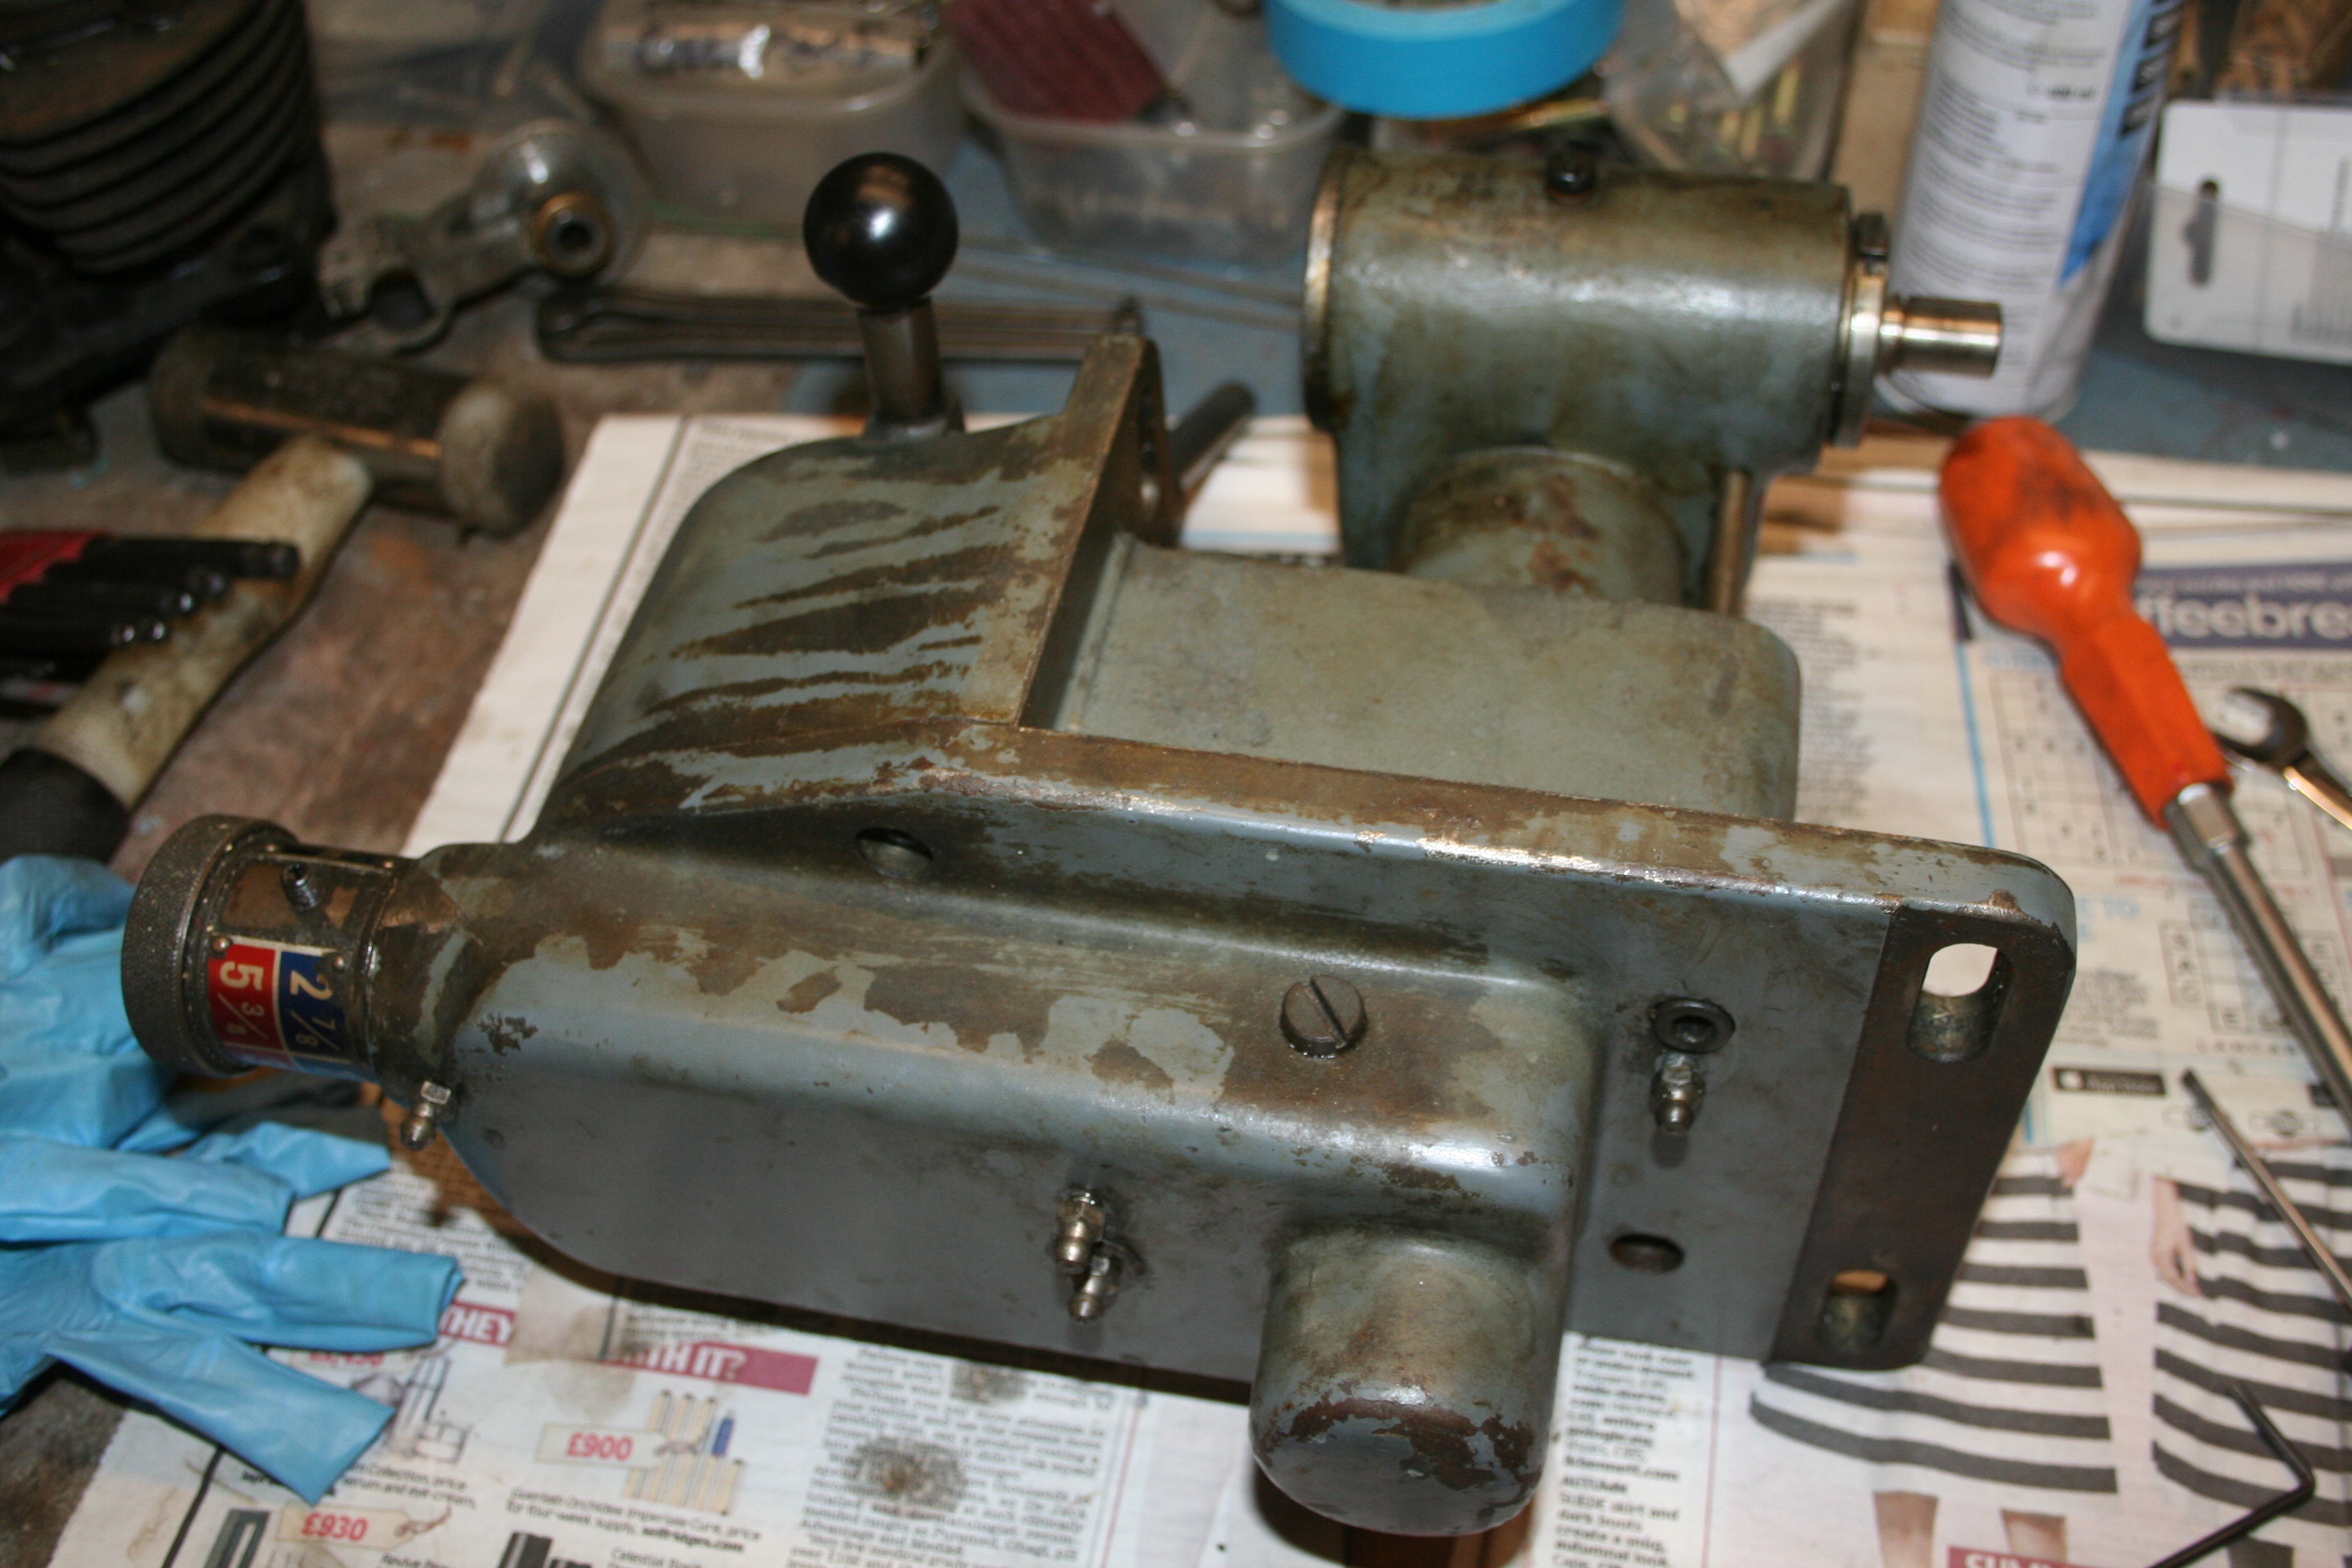
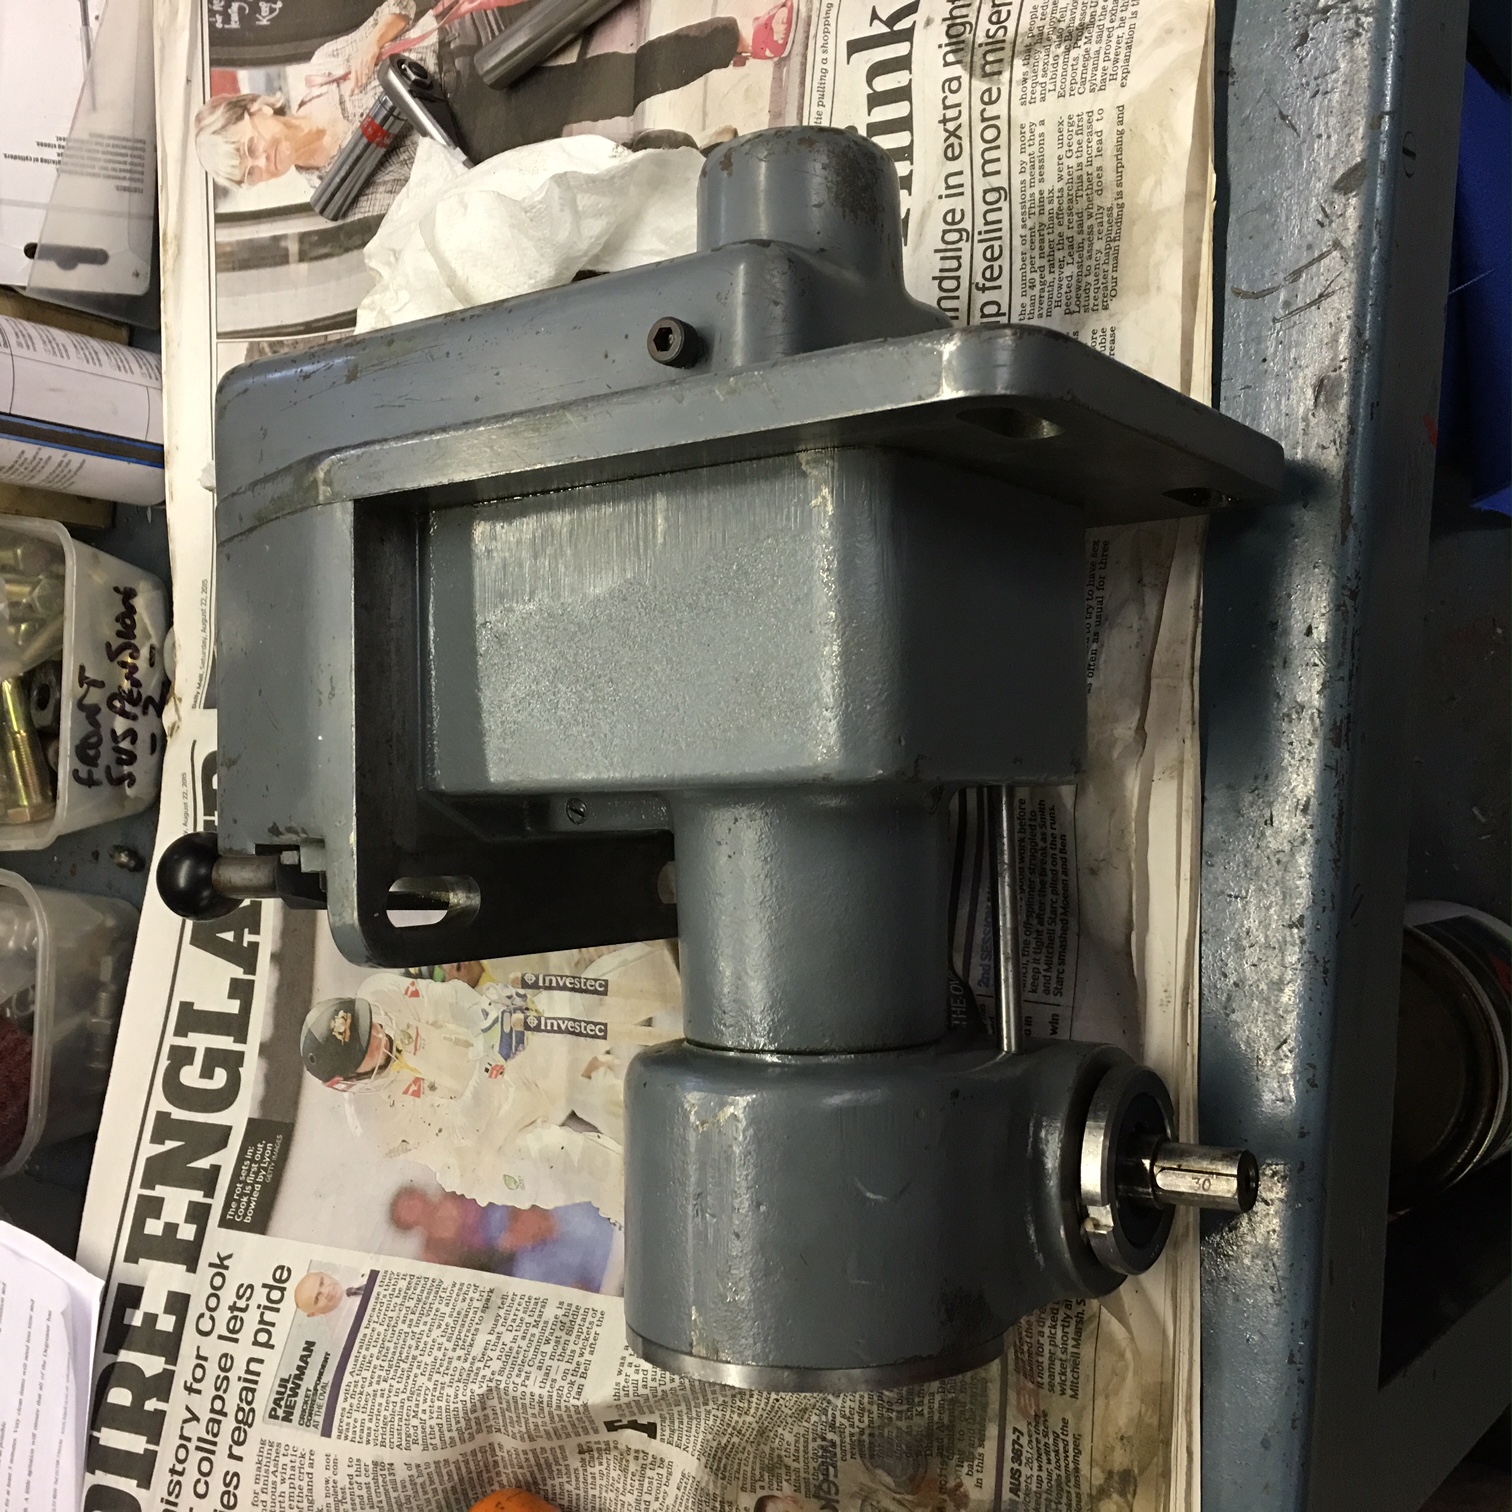
The picture shows the original sight glass for the horizontal head wiht the replaced plastic insert. The riginal insert was almost the same colour as the oil and so made for poor visibility. One plastic card and a selection of wad punches later and I had made a new insert. The sight glass now looks as good as new!!

oil_glass_repair

Now I’m ready for the oil and to fire up the F3!!

Gearbox pulley

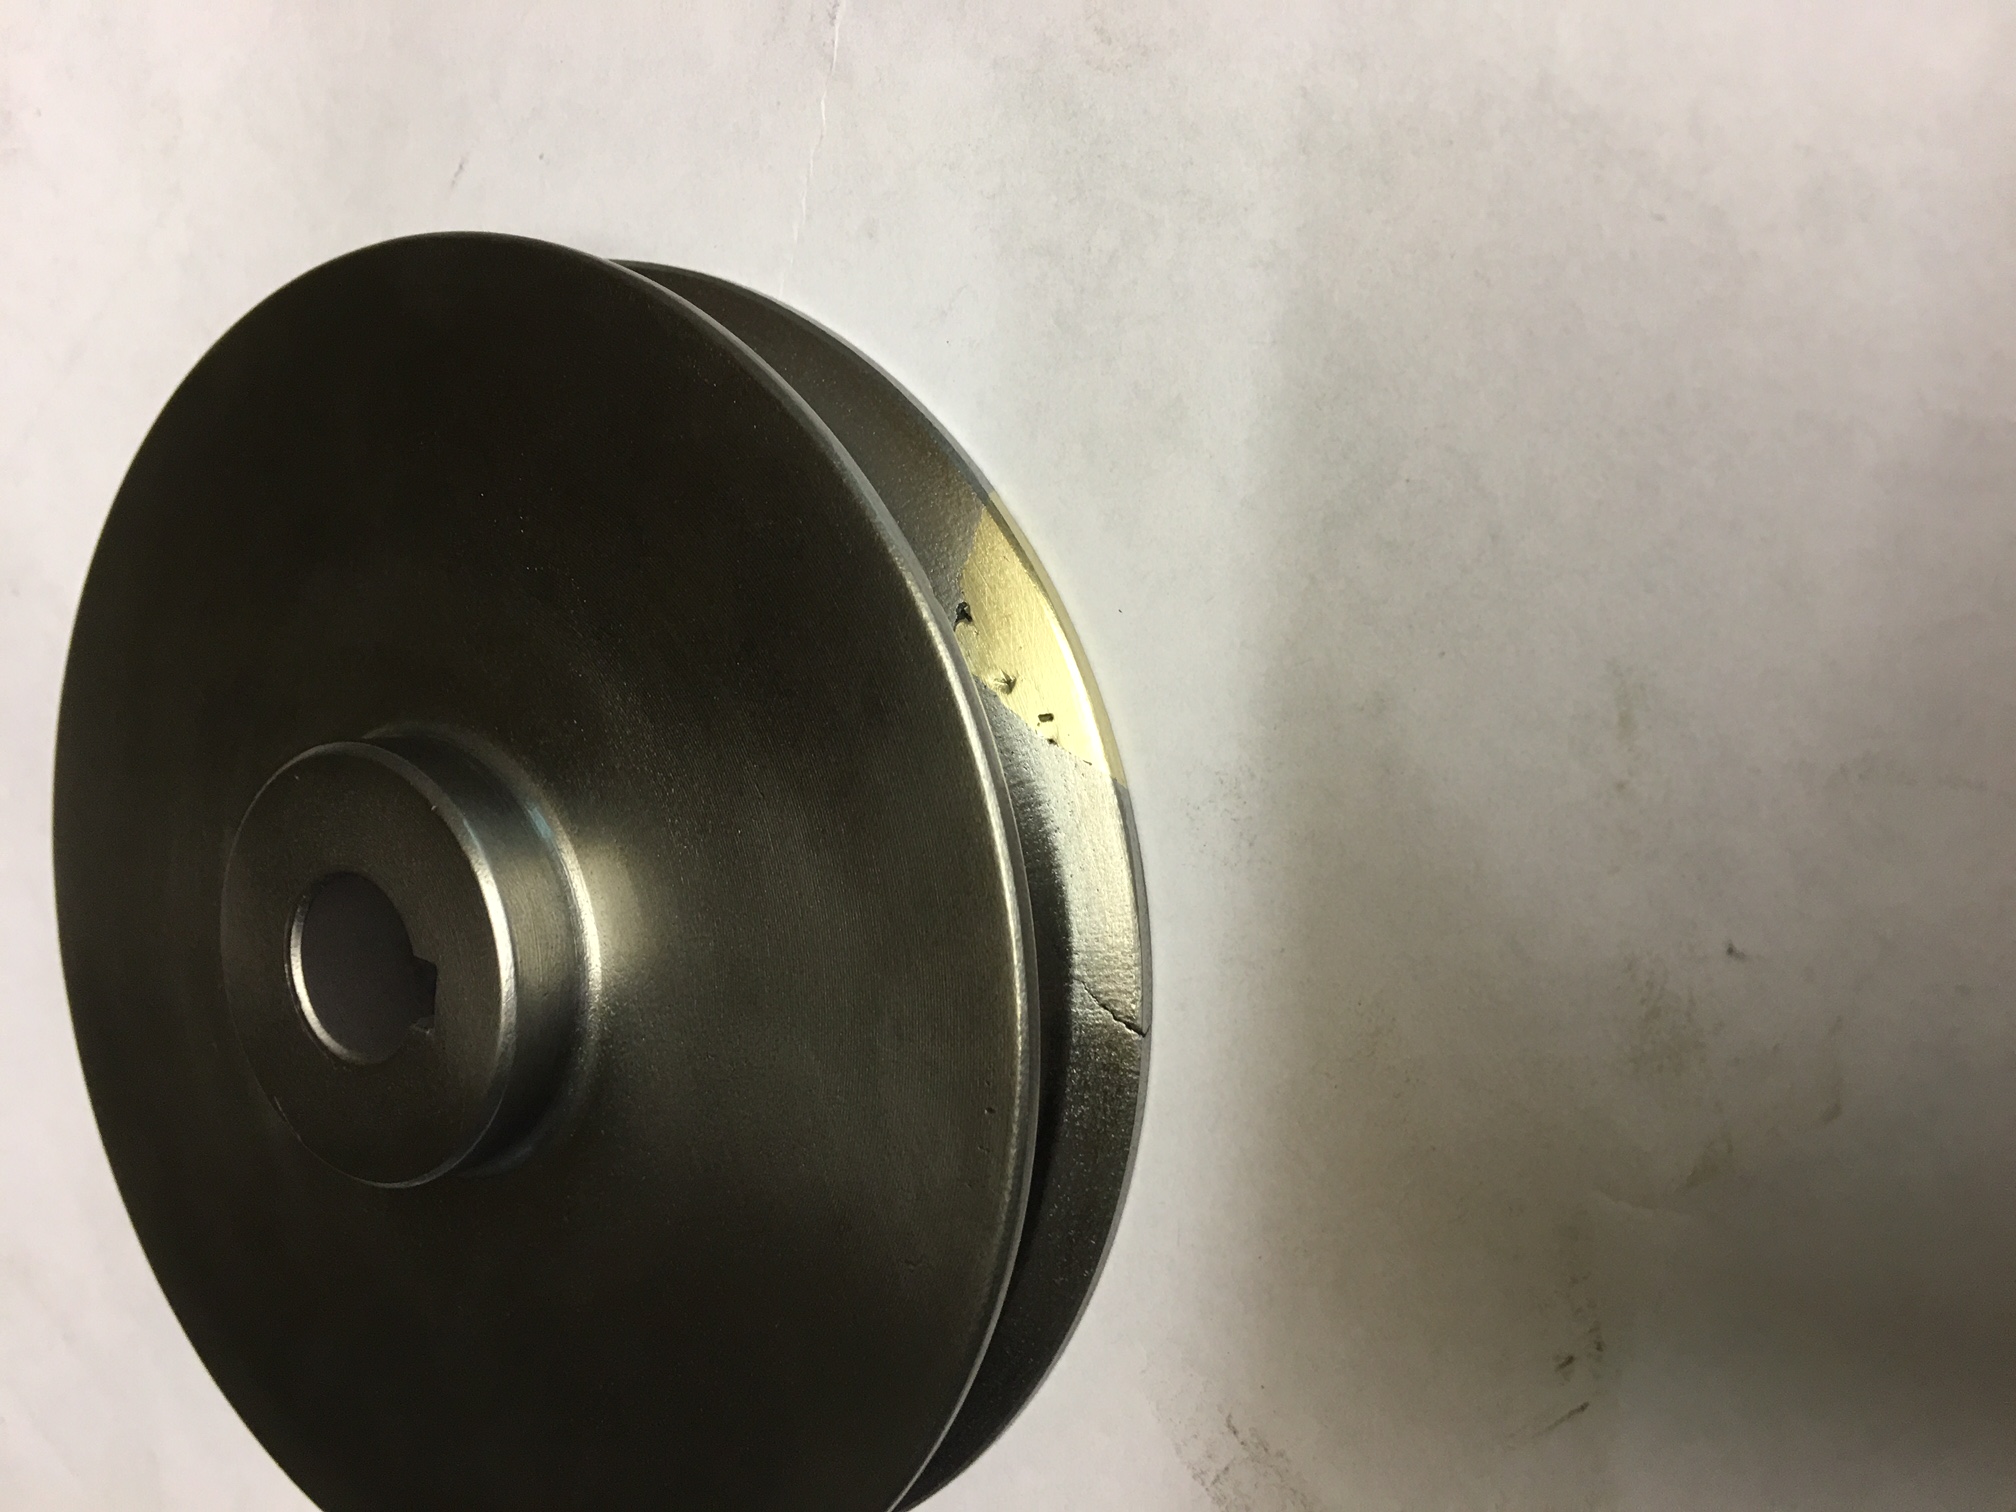
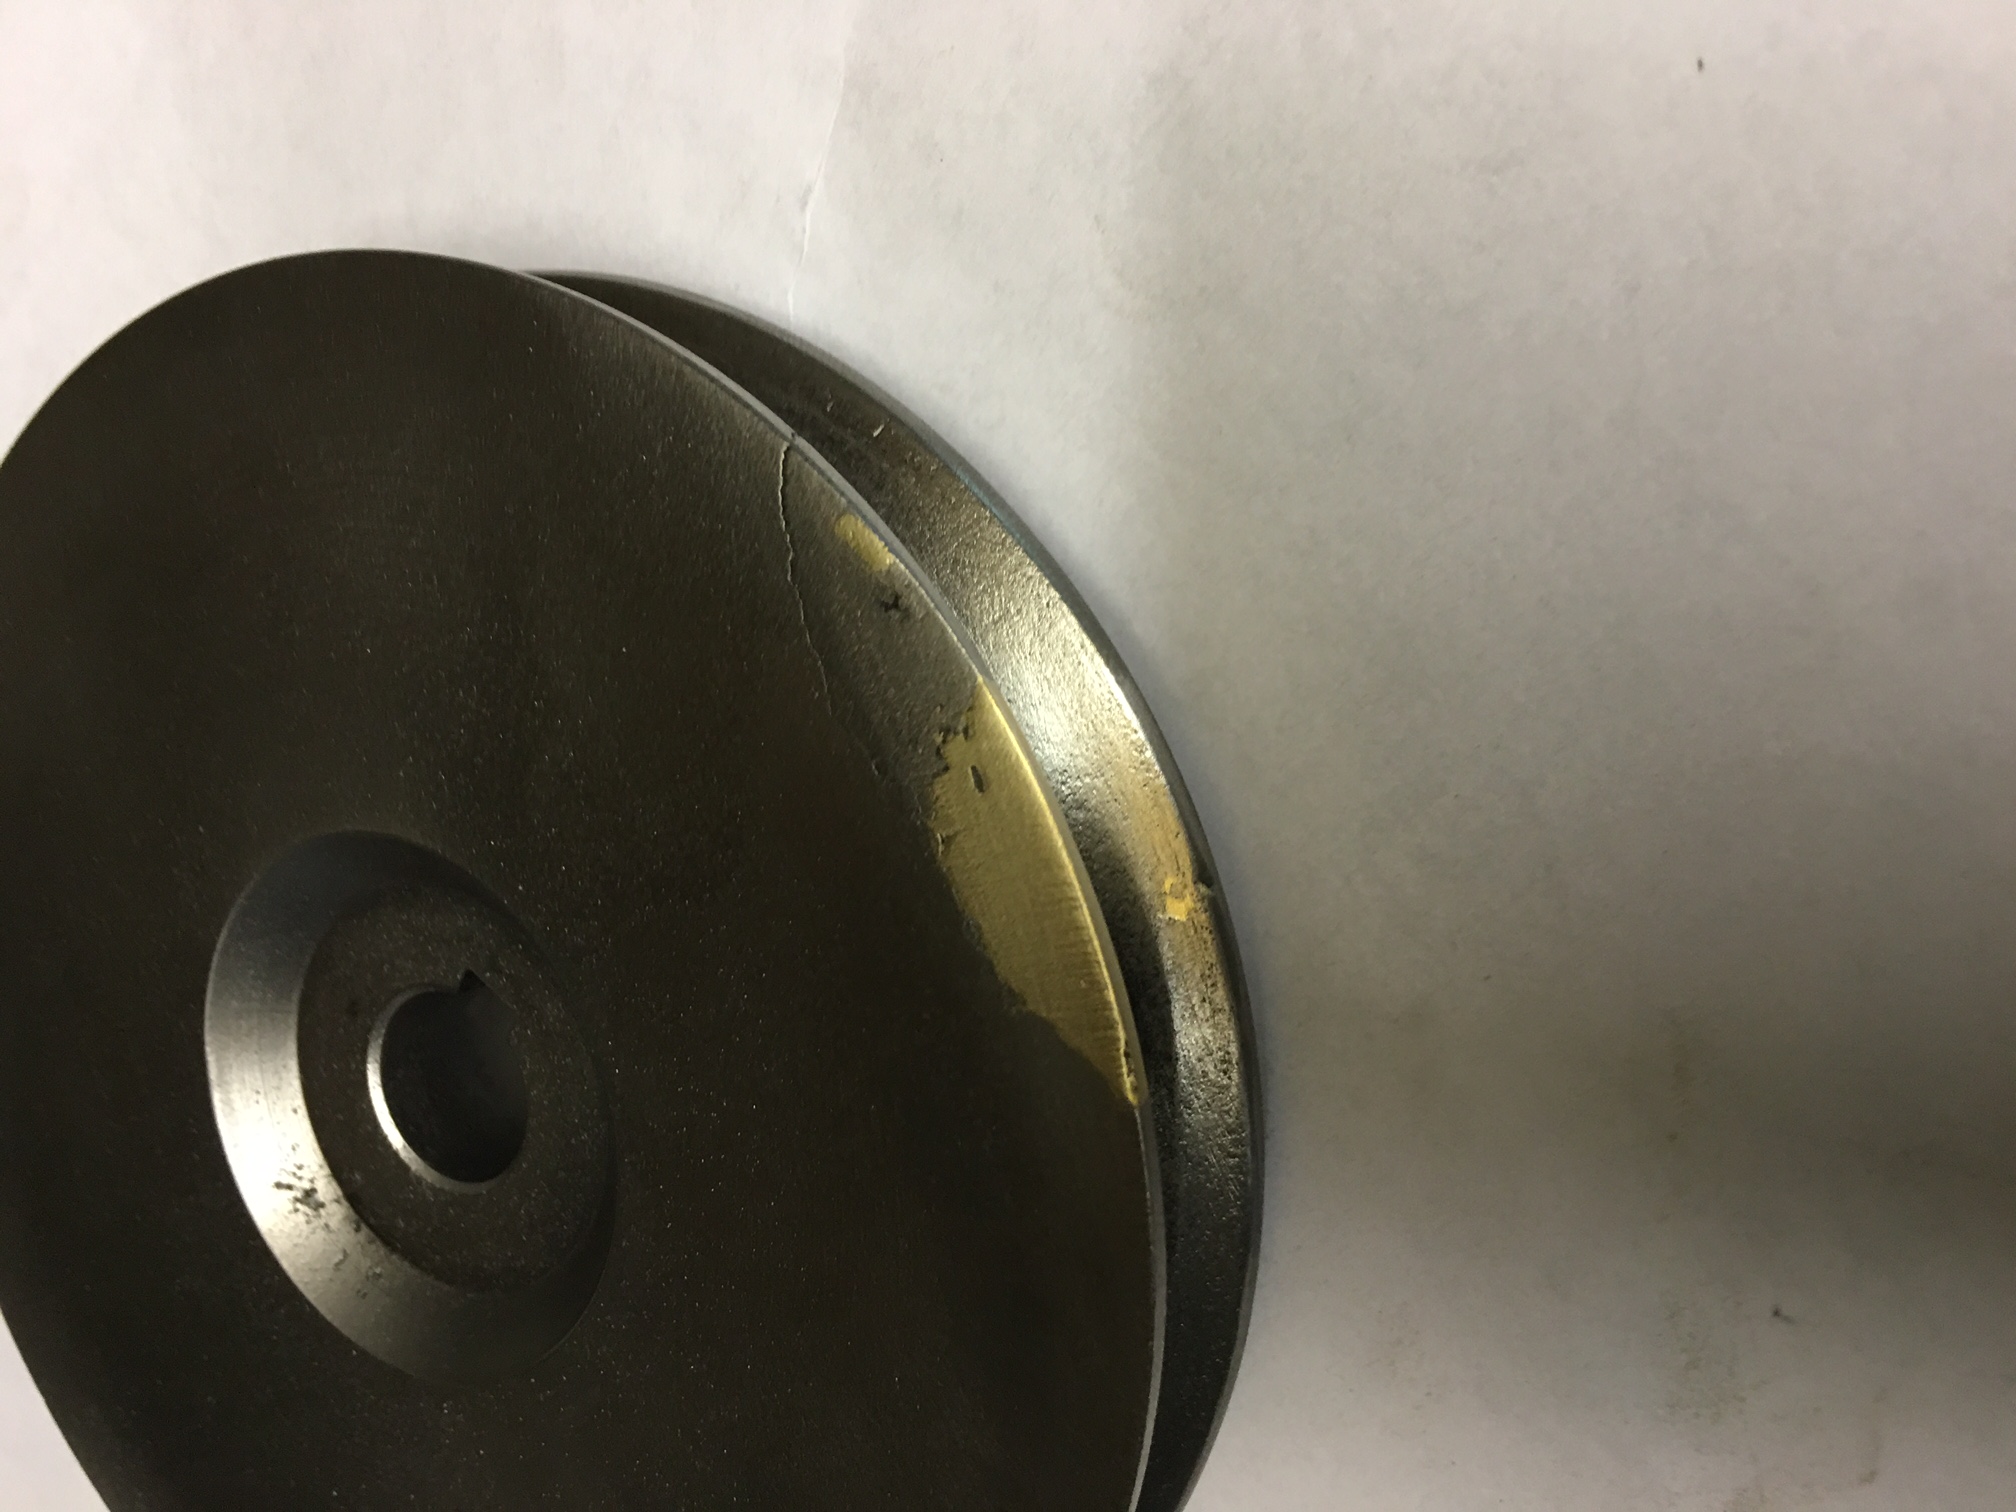
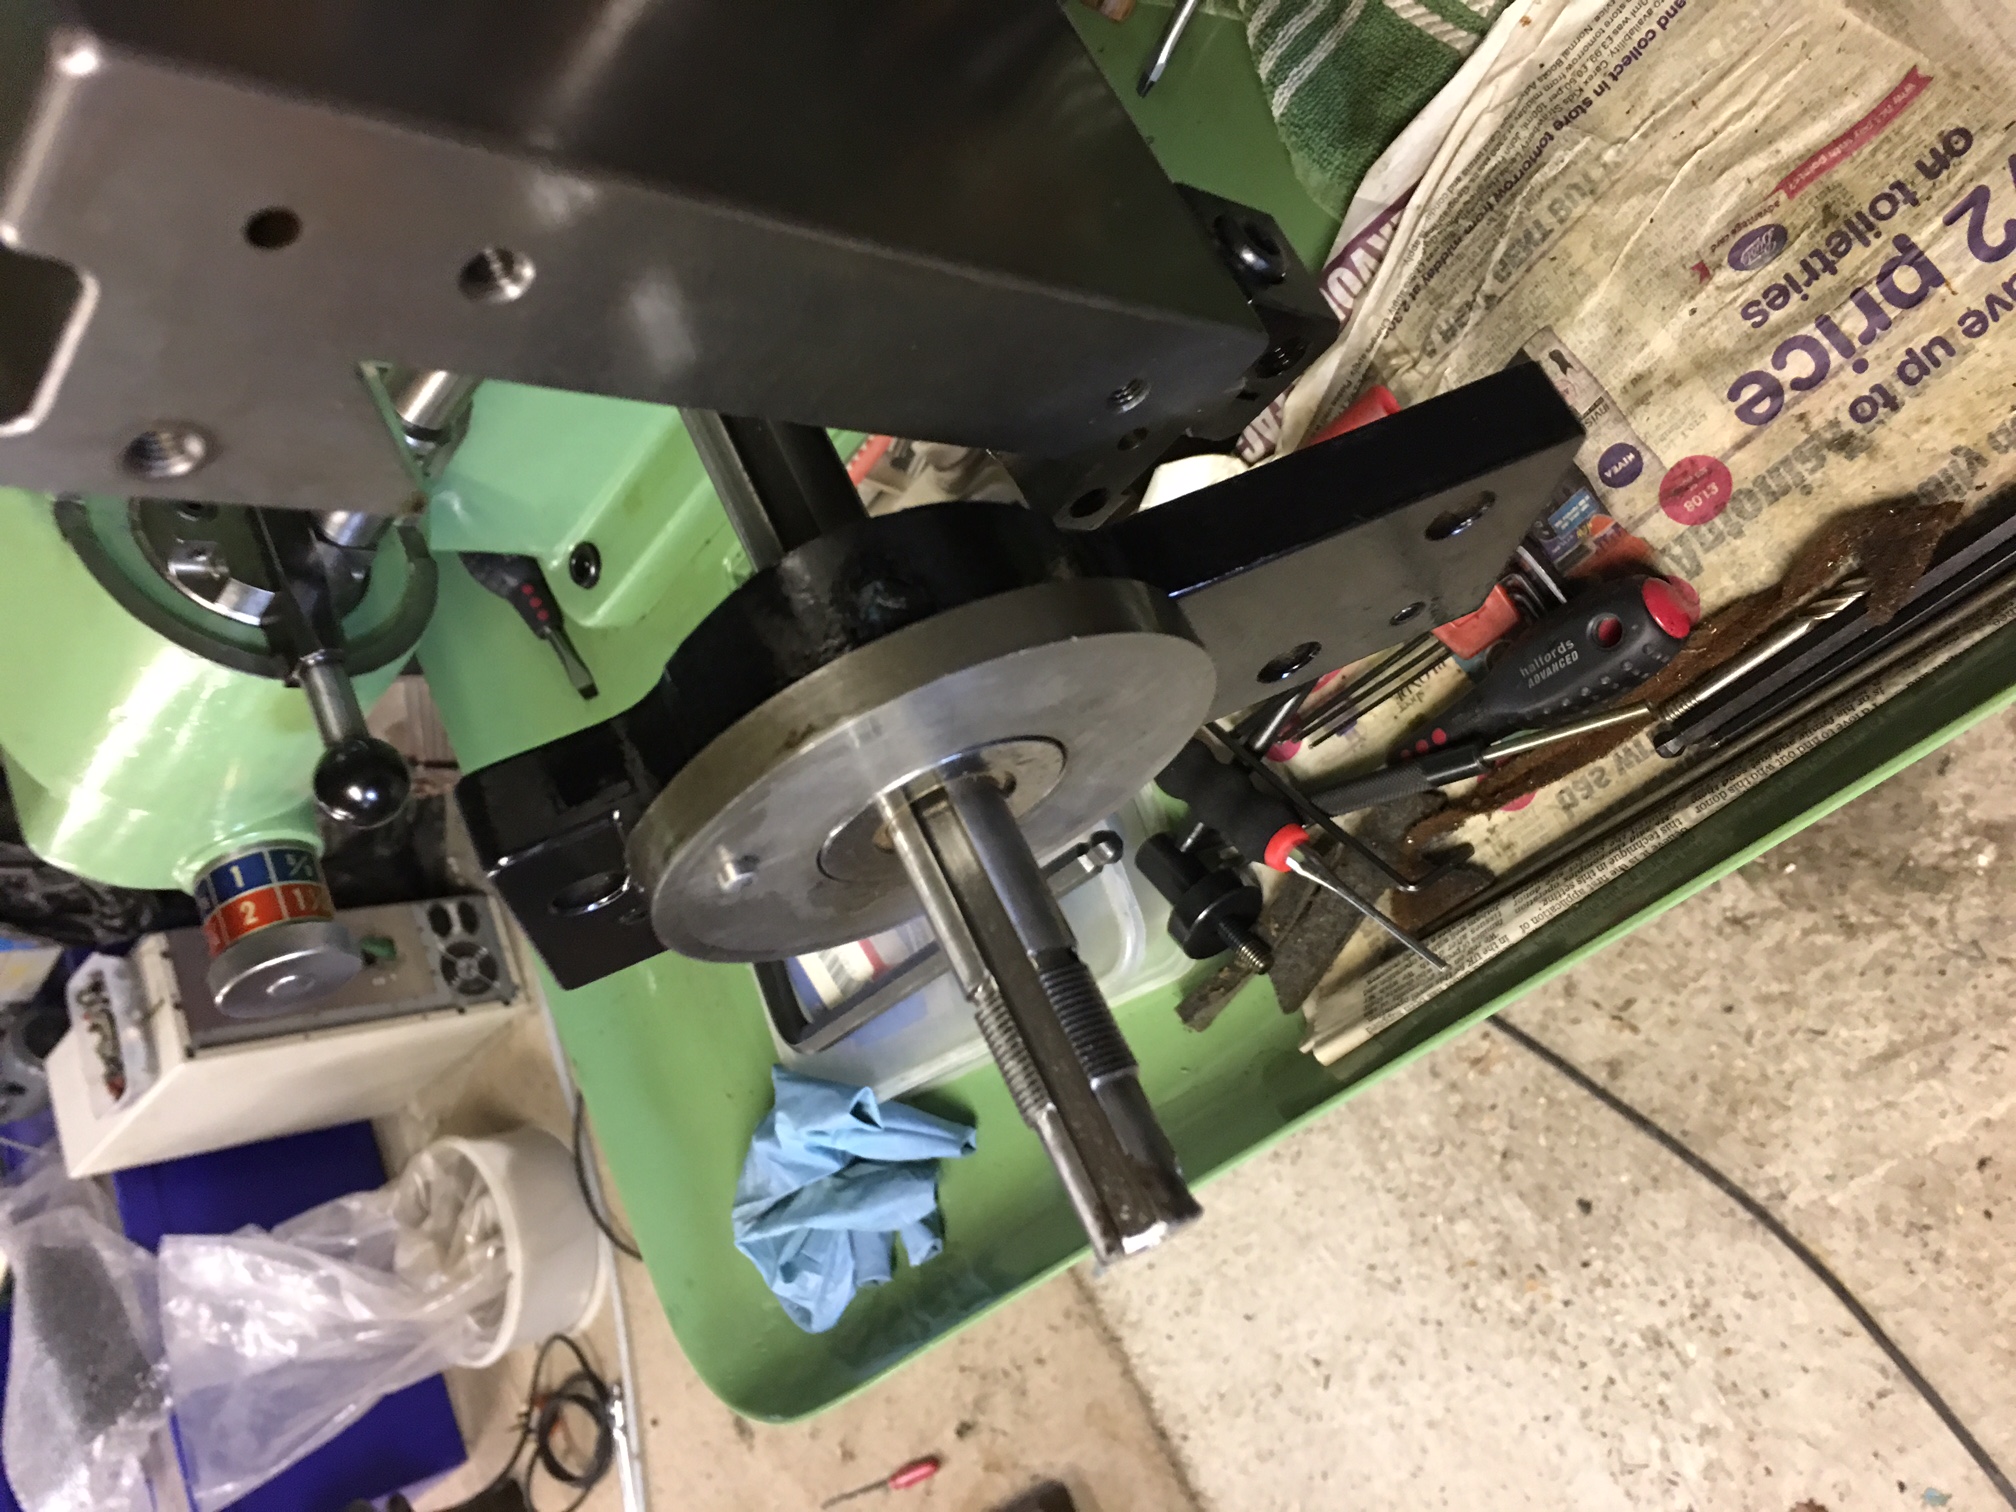
I think I mentioned that the pullet came off the spindle a little quicker than I had anticipated and when it hit the motor, I noticed the pulley was cracked and chipped. Inspection revealed it was cracked before as the metal had rust in the crack. Anyway, I decided to braze the pulley and then skim it back to shape on the lathe. Below are two phots looking at either side of the pulley. You will notice that there is still a crack in the pulley but hopefully the braze will keep it all together.

IMG_2763 IMG_2764

Worse case is that if it failes again, I will either make a new pulley or braze up the other portion.

A clean table

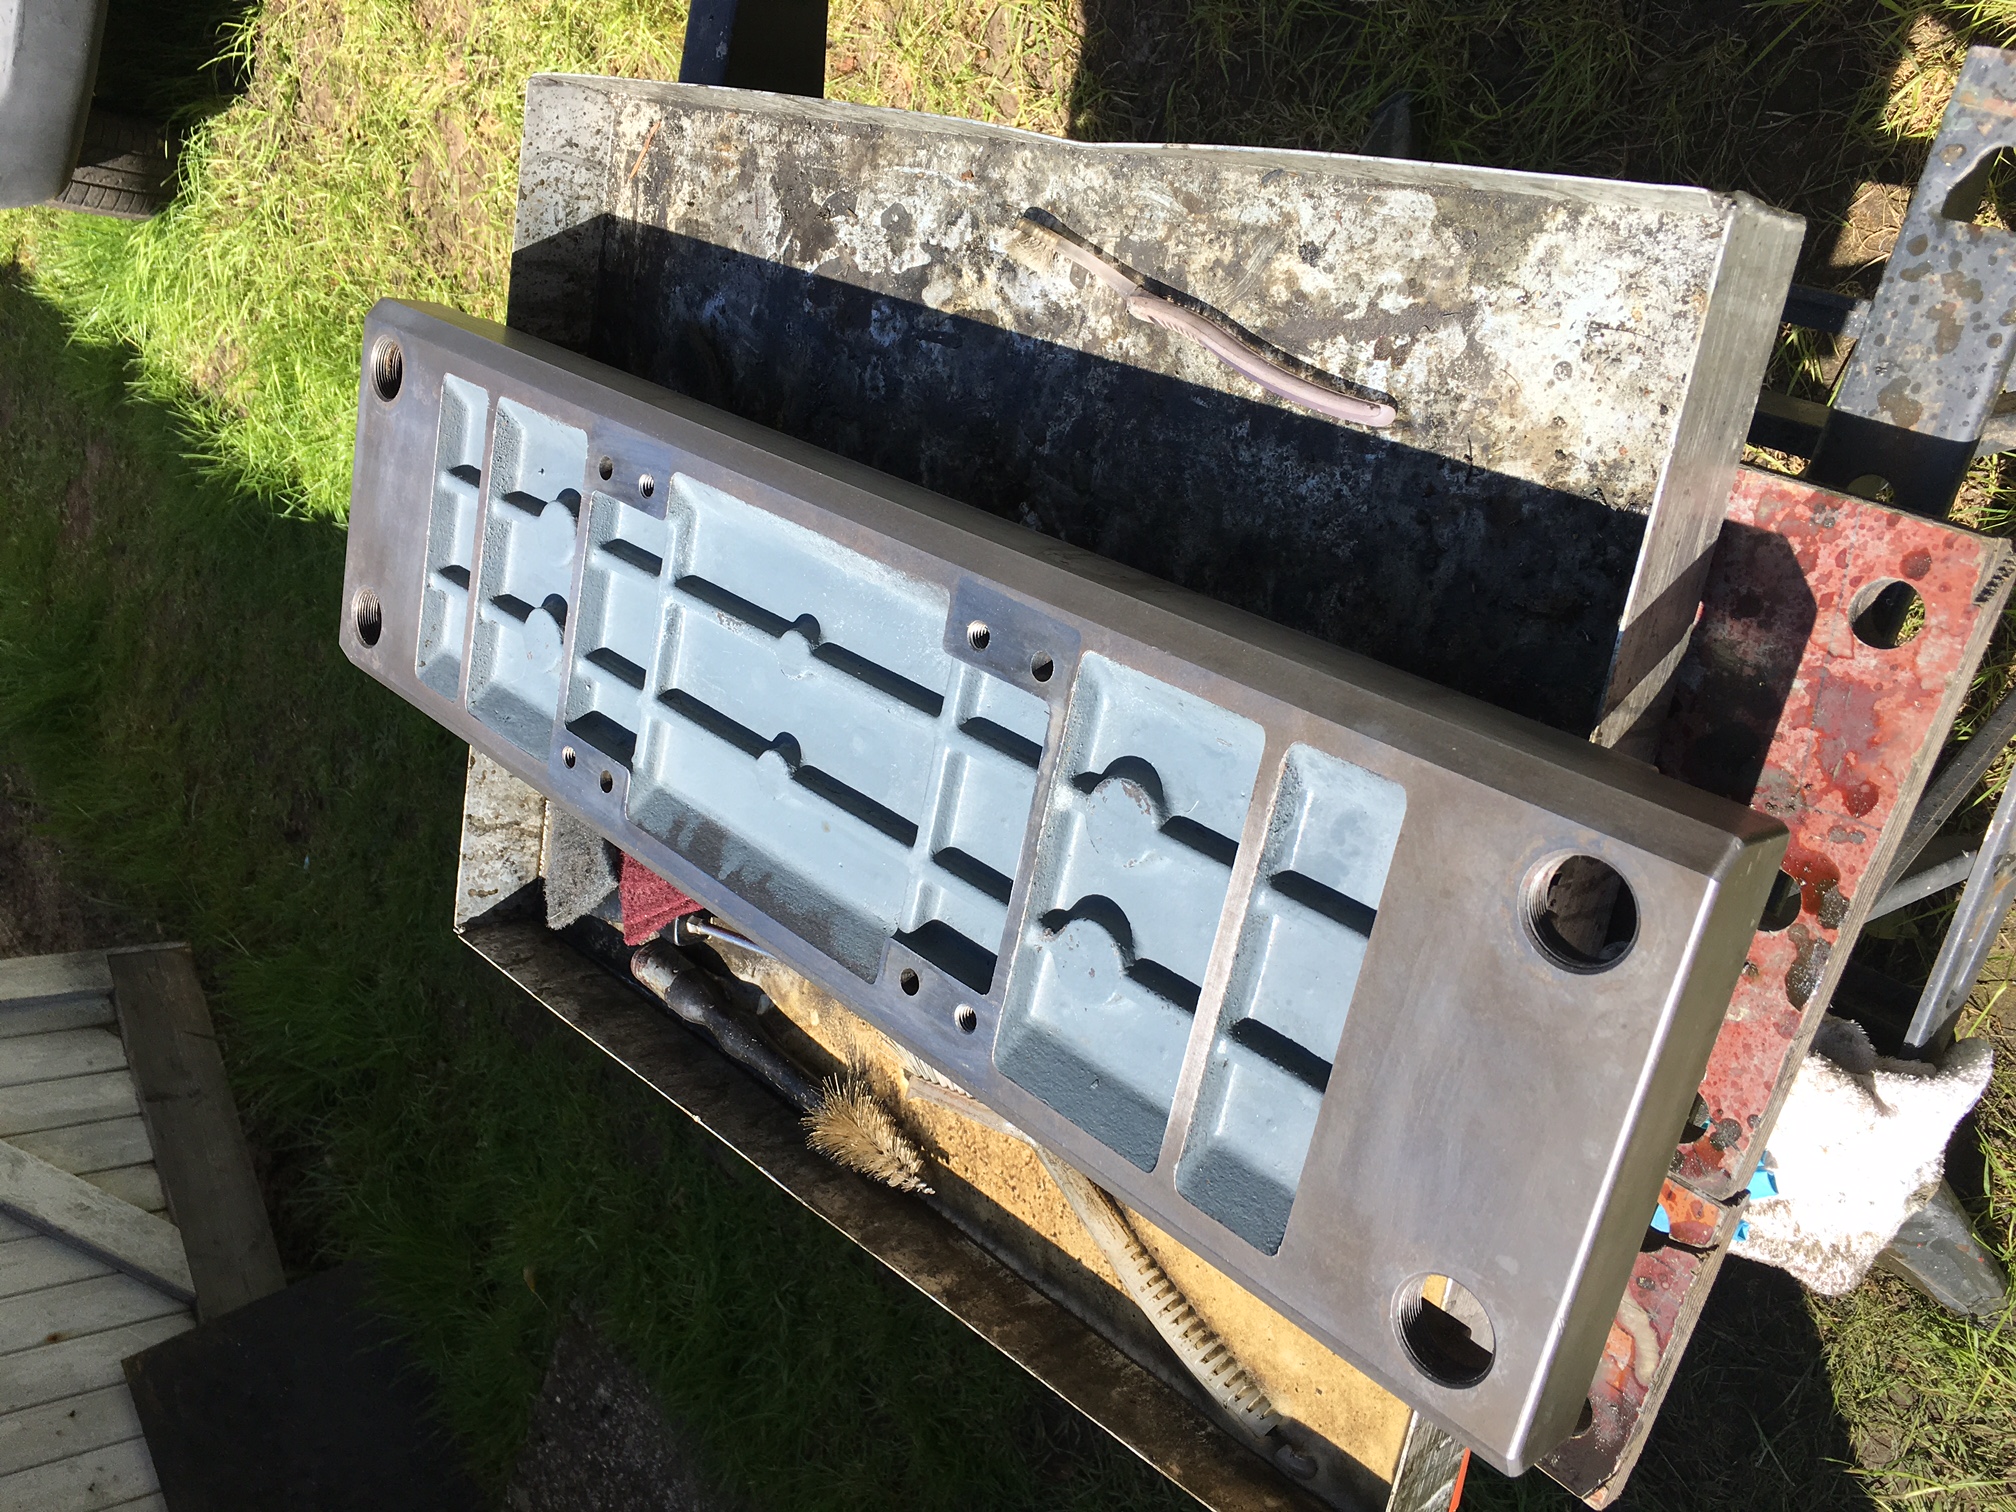
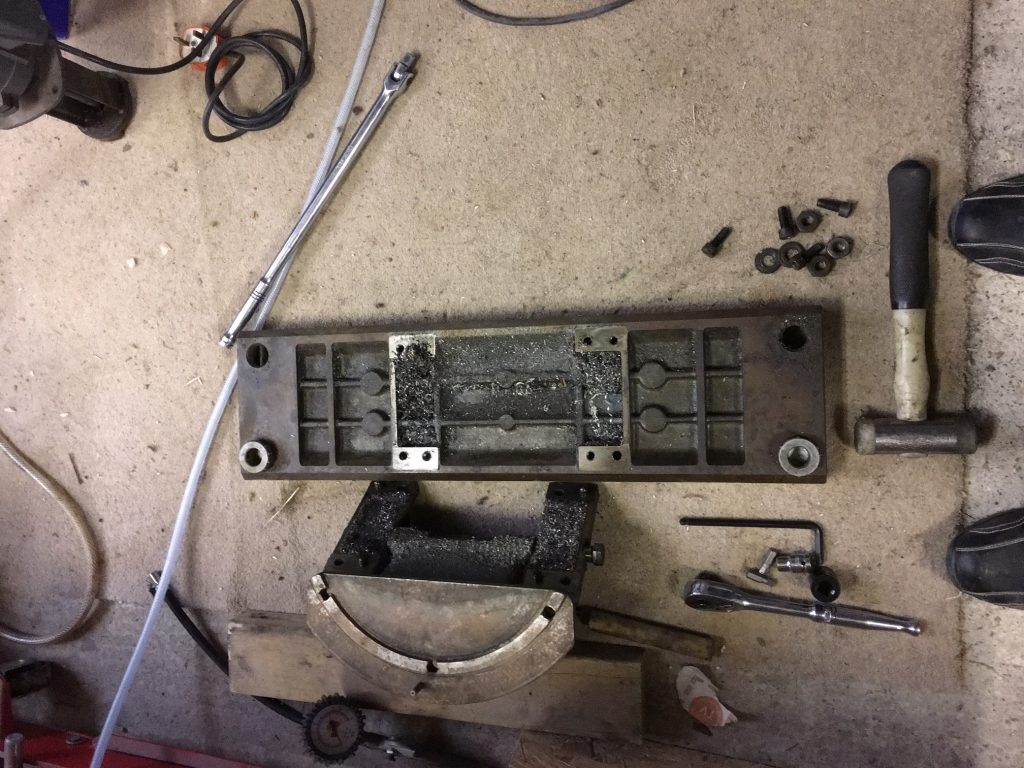
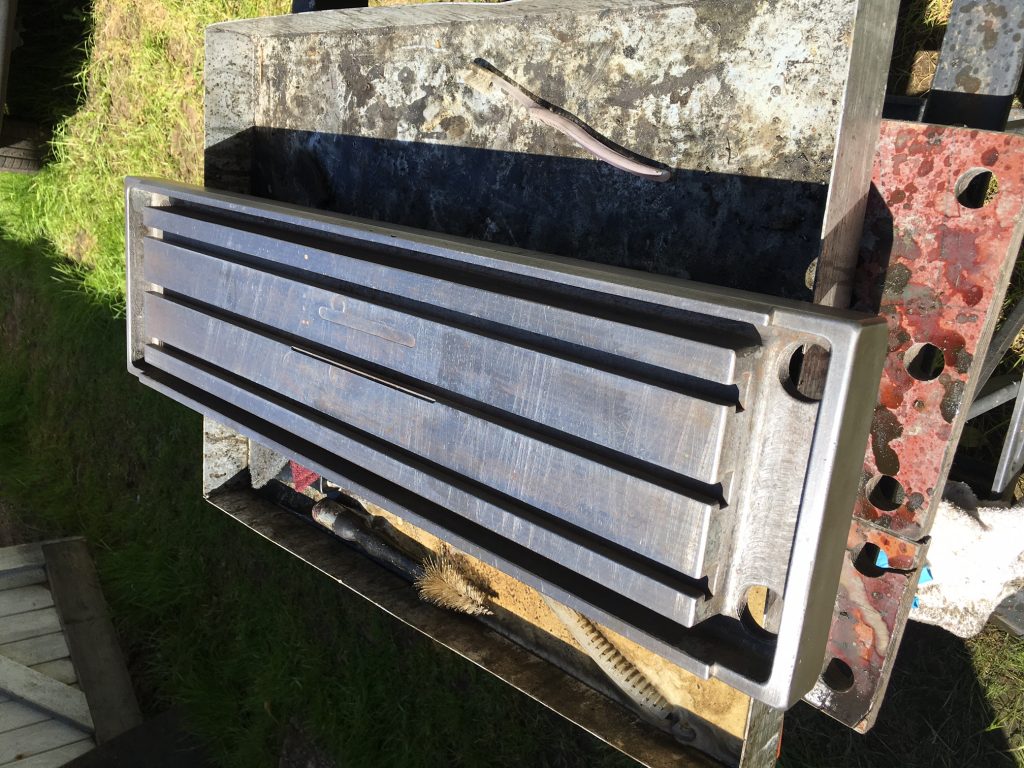
I vary the cleaning of the parts from using an aqueous alkaline degreaser to a solvent based one. I have yet to decide which is the better, however, when the sun is shining then I prefer to do the job outside and use the water based one! I use a fine scotchbrite pad when cleaning and this cleans off the dirt and any fine rust. Below is the table before cleaning.
IMG_2721

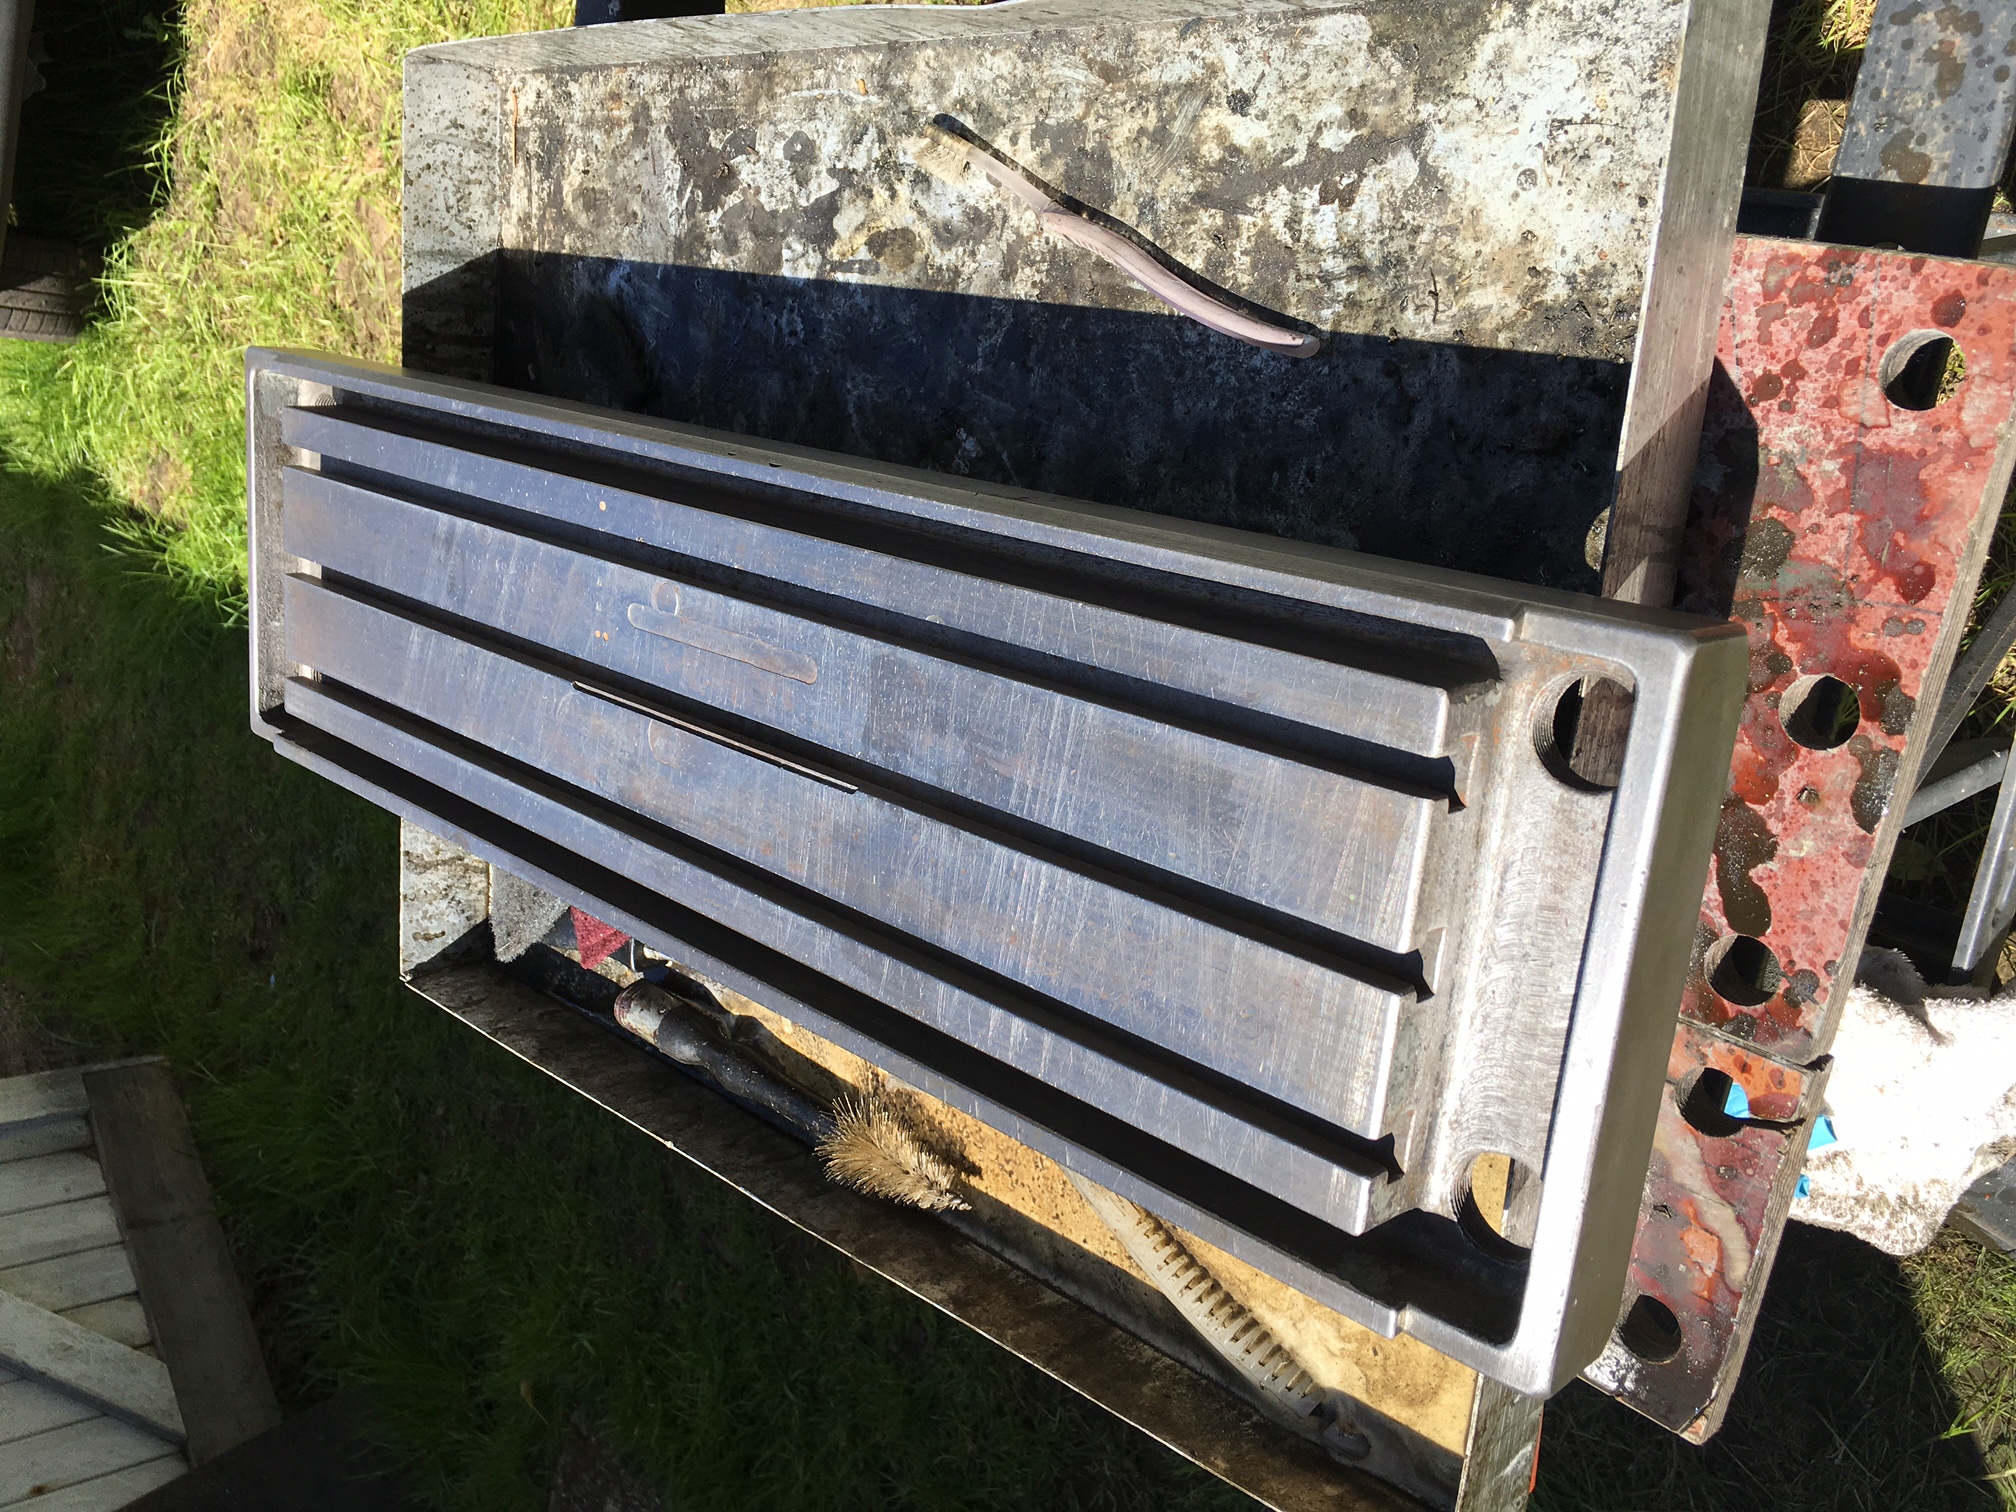
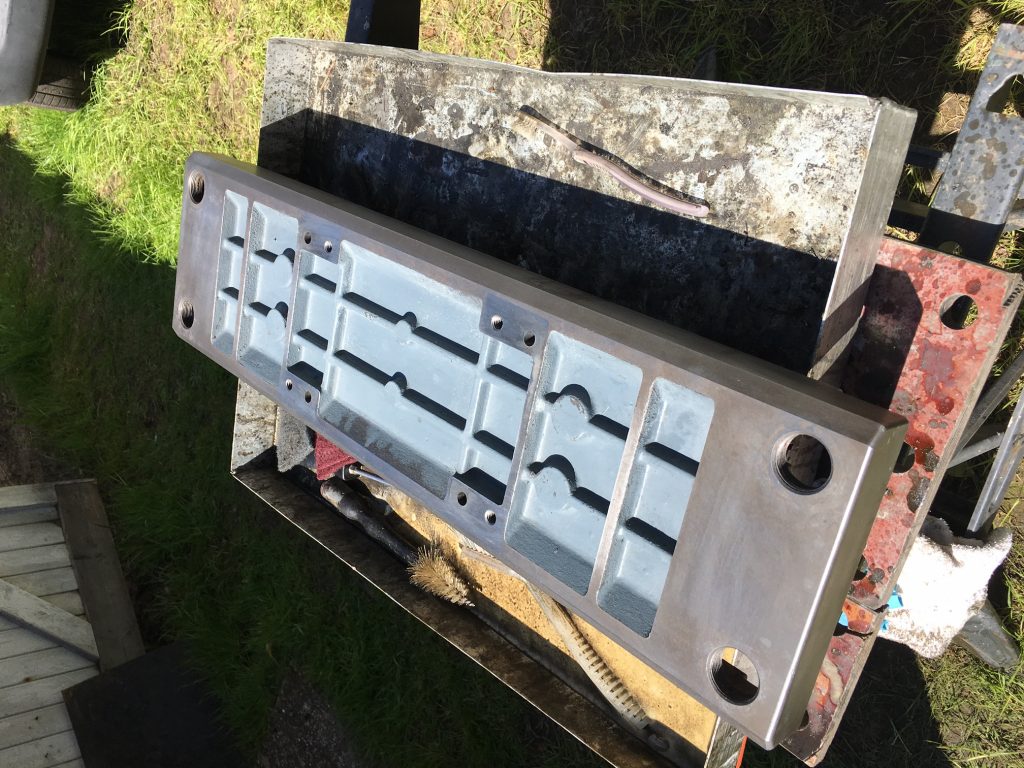
As you can see, it has come up reasonablty well. This is stage one and I will clean the top surface a bit more using the same techniques as I did on the apron slide.
IMG_2743 IMG_2745

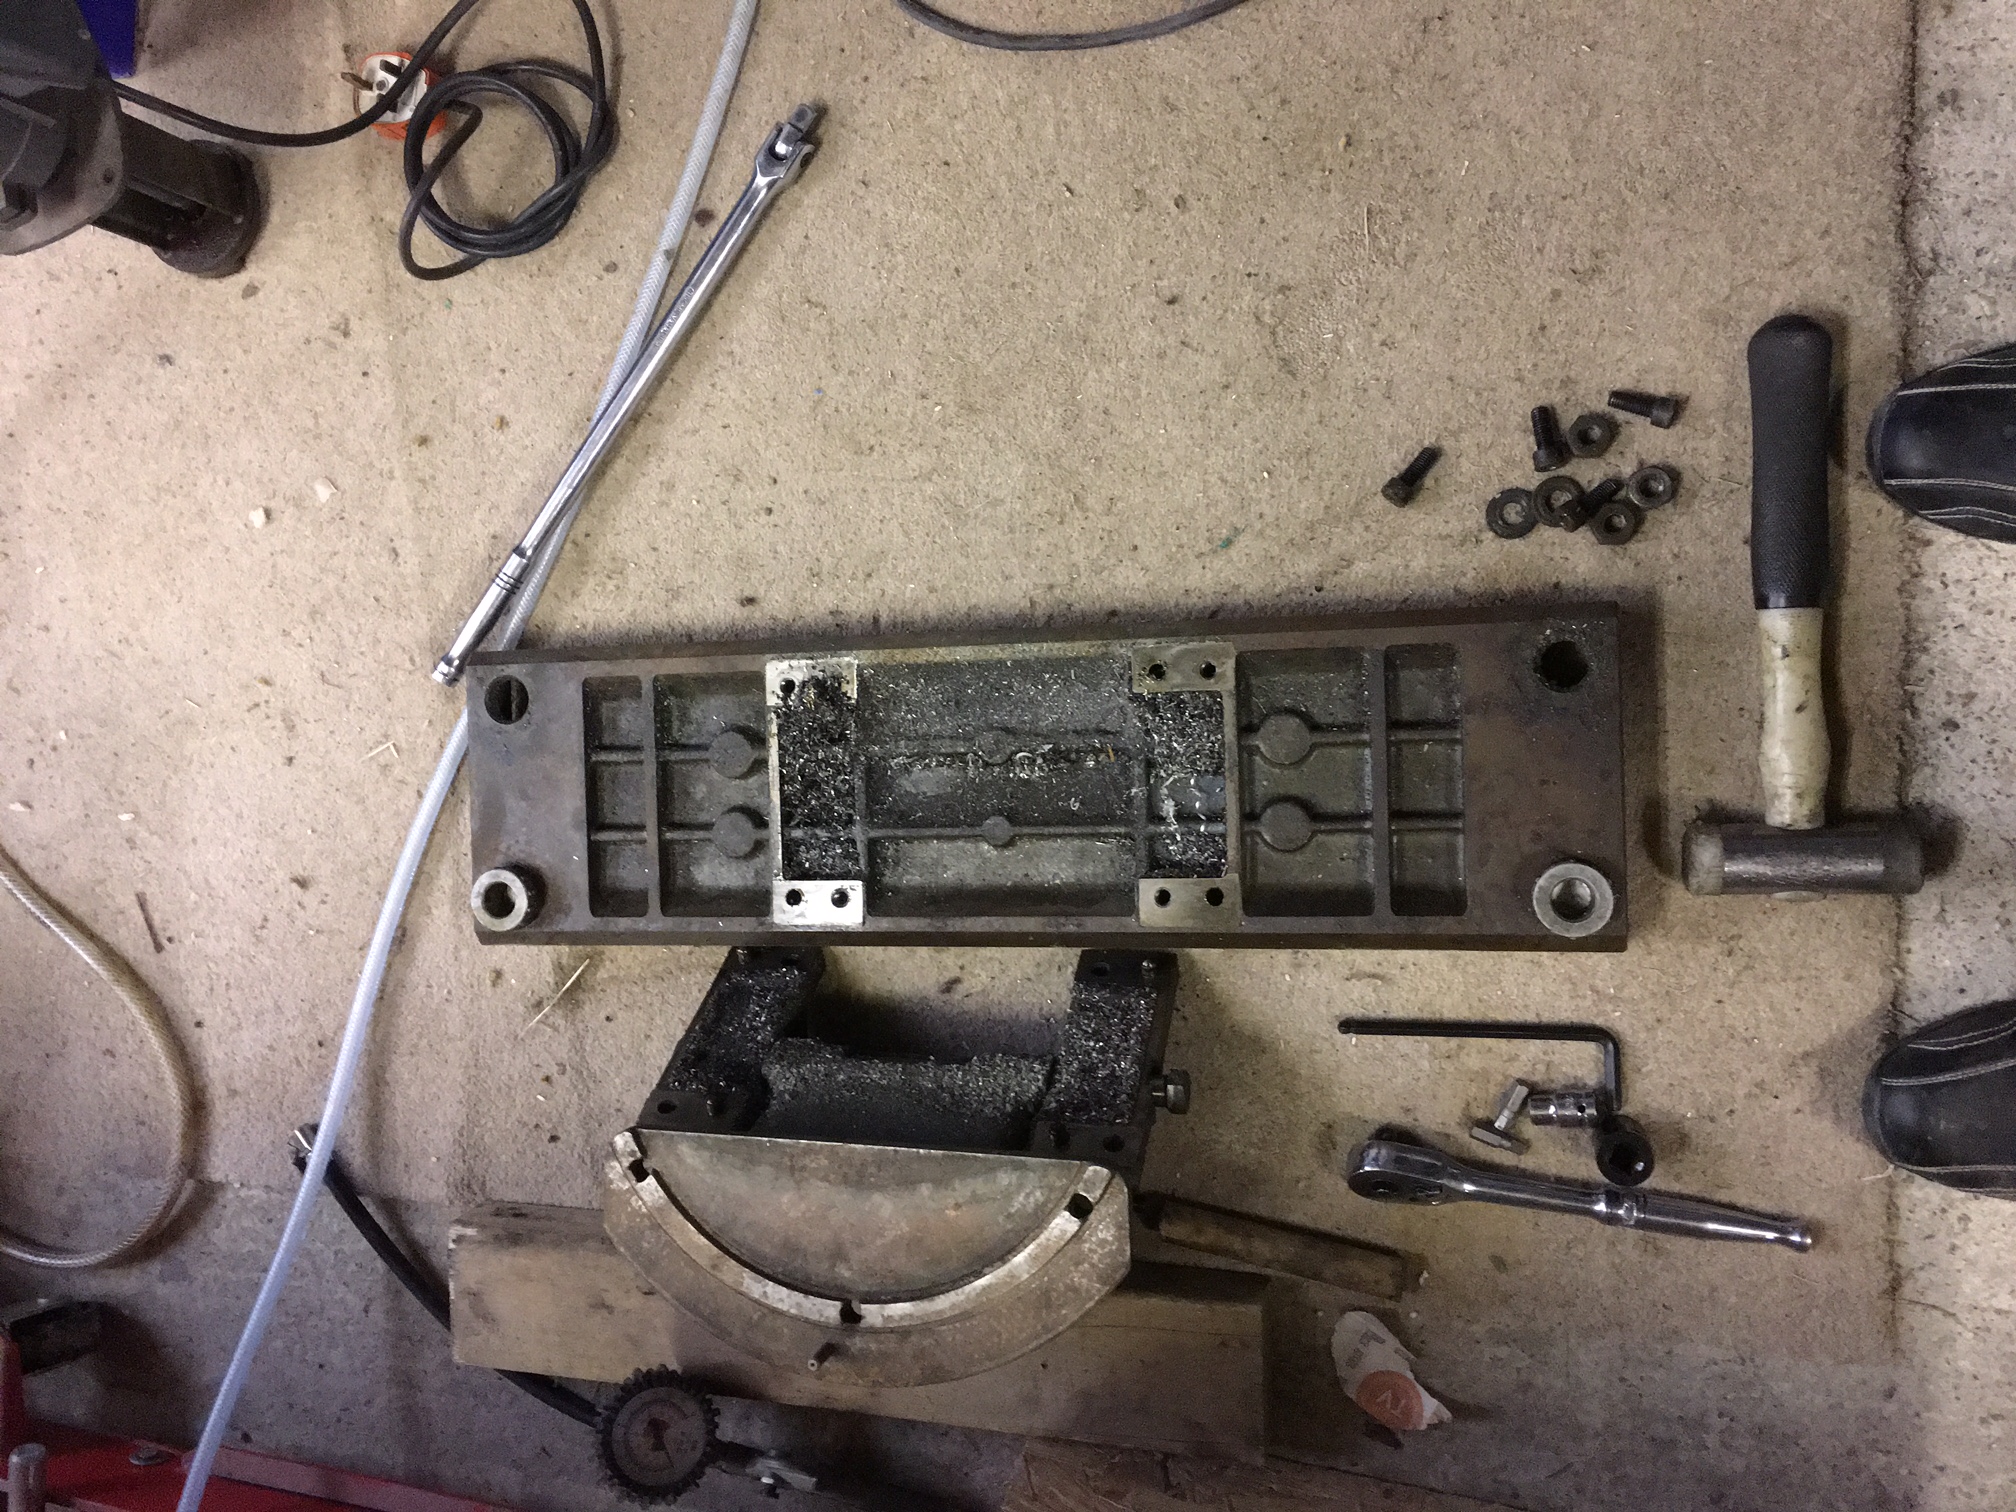
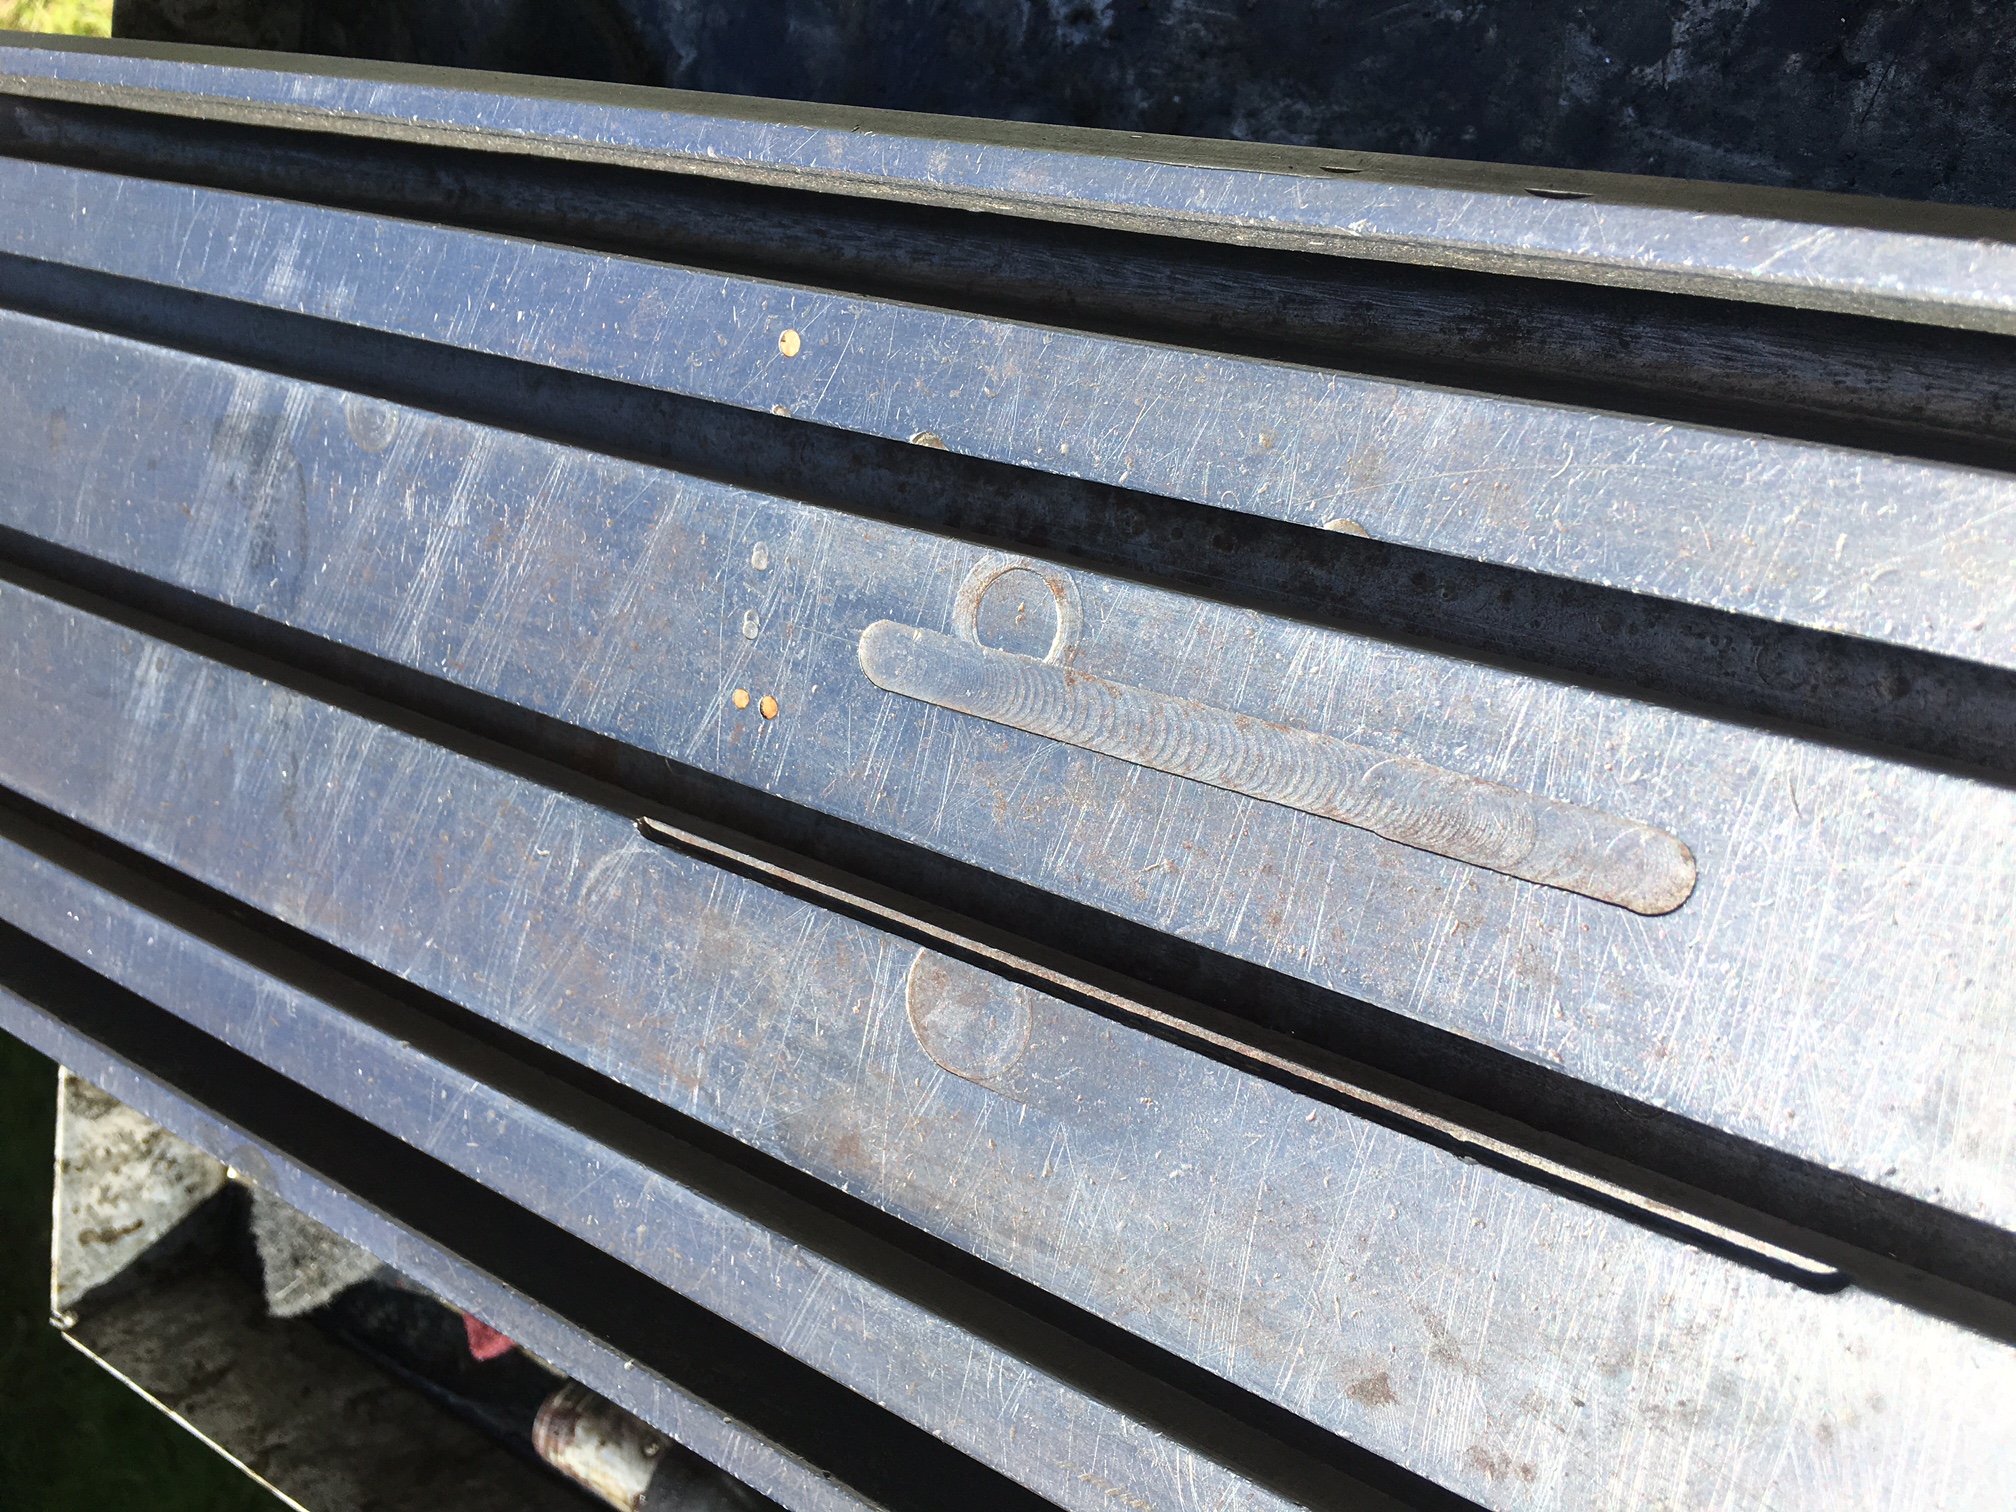
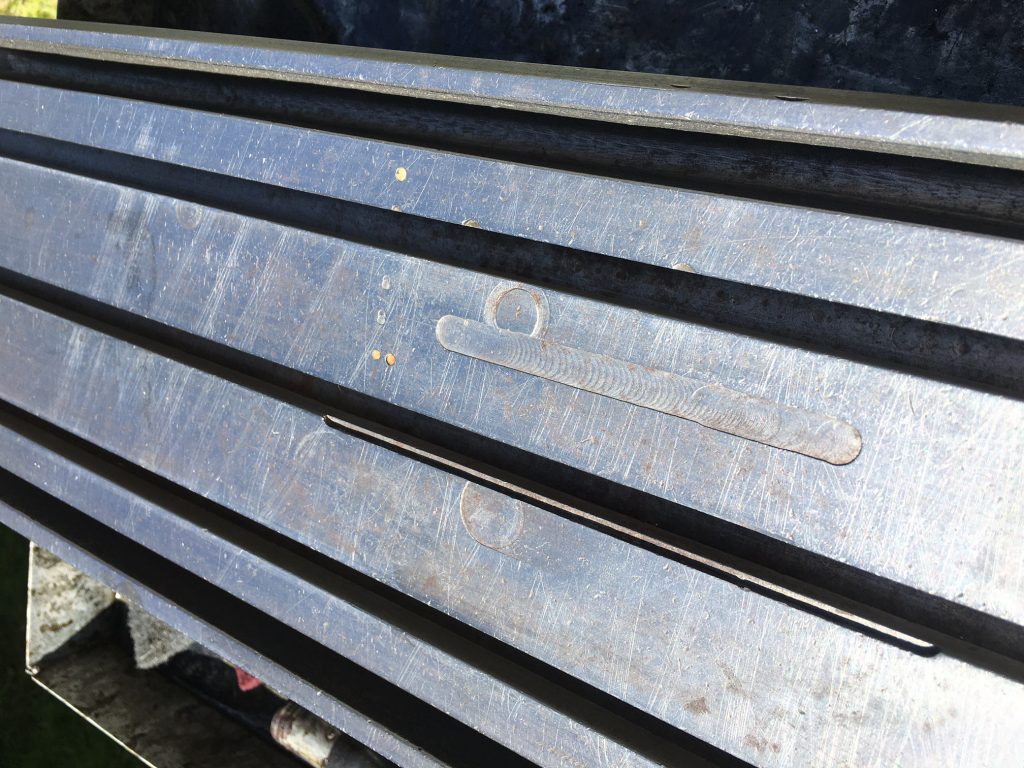
A close up reveals the damage to the top of the table. I’m not sure what to do here. I can either leave well alone or attempt some kind of repair. This needs careful thought. When I bought the mill, I never thought to remove the vise when inspecting the machine – this damage was completly covered by the vise and so I did not see it!
IMG_2747

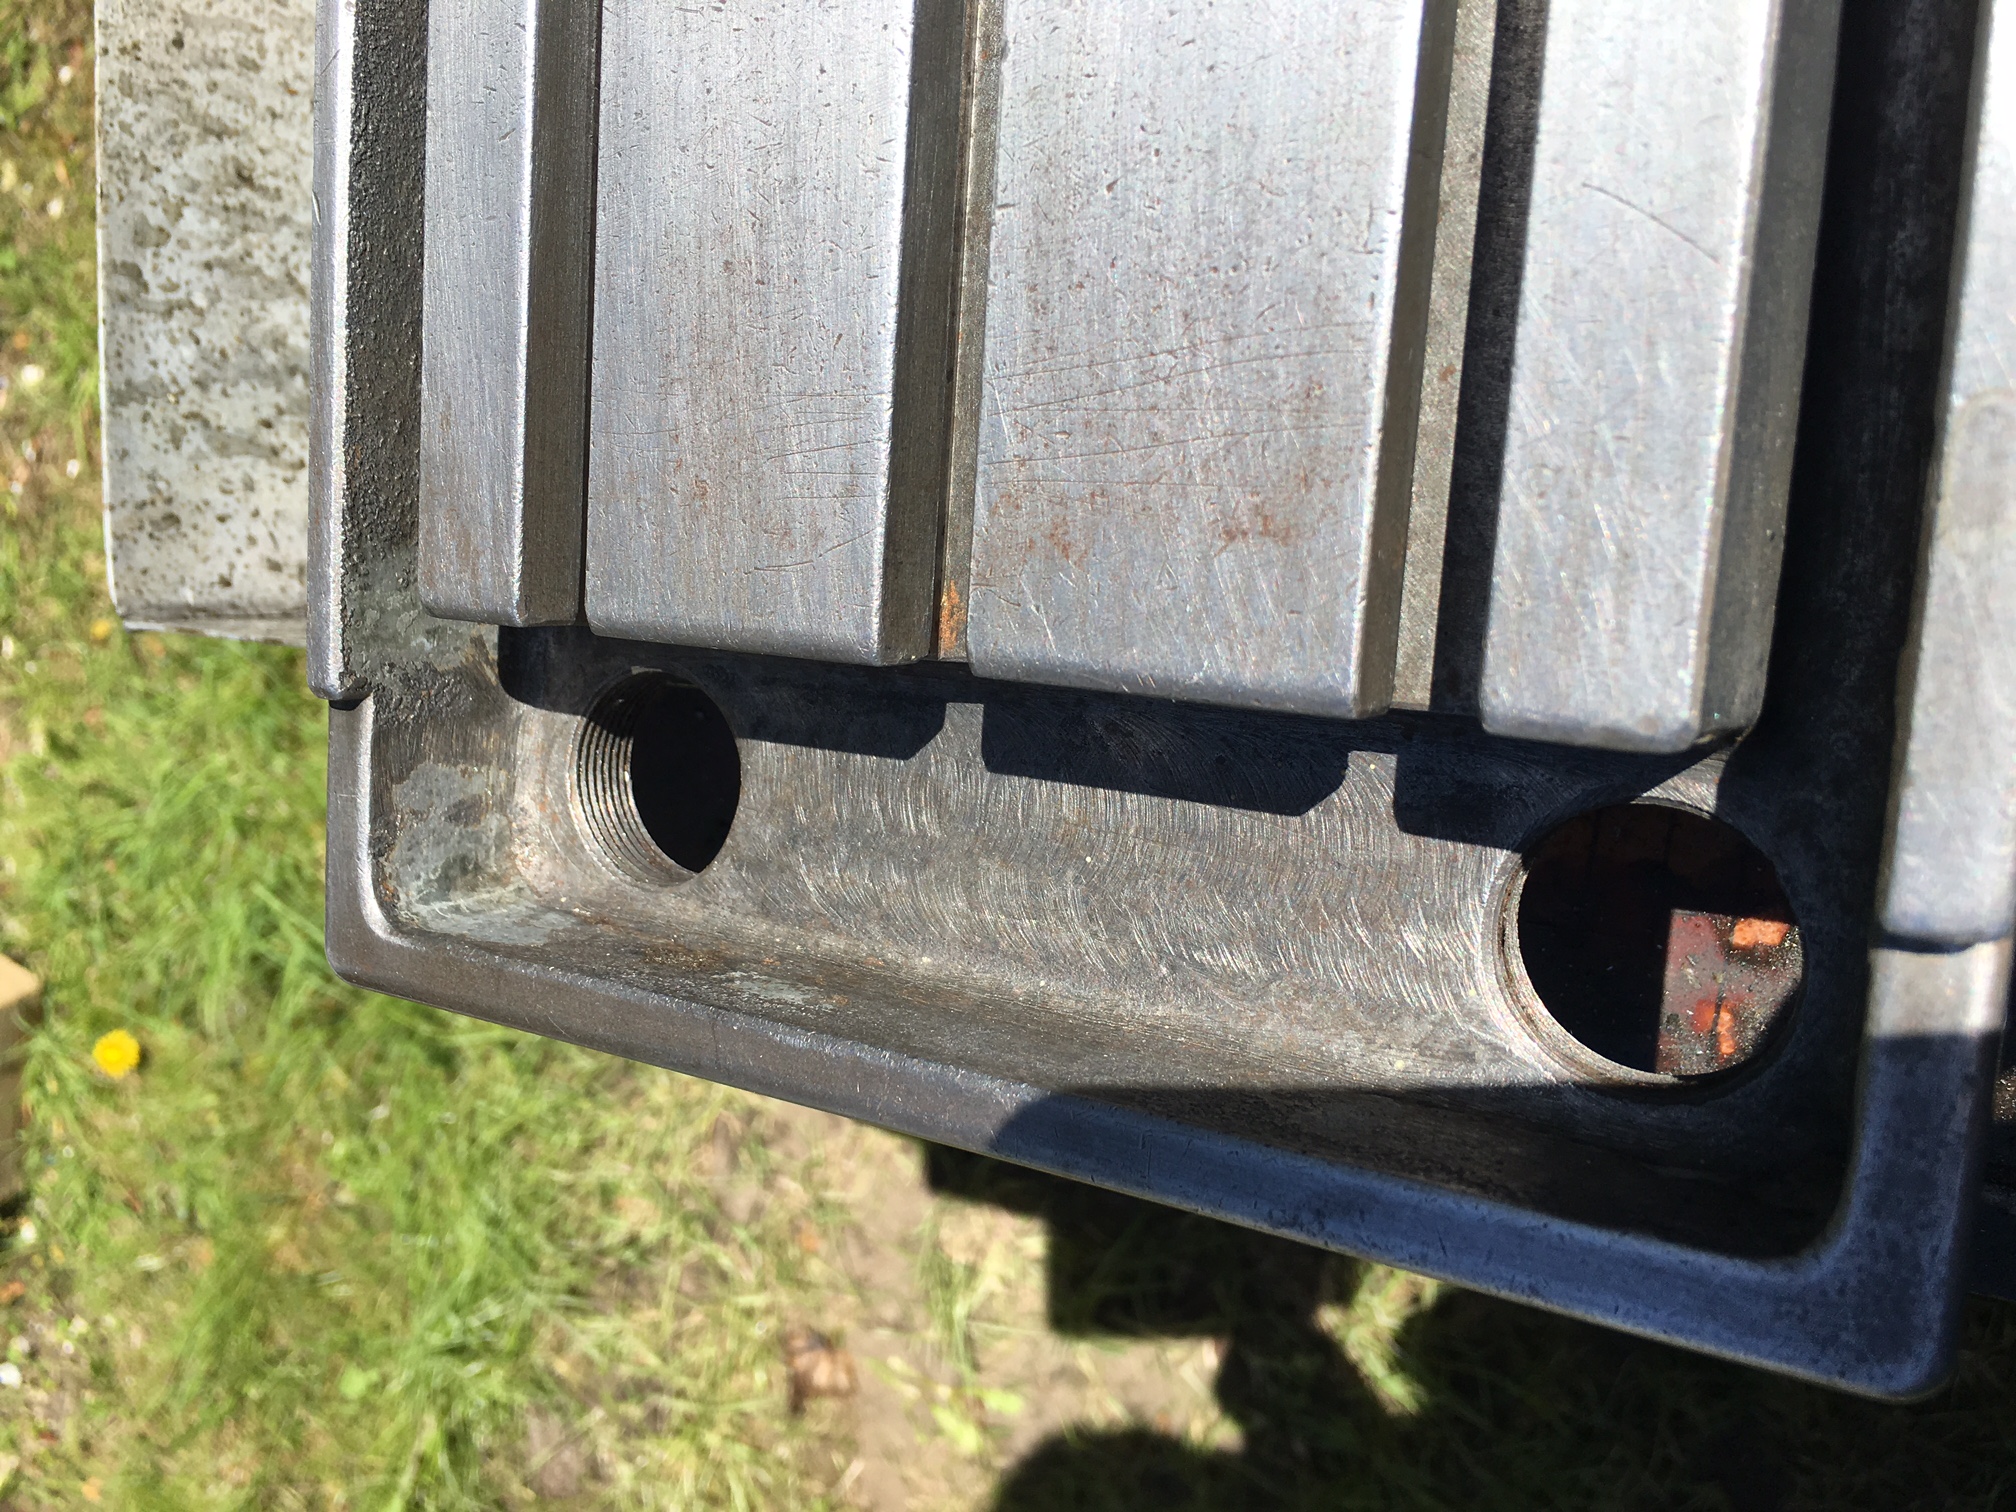
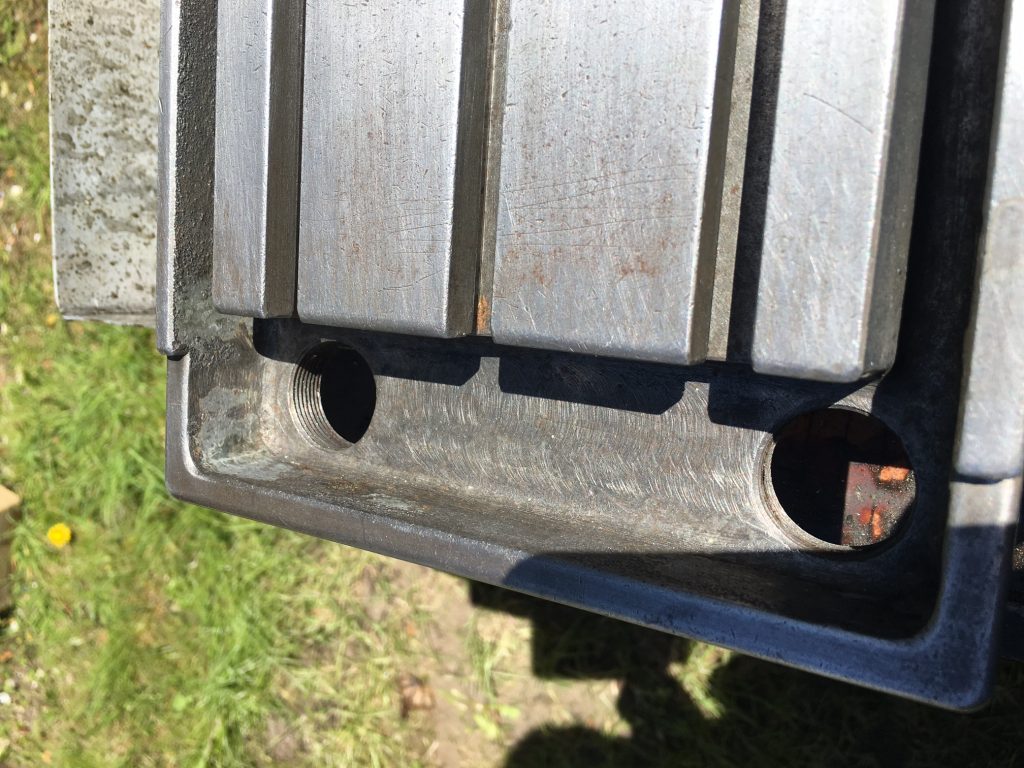
The oilo traps at the ends of the table were painted as I can see residue of paint. I need to establish if the side channels were painted as well. The screw threads on the drain holes need a good scrape as well!
IMG_2748

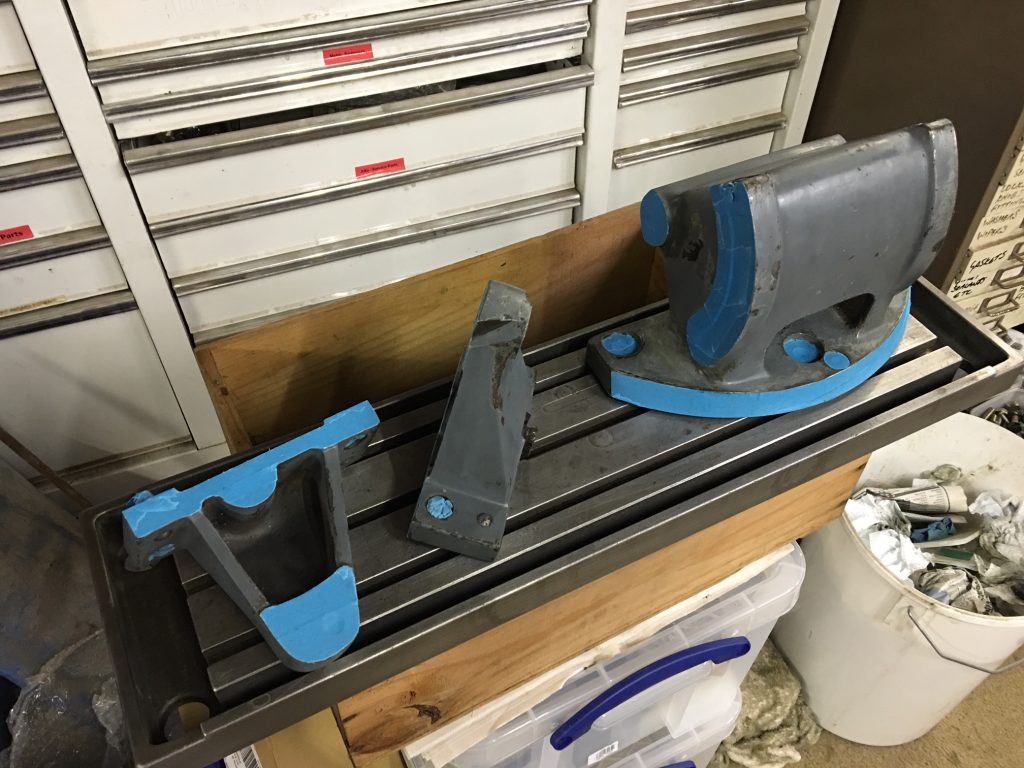
Next stage will be to clean up the tilting mechanism, clean up the meatal a little more and then mask up for spraying.

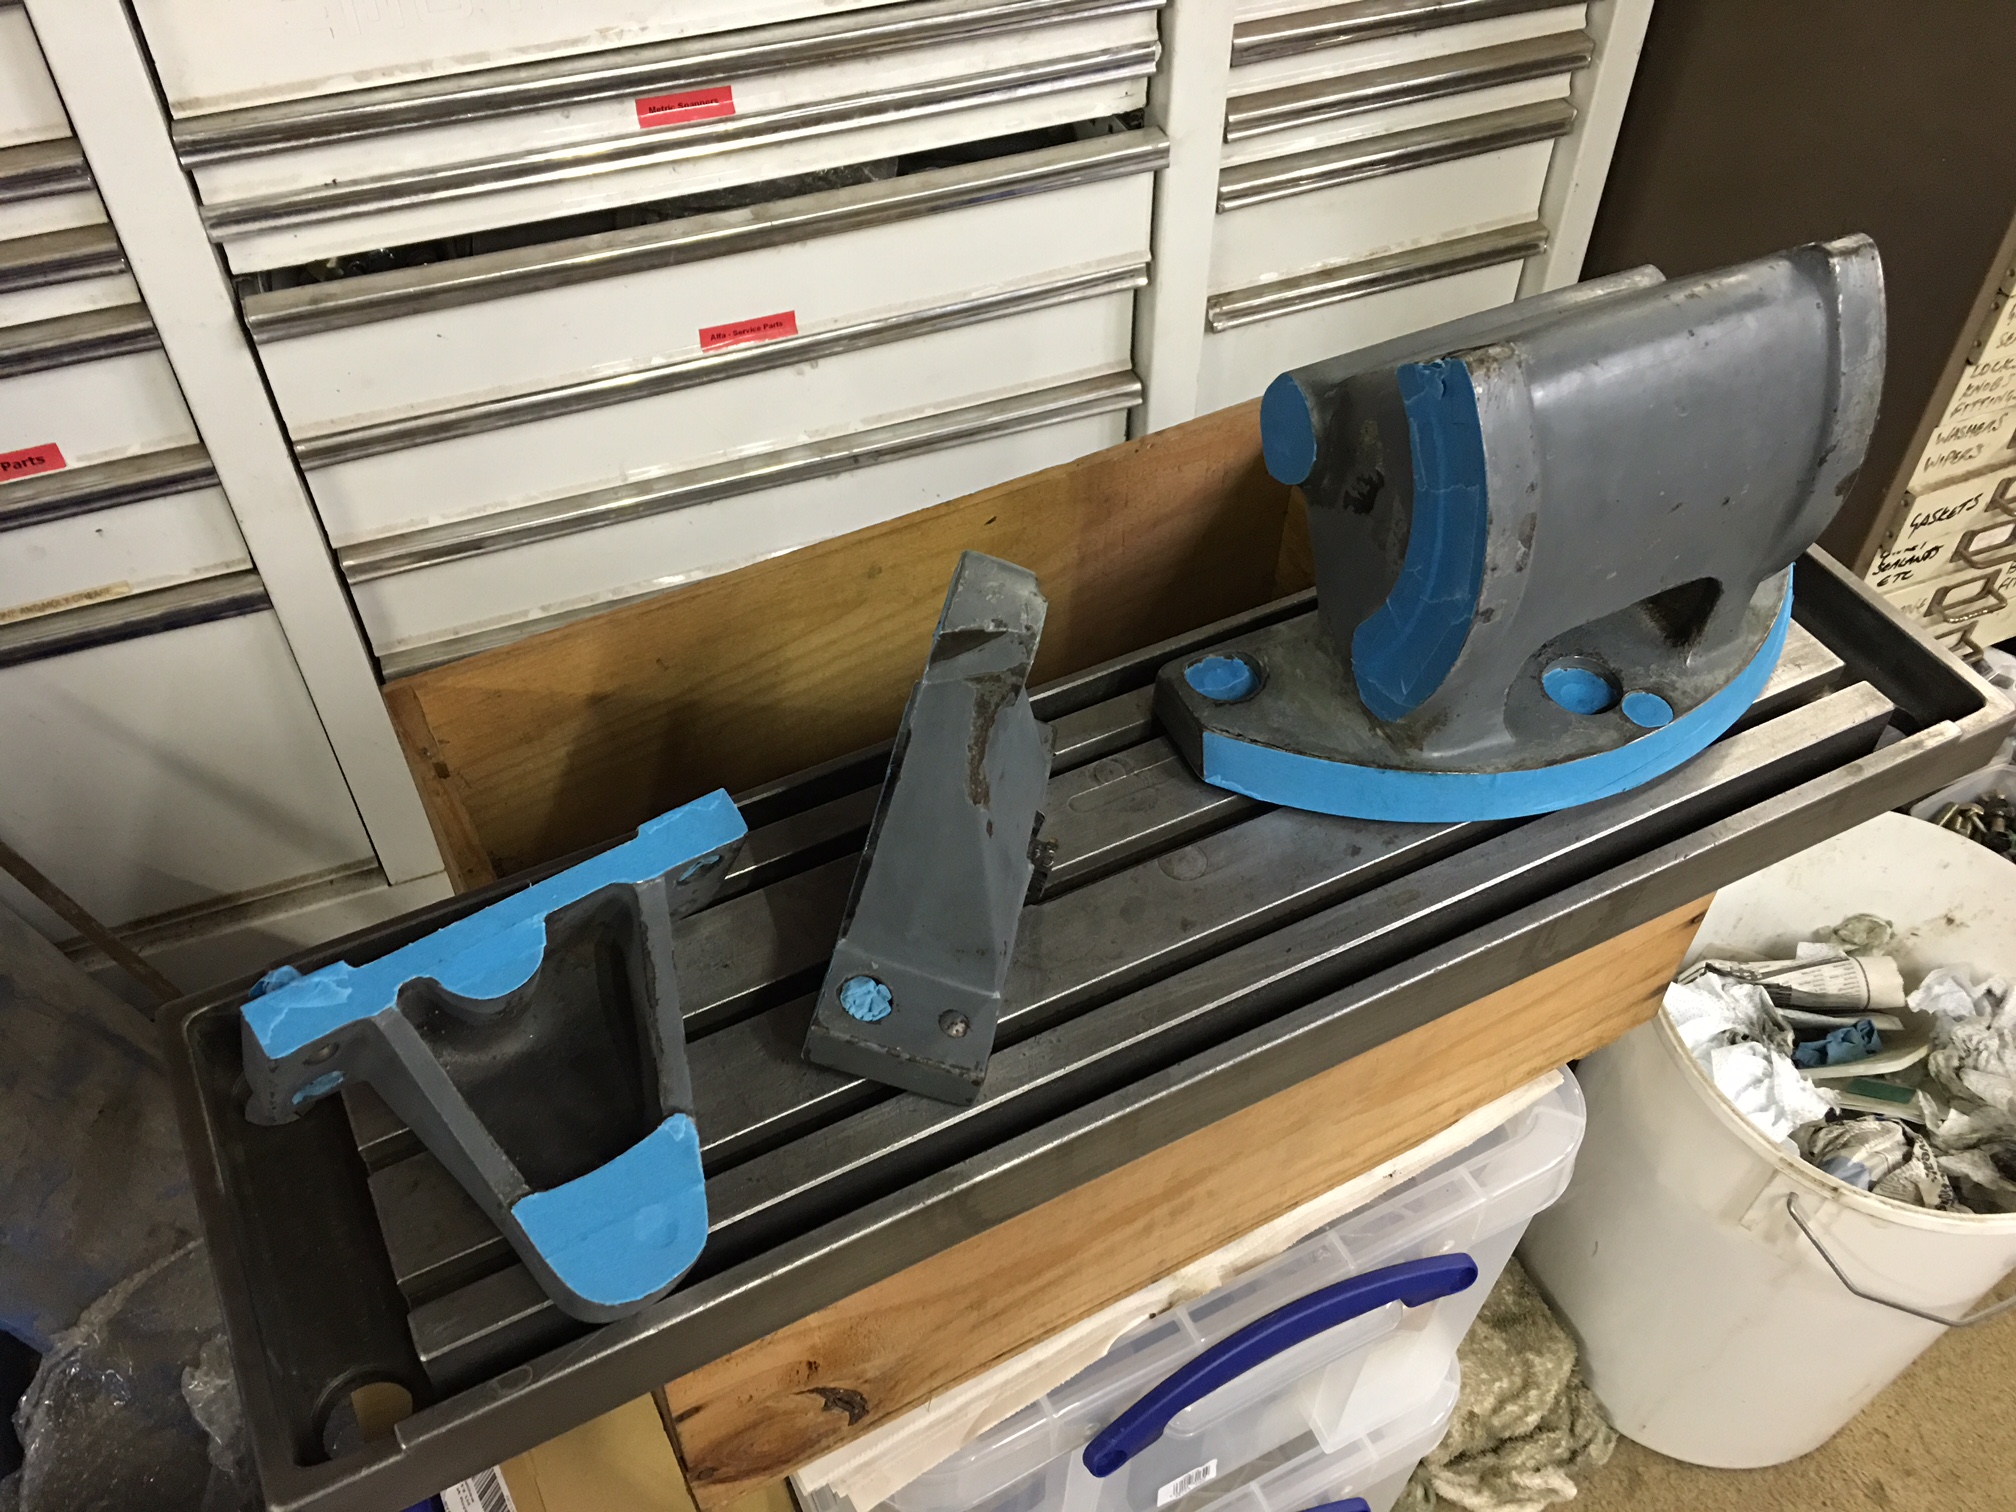
Below are a few items ready for paint
IMG_2765

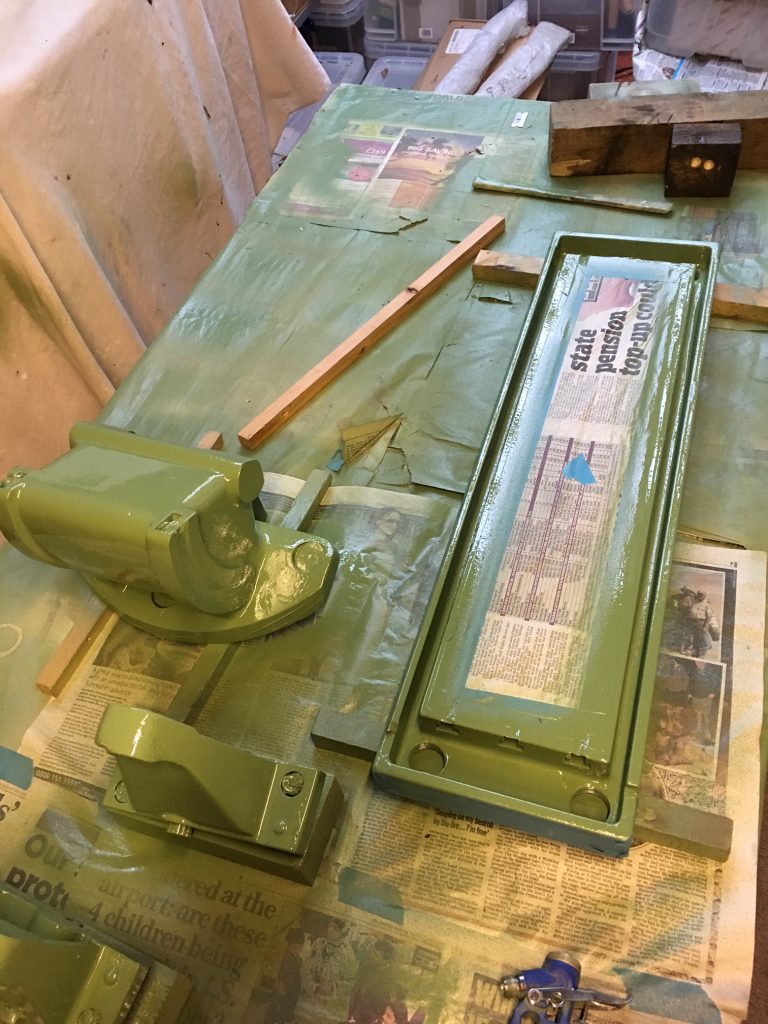
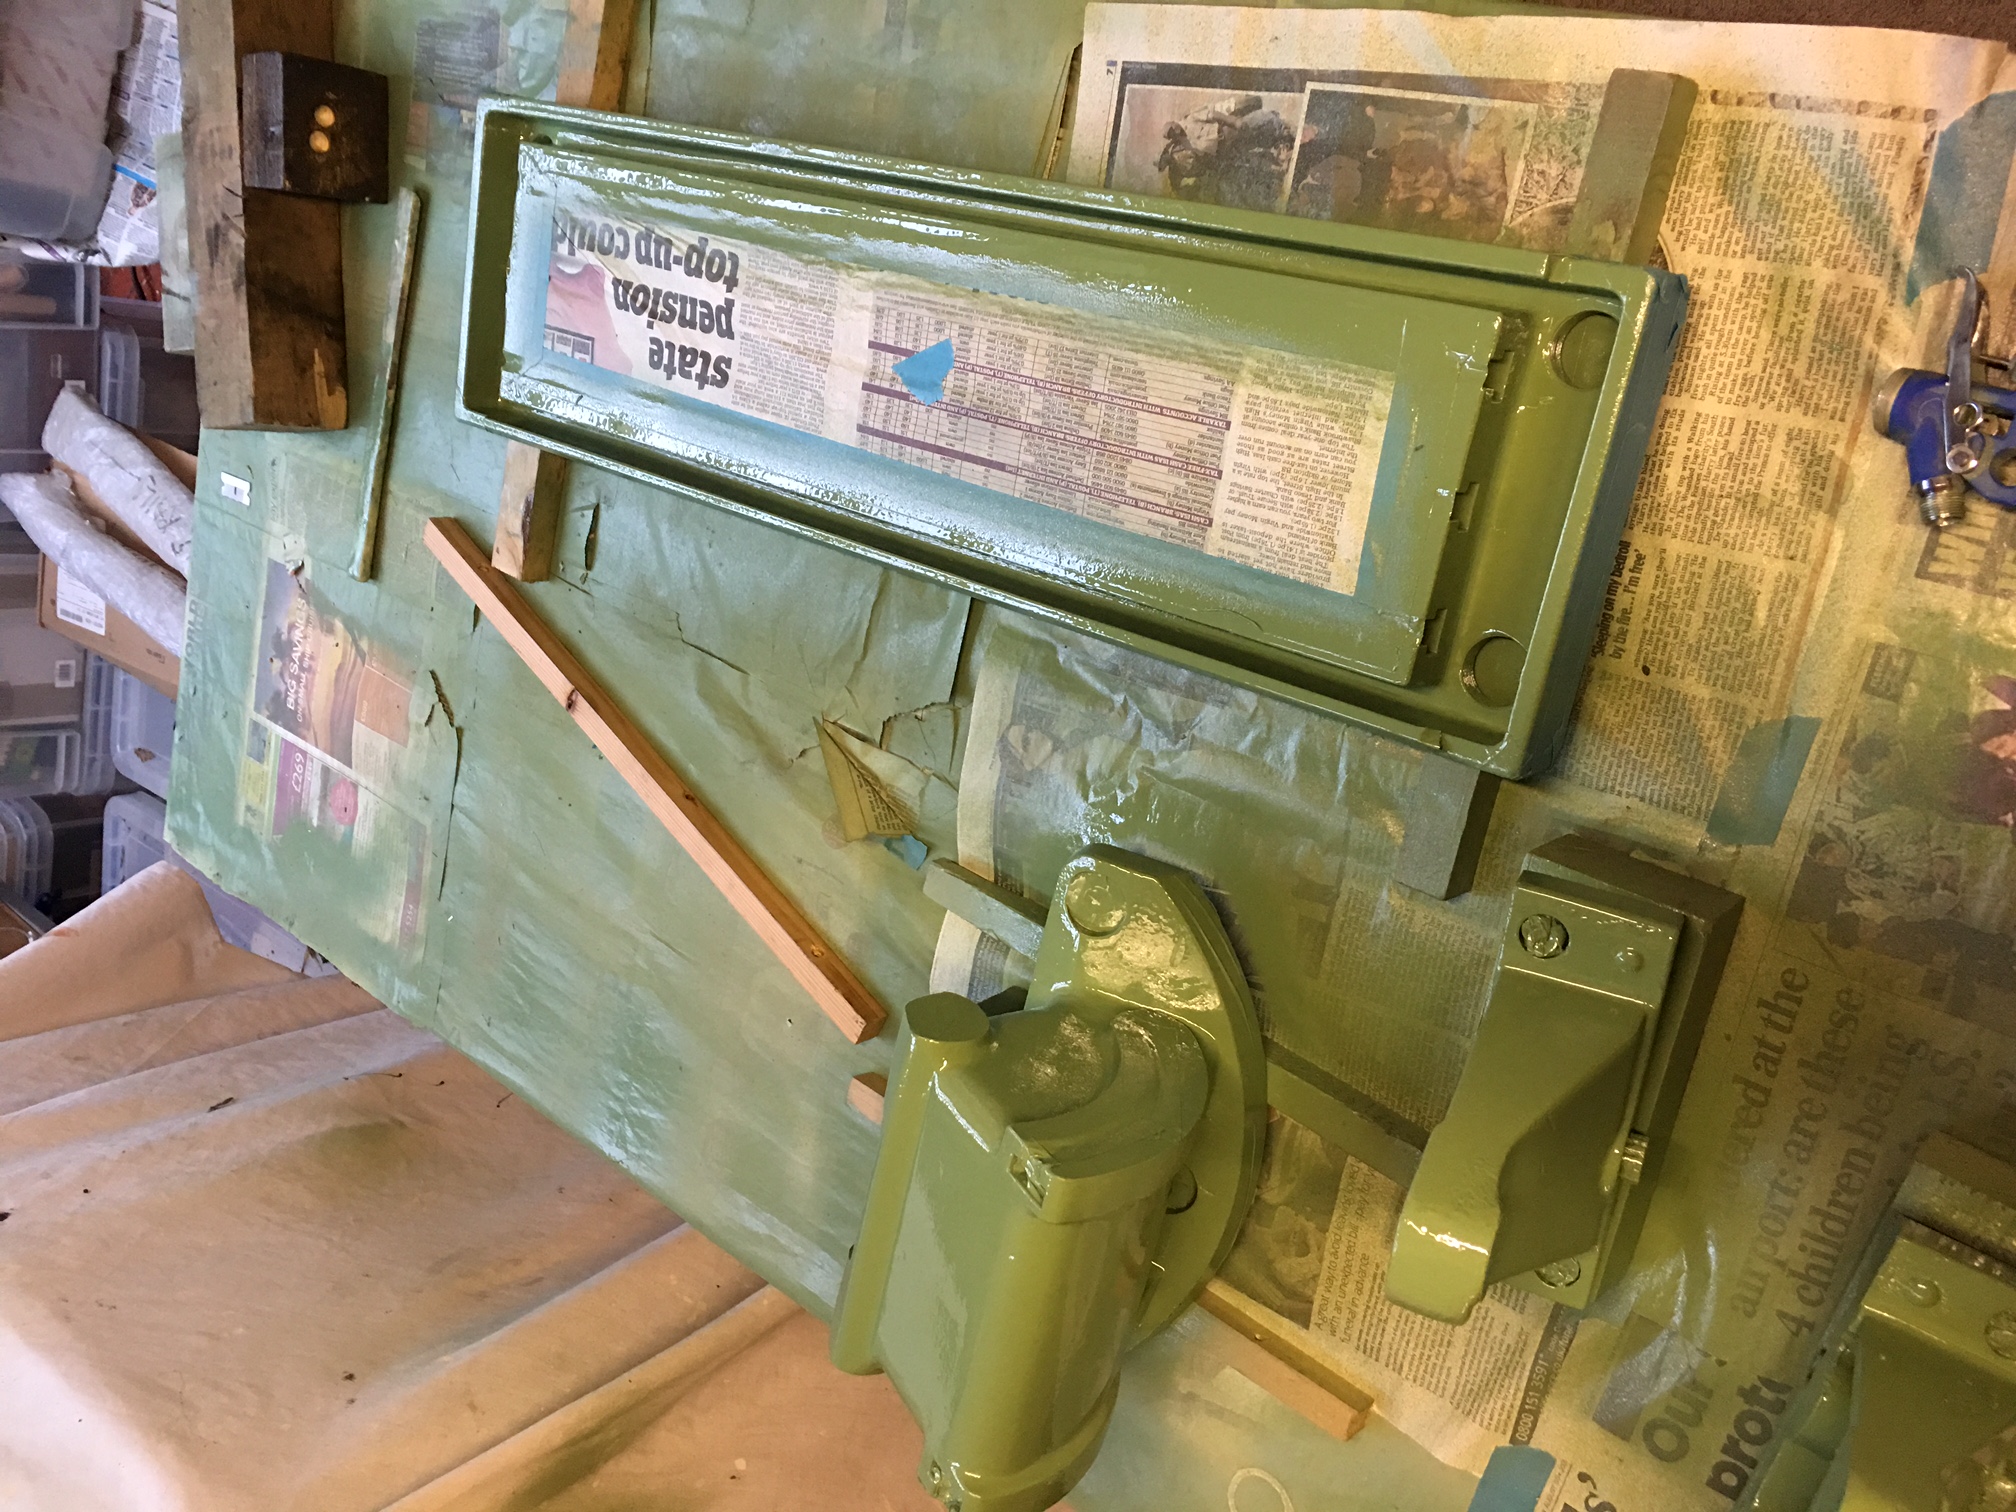
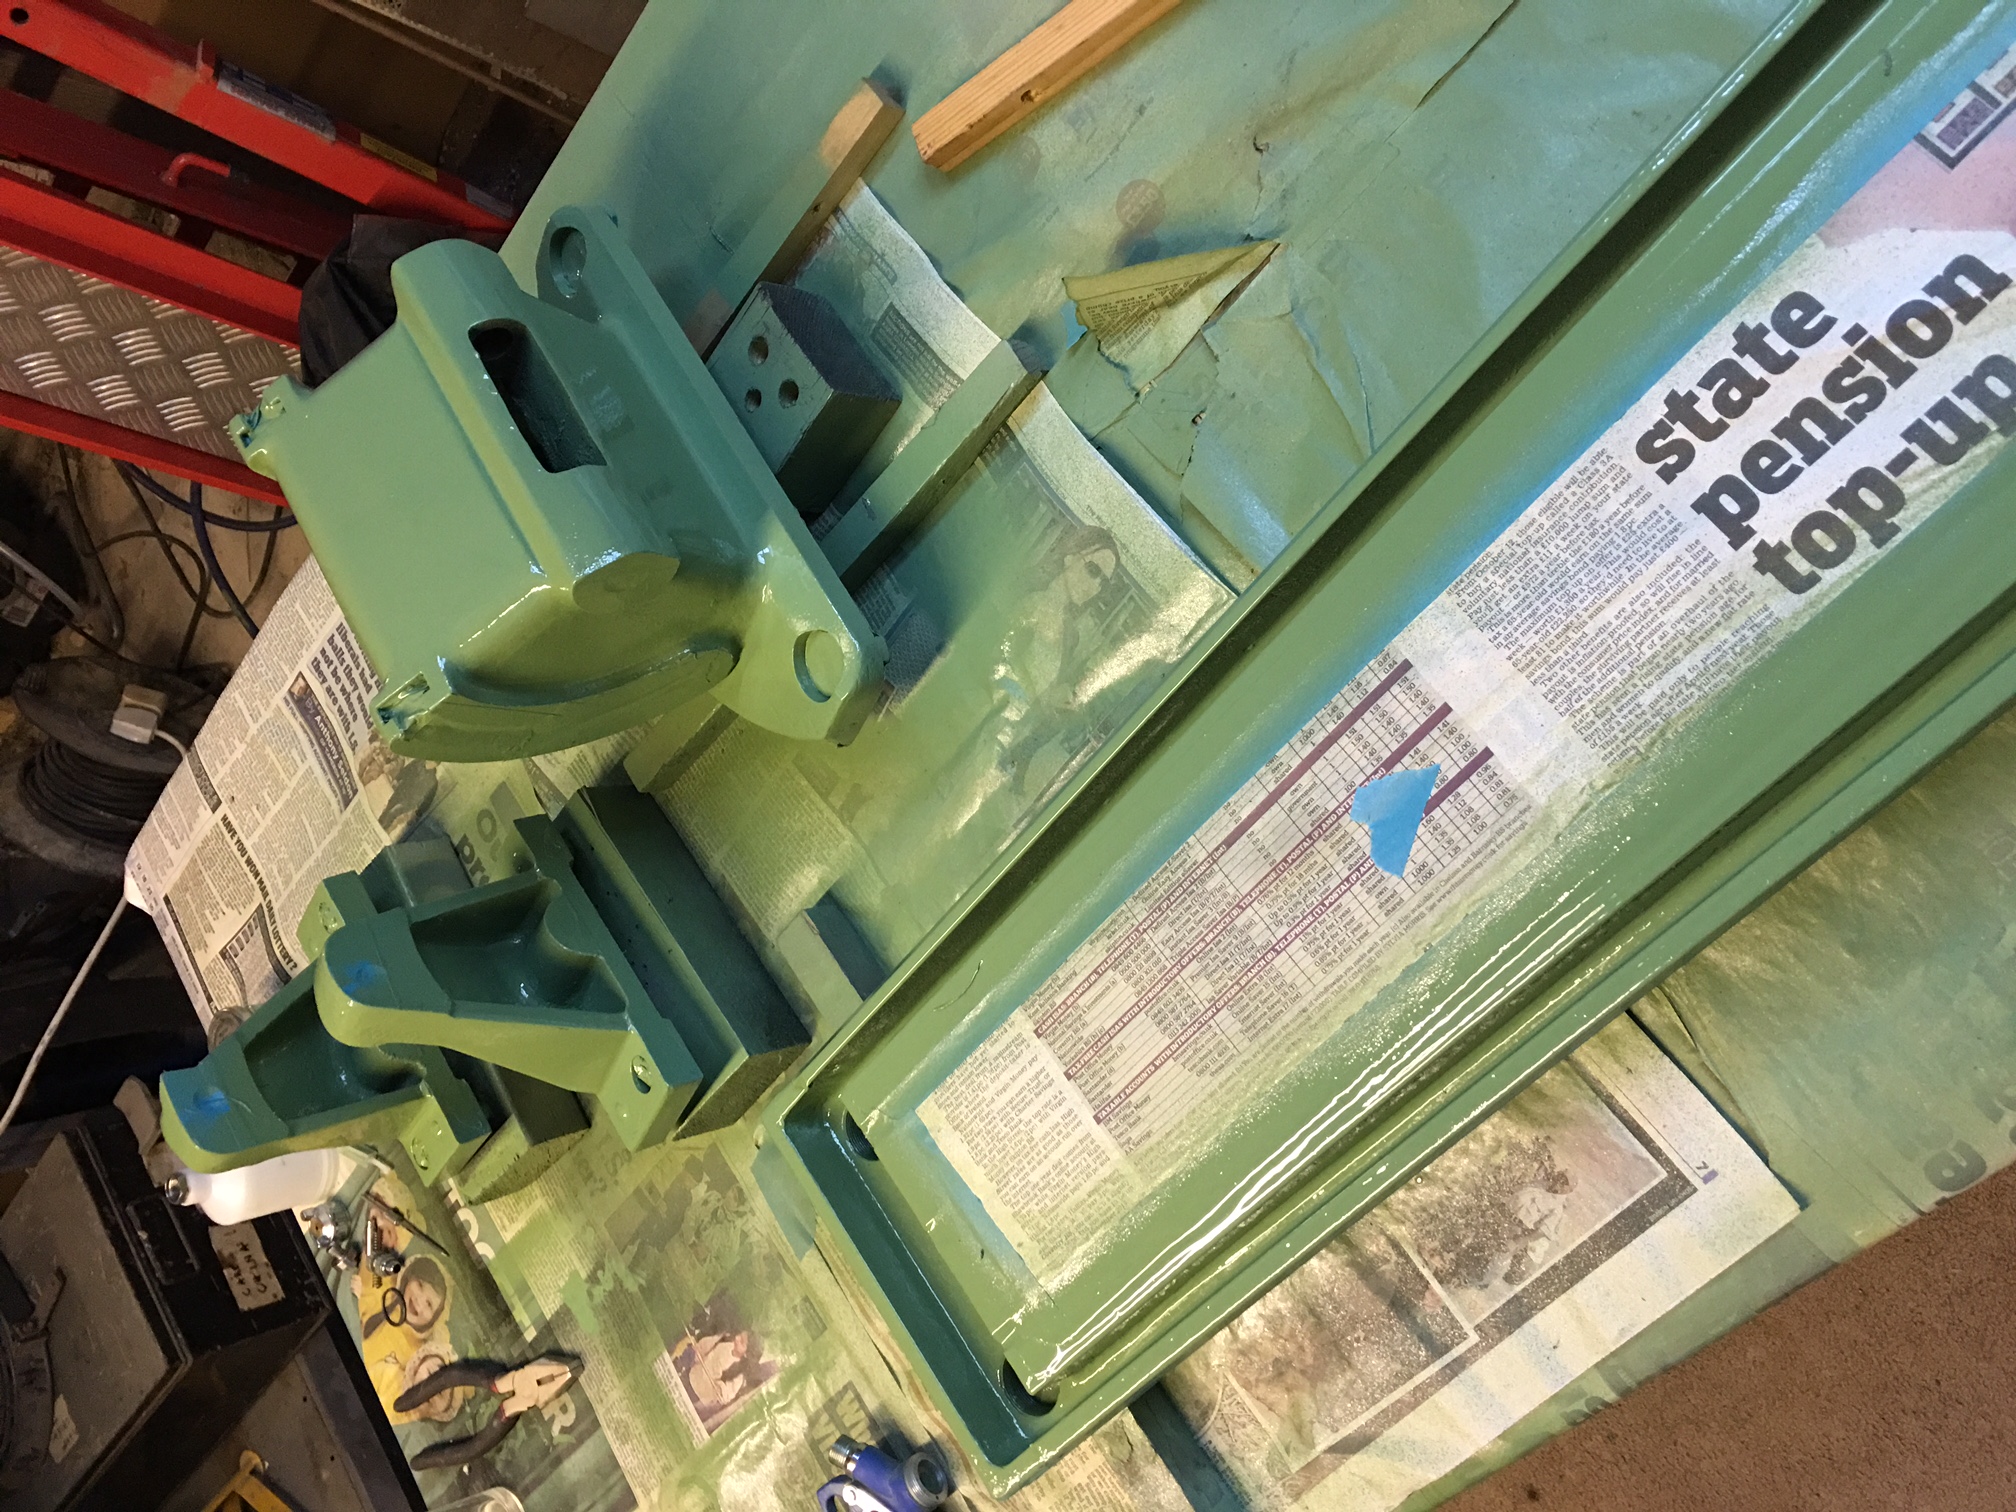
Table masked up and painted

IMG_2766

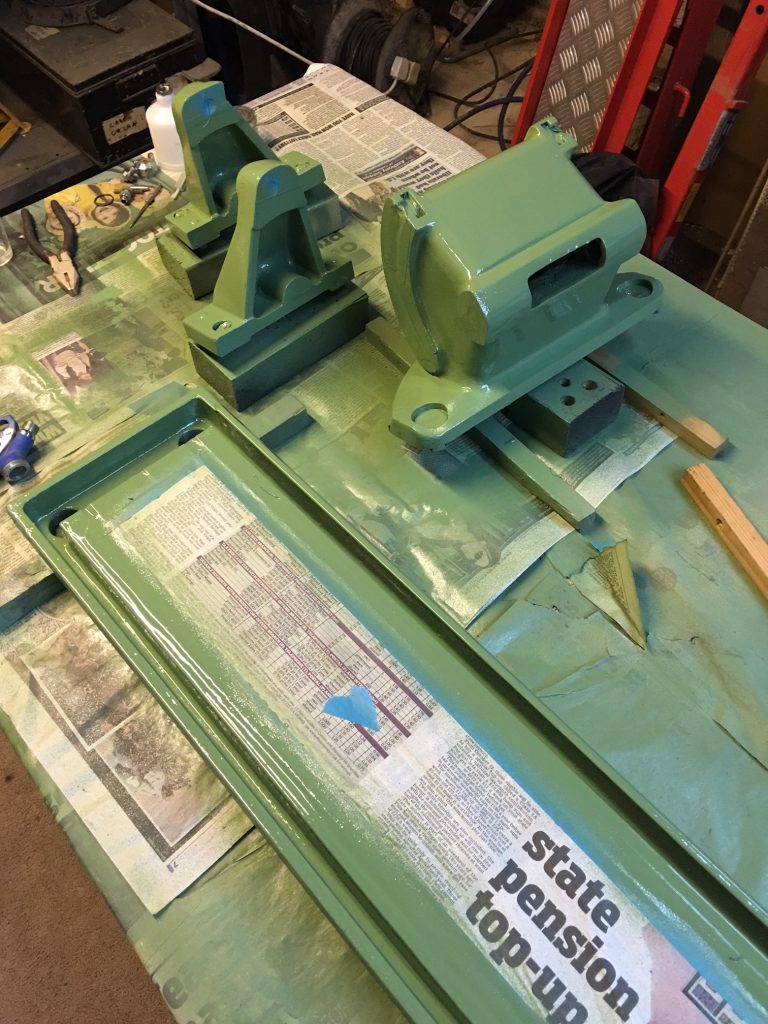
Another view with the brackets etc.

IMG_2767

There isn’t much more painting to do for the F3 – just a little touch up here and there.
Apron slide – cleaning up the tarnish.

Most of the light tarnish on the smaller items is removed on a bench grinder fitted with a bundle of fine scotchbrite discs. However I have tried by hand to do the larger parts and it is soul destroying. I use a fine pad that does not affect the metal. I have tried a few experiments but the one below seems to take the some of the effort out of it.

IMG_2697

The above it is an air mini orbital sander.  To the velcro pad I attach a 50mm disc of scotchbrite and use this with oil to gradually clean up the metal. The pad seems to stick well to the velco – more by luck than judgement! As you will see below, ask the metal is starting to clean up well and when finished should look good.

IMG_2696

This process will also be applied to the tilting table.

After a good going over with the ‘air brush’ I will give it a final hand polish with an ultra fine scotchbrite pad. The results so far are not bad!

IMG_2705


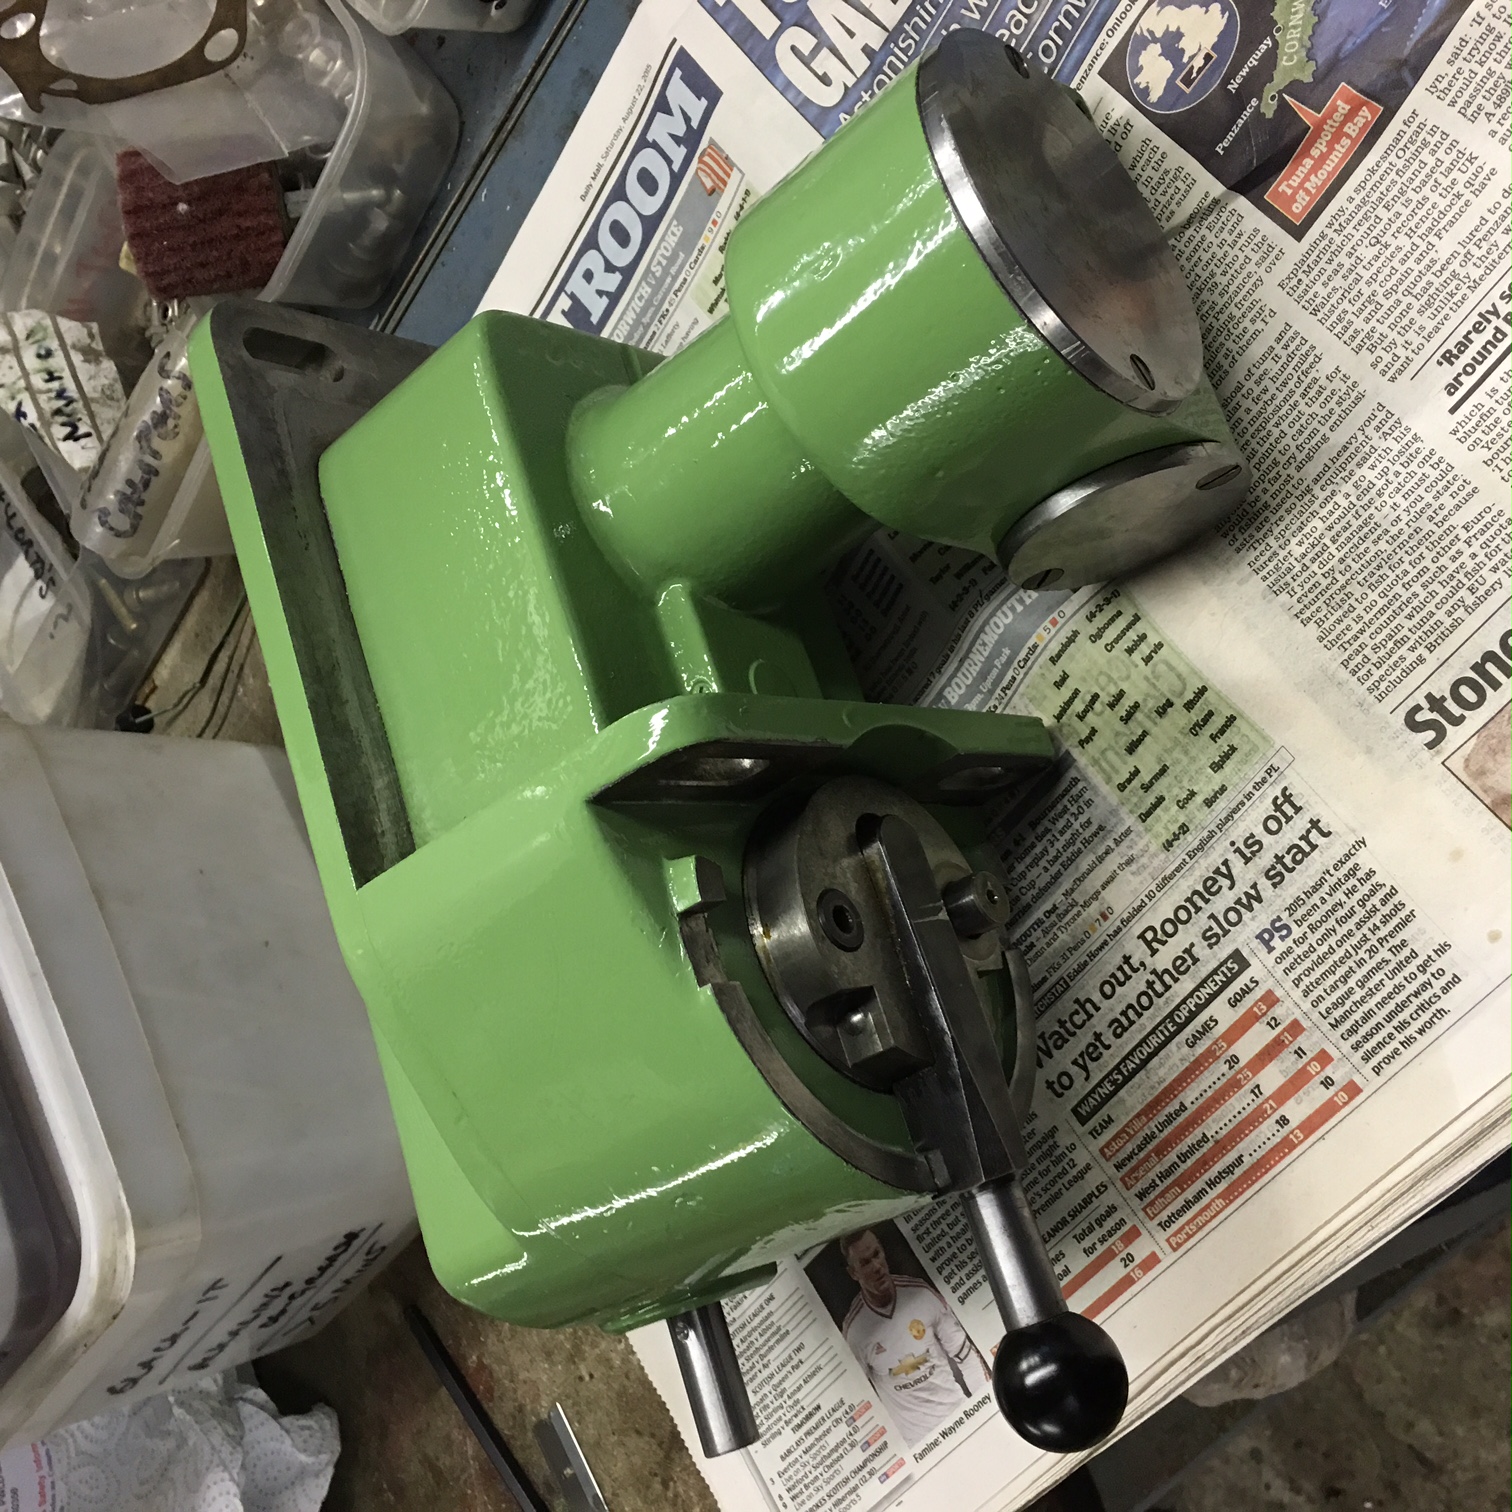
Gearbox painted.

Here we have the gearbox painted and with all masking take removed. It is worth taking a little extra care in masking up to ensure bare surface are left bare – such as the selector ring.

IMG_2667

It doesn’t look too bad – considering I didn’t even prime it!

I now have to decide is the speed selector knob (not shown here) was blacked or not. Some research on photos may high light this.

All the parts that I want sprayed for the moment are done and so it is on to the rebuild pages.

A trial using metal blackening solution

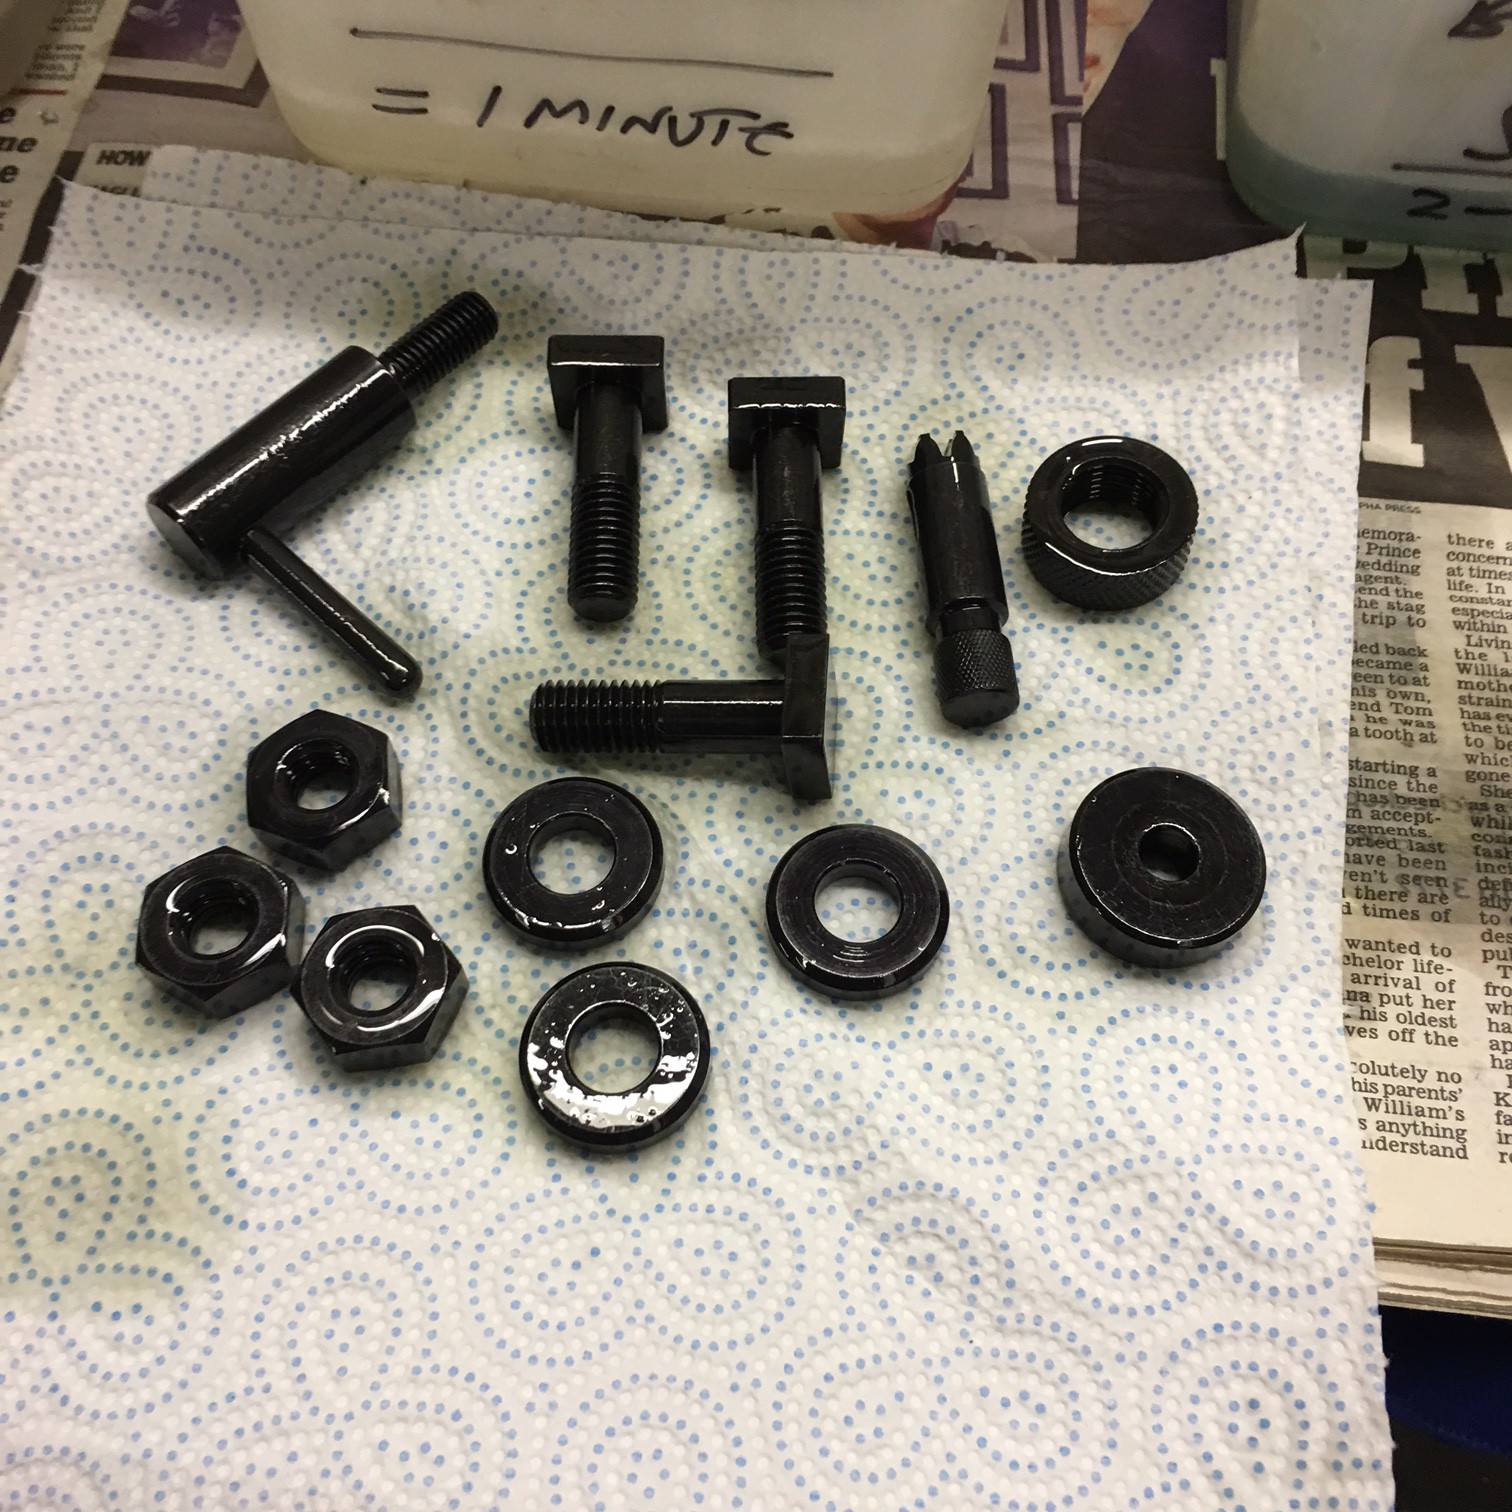
I thought it would be good to transform some of the slightly rusty components back to their blackened glory. Here, I have taken a selection of parts and degreased them.

IMG_2662

Next, cialis usa a session on the 3M fibre wheel to remove rust.

IMG_2665

Then through the process of a blackening solutions.

Items after having been in the oil dispersing solution (after blacking)

Items after having been in the oil dispersing solution (after blacking)

Its not the greatest photo but the results are fabulous and will really add a touch to the refurb. This was a trial and I am very pleased with the results. Now to do the rest.

Cleaning and painting the gearbox.

As you can see, this unit is pretty grubby!

IMG_1030

However, with some degreaser, the unit came up well. The speed selector knob wasa bugger to remove as the locating dimple on the shaft had a severe burr and this caused the knob to lock on the shaft.

IMG_2644 IMG_2646

I don’t have much time at the moment and so this unit will be masked up as a complete unit. I will come back to giving it a full inspection at a later date. So below is said masked item ready for painting.

IMG_2658