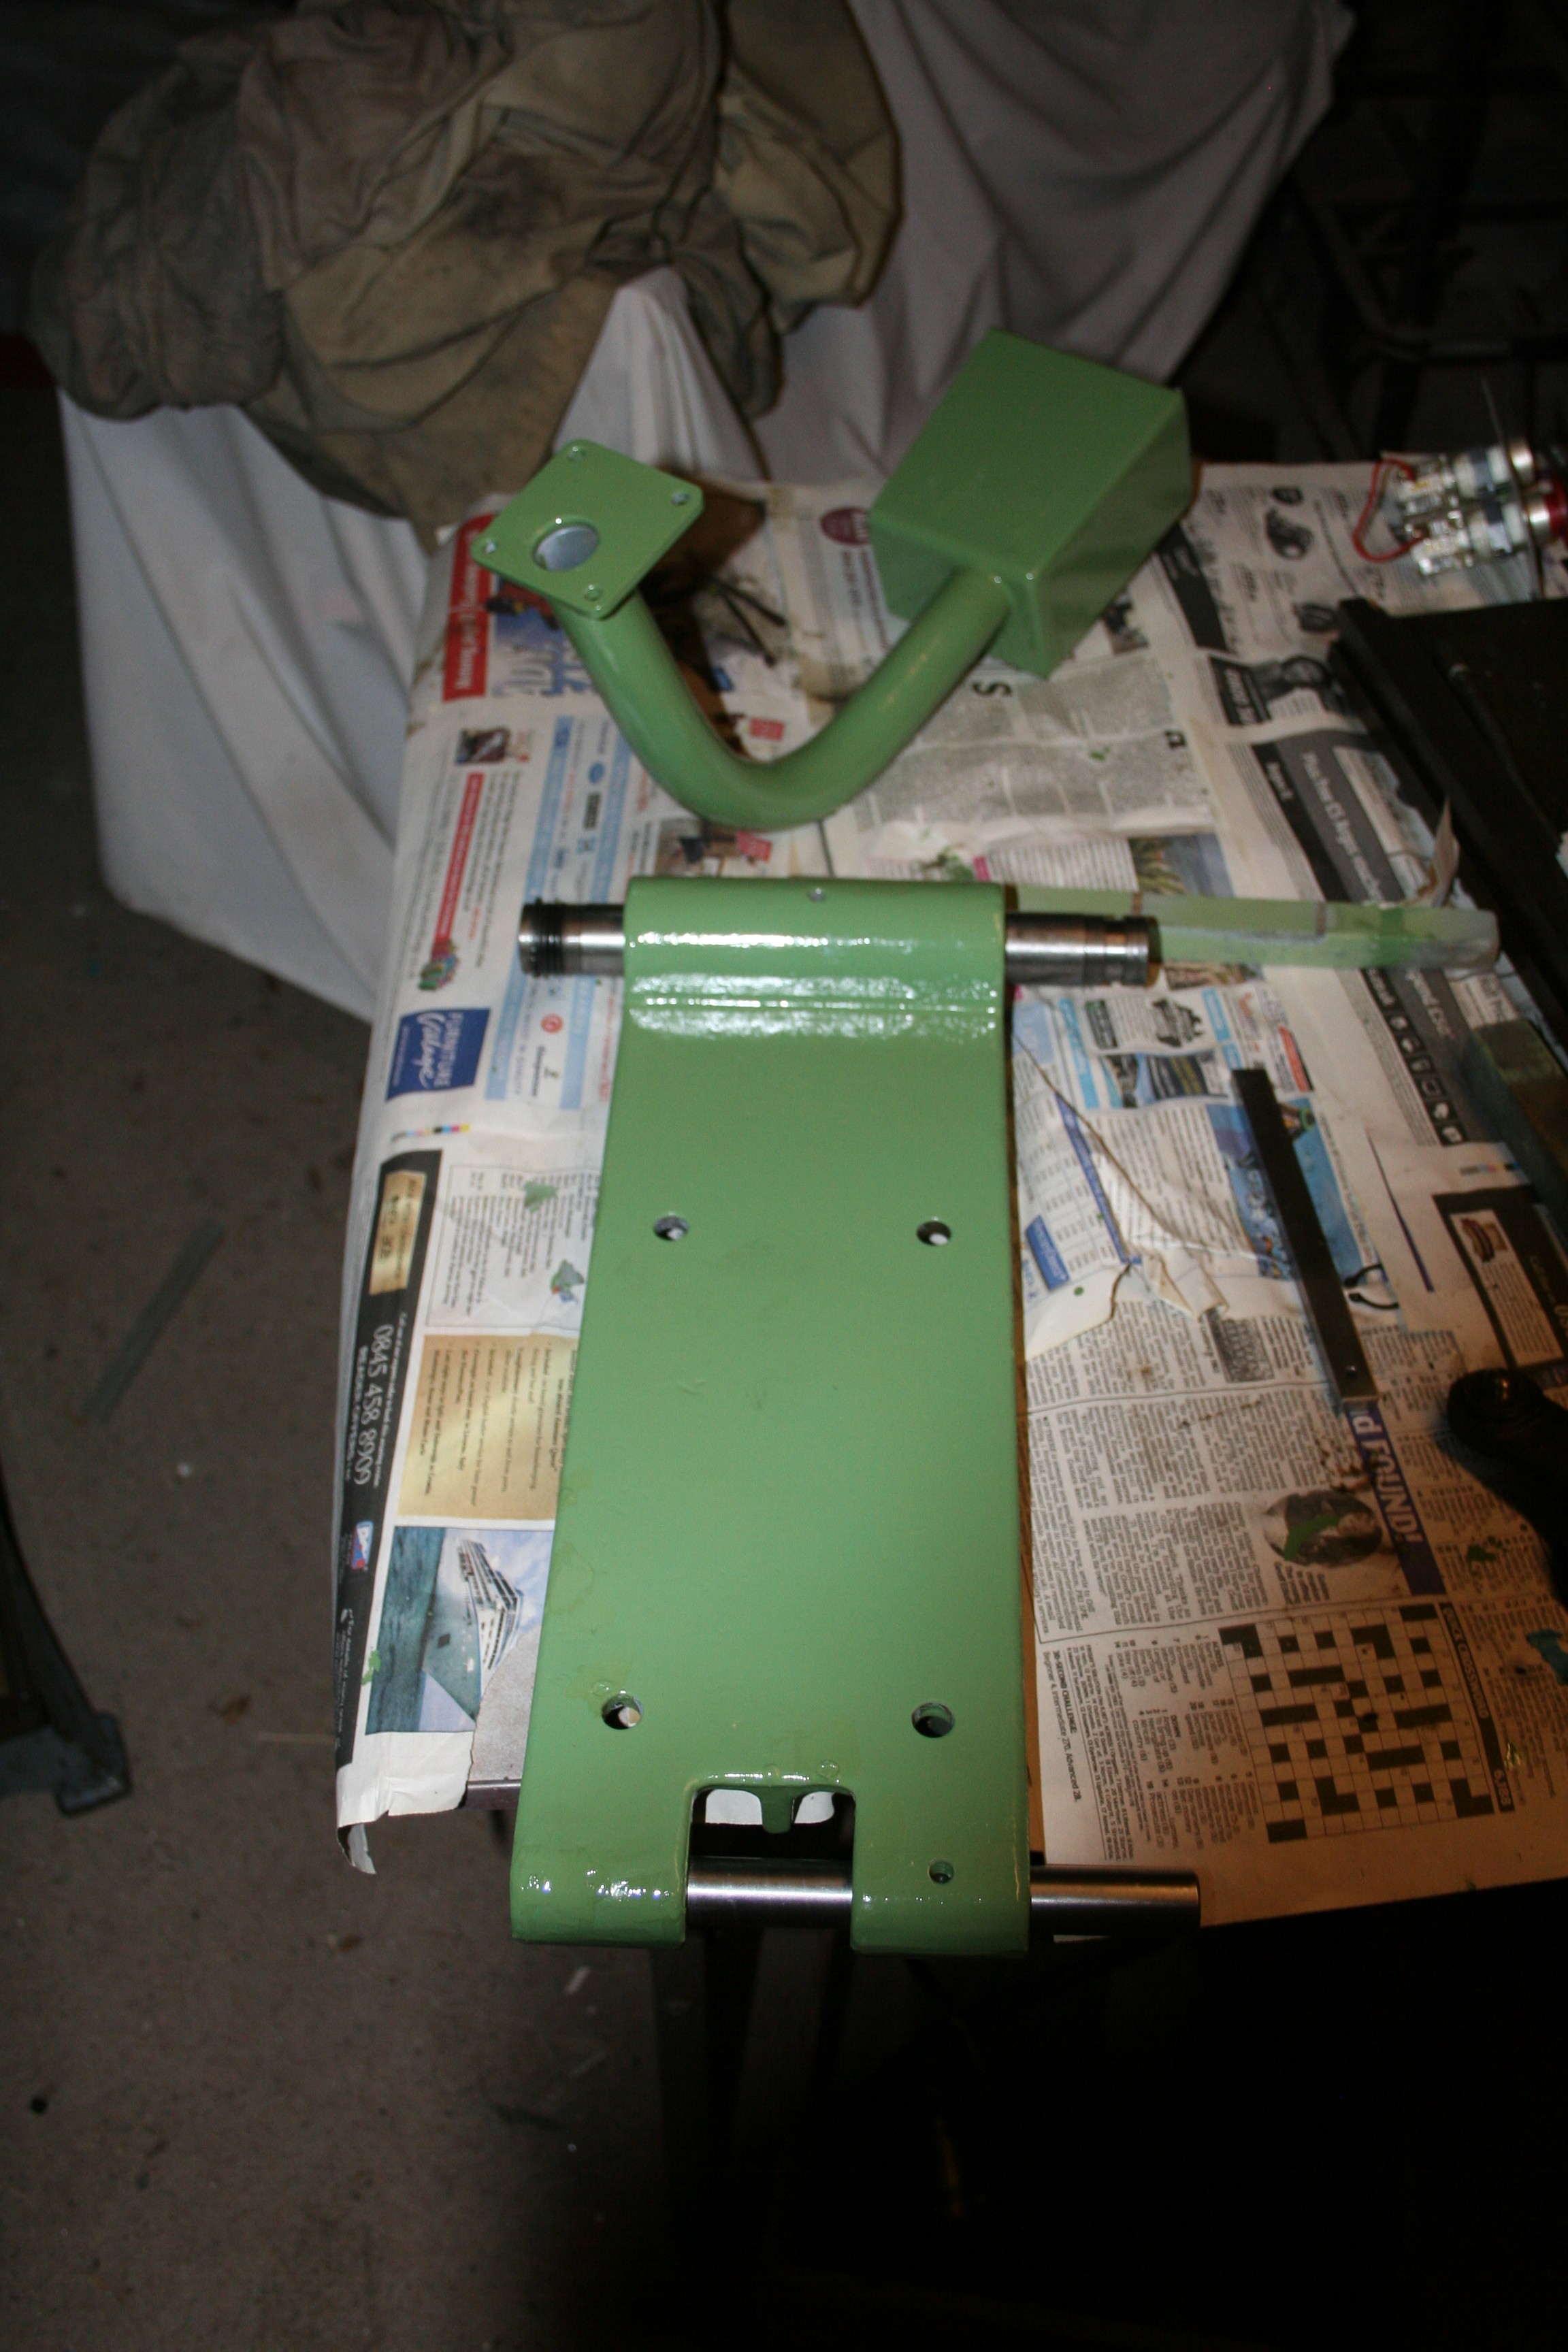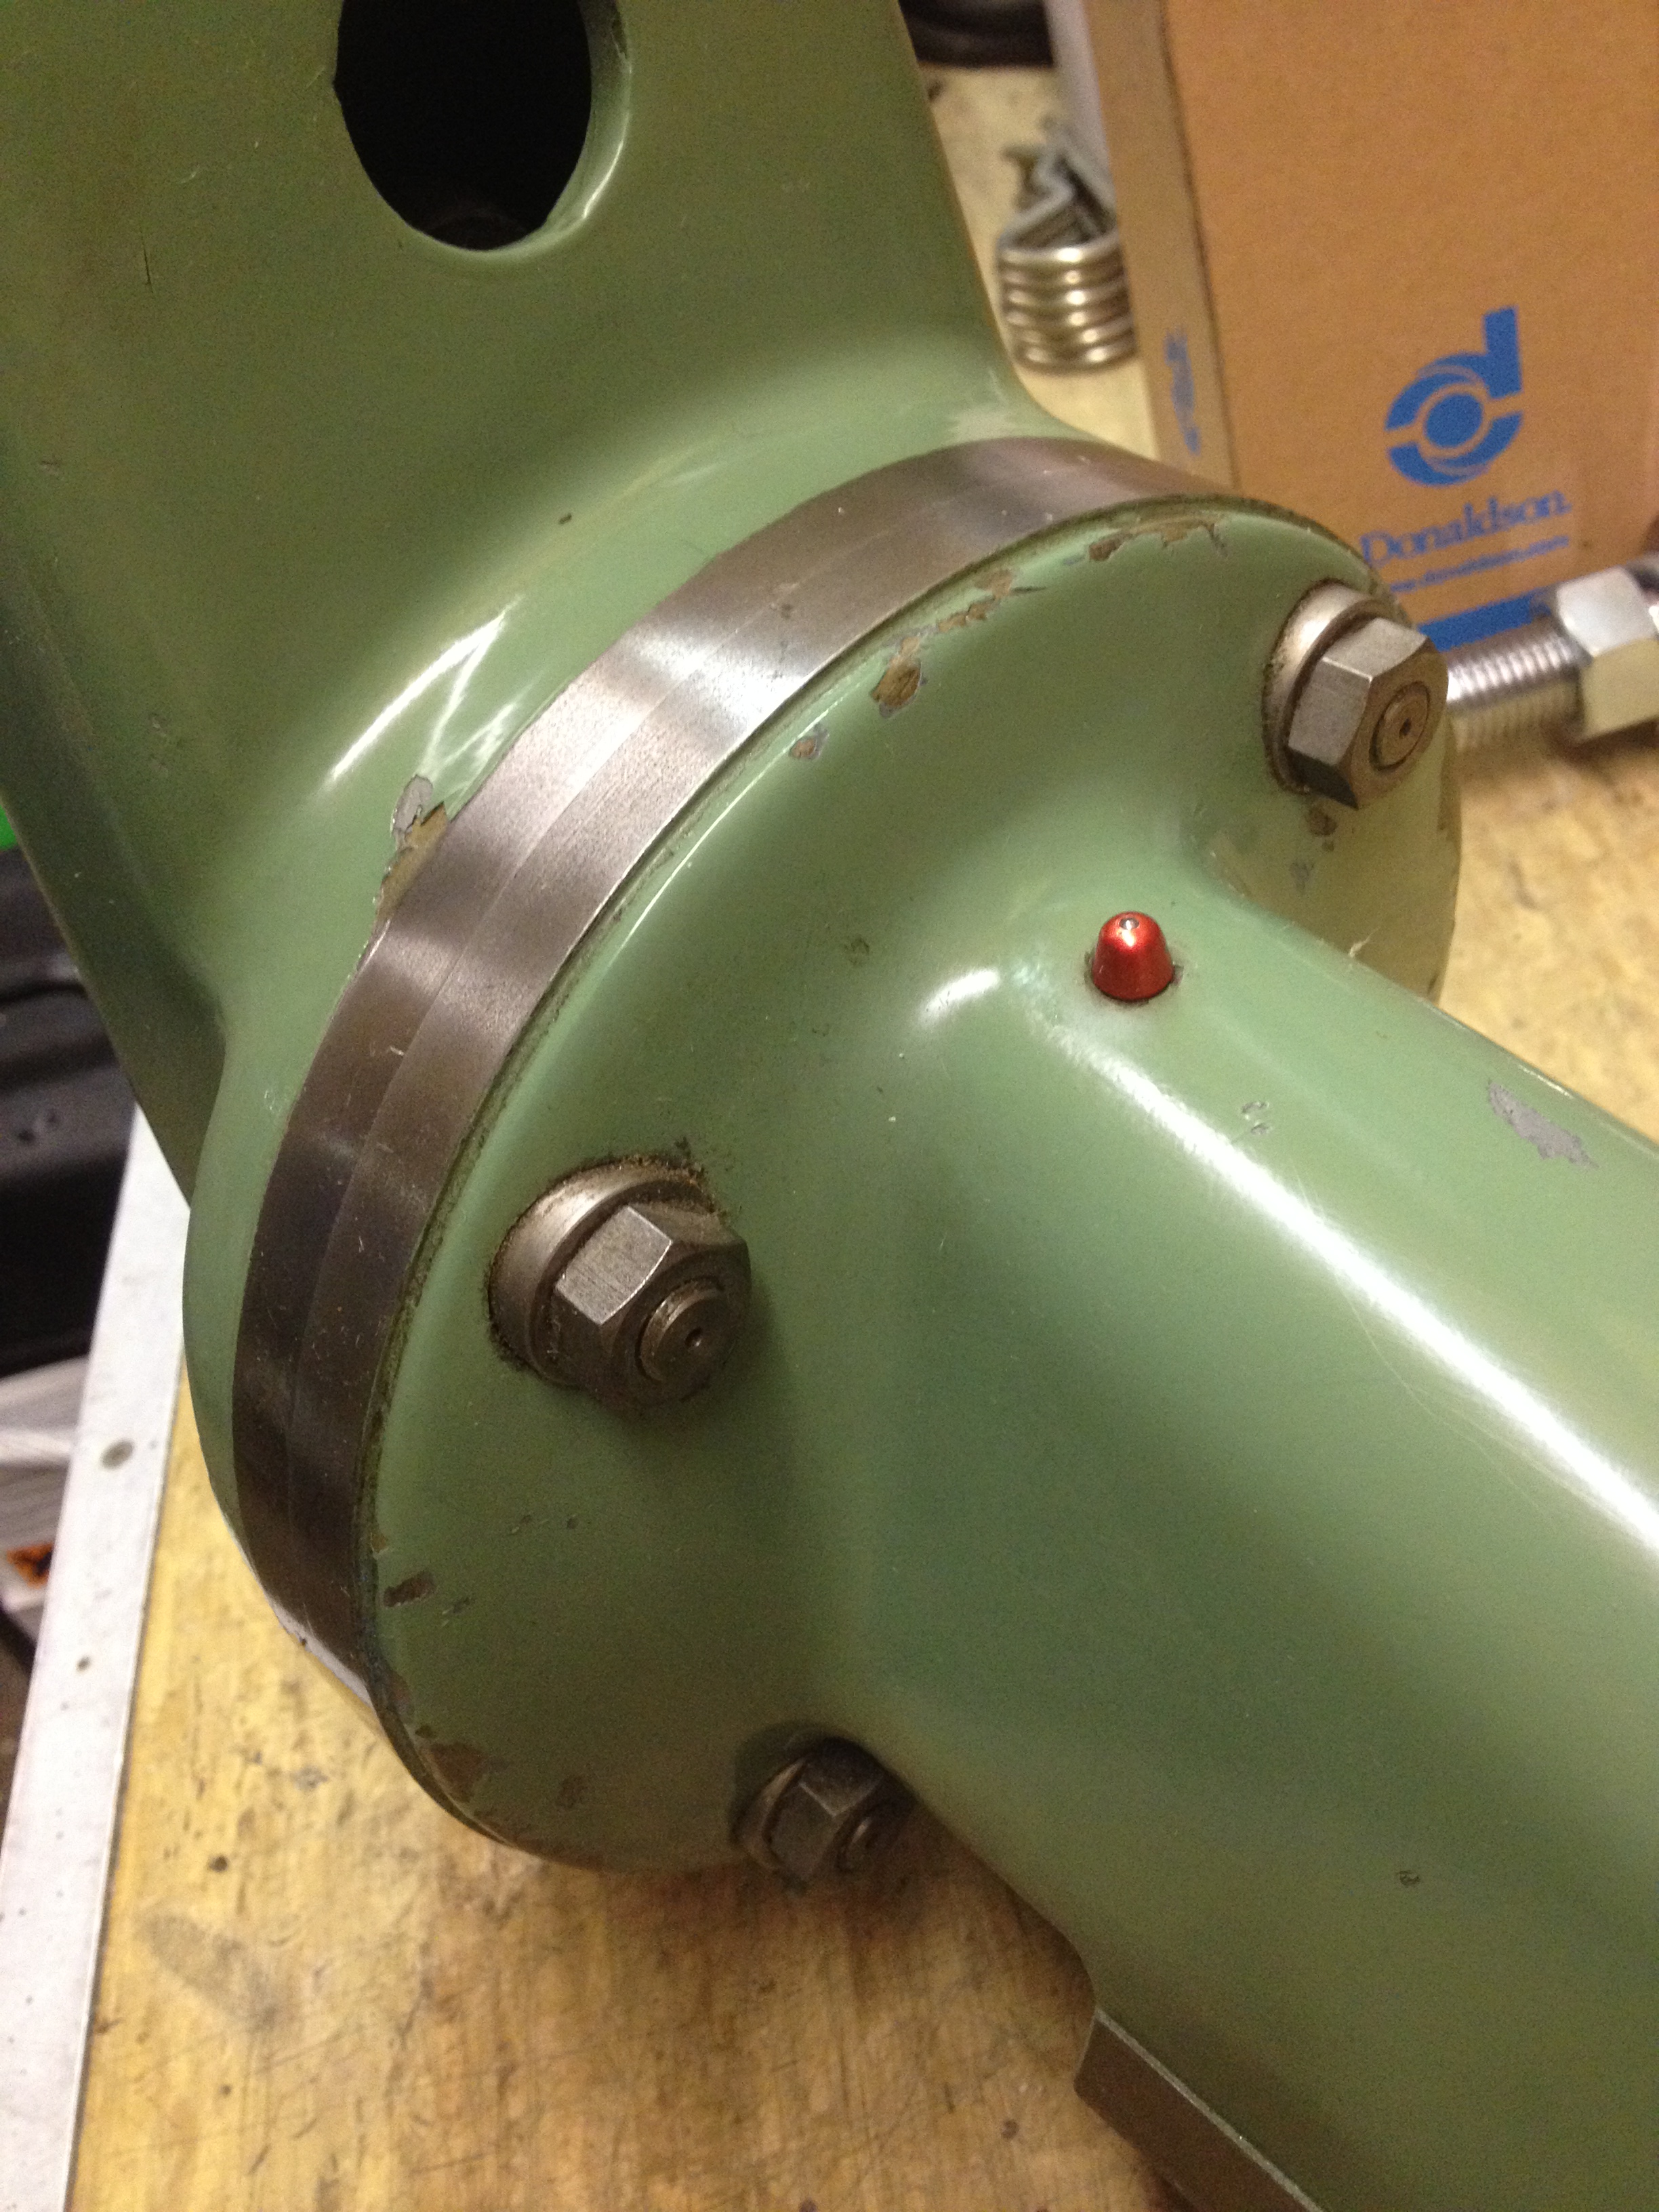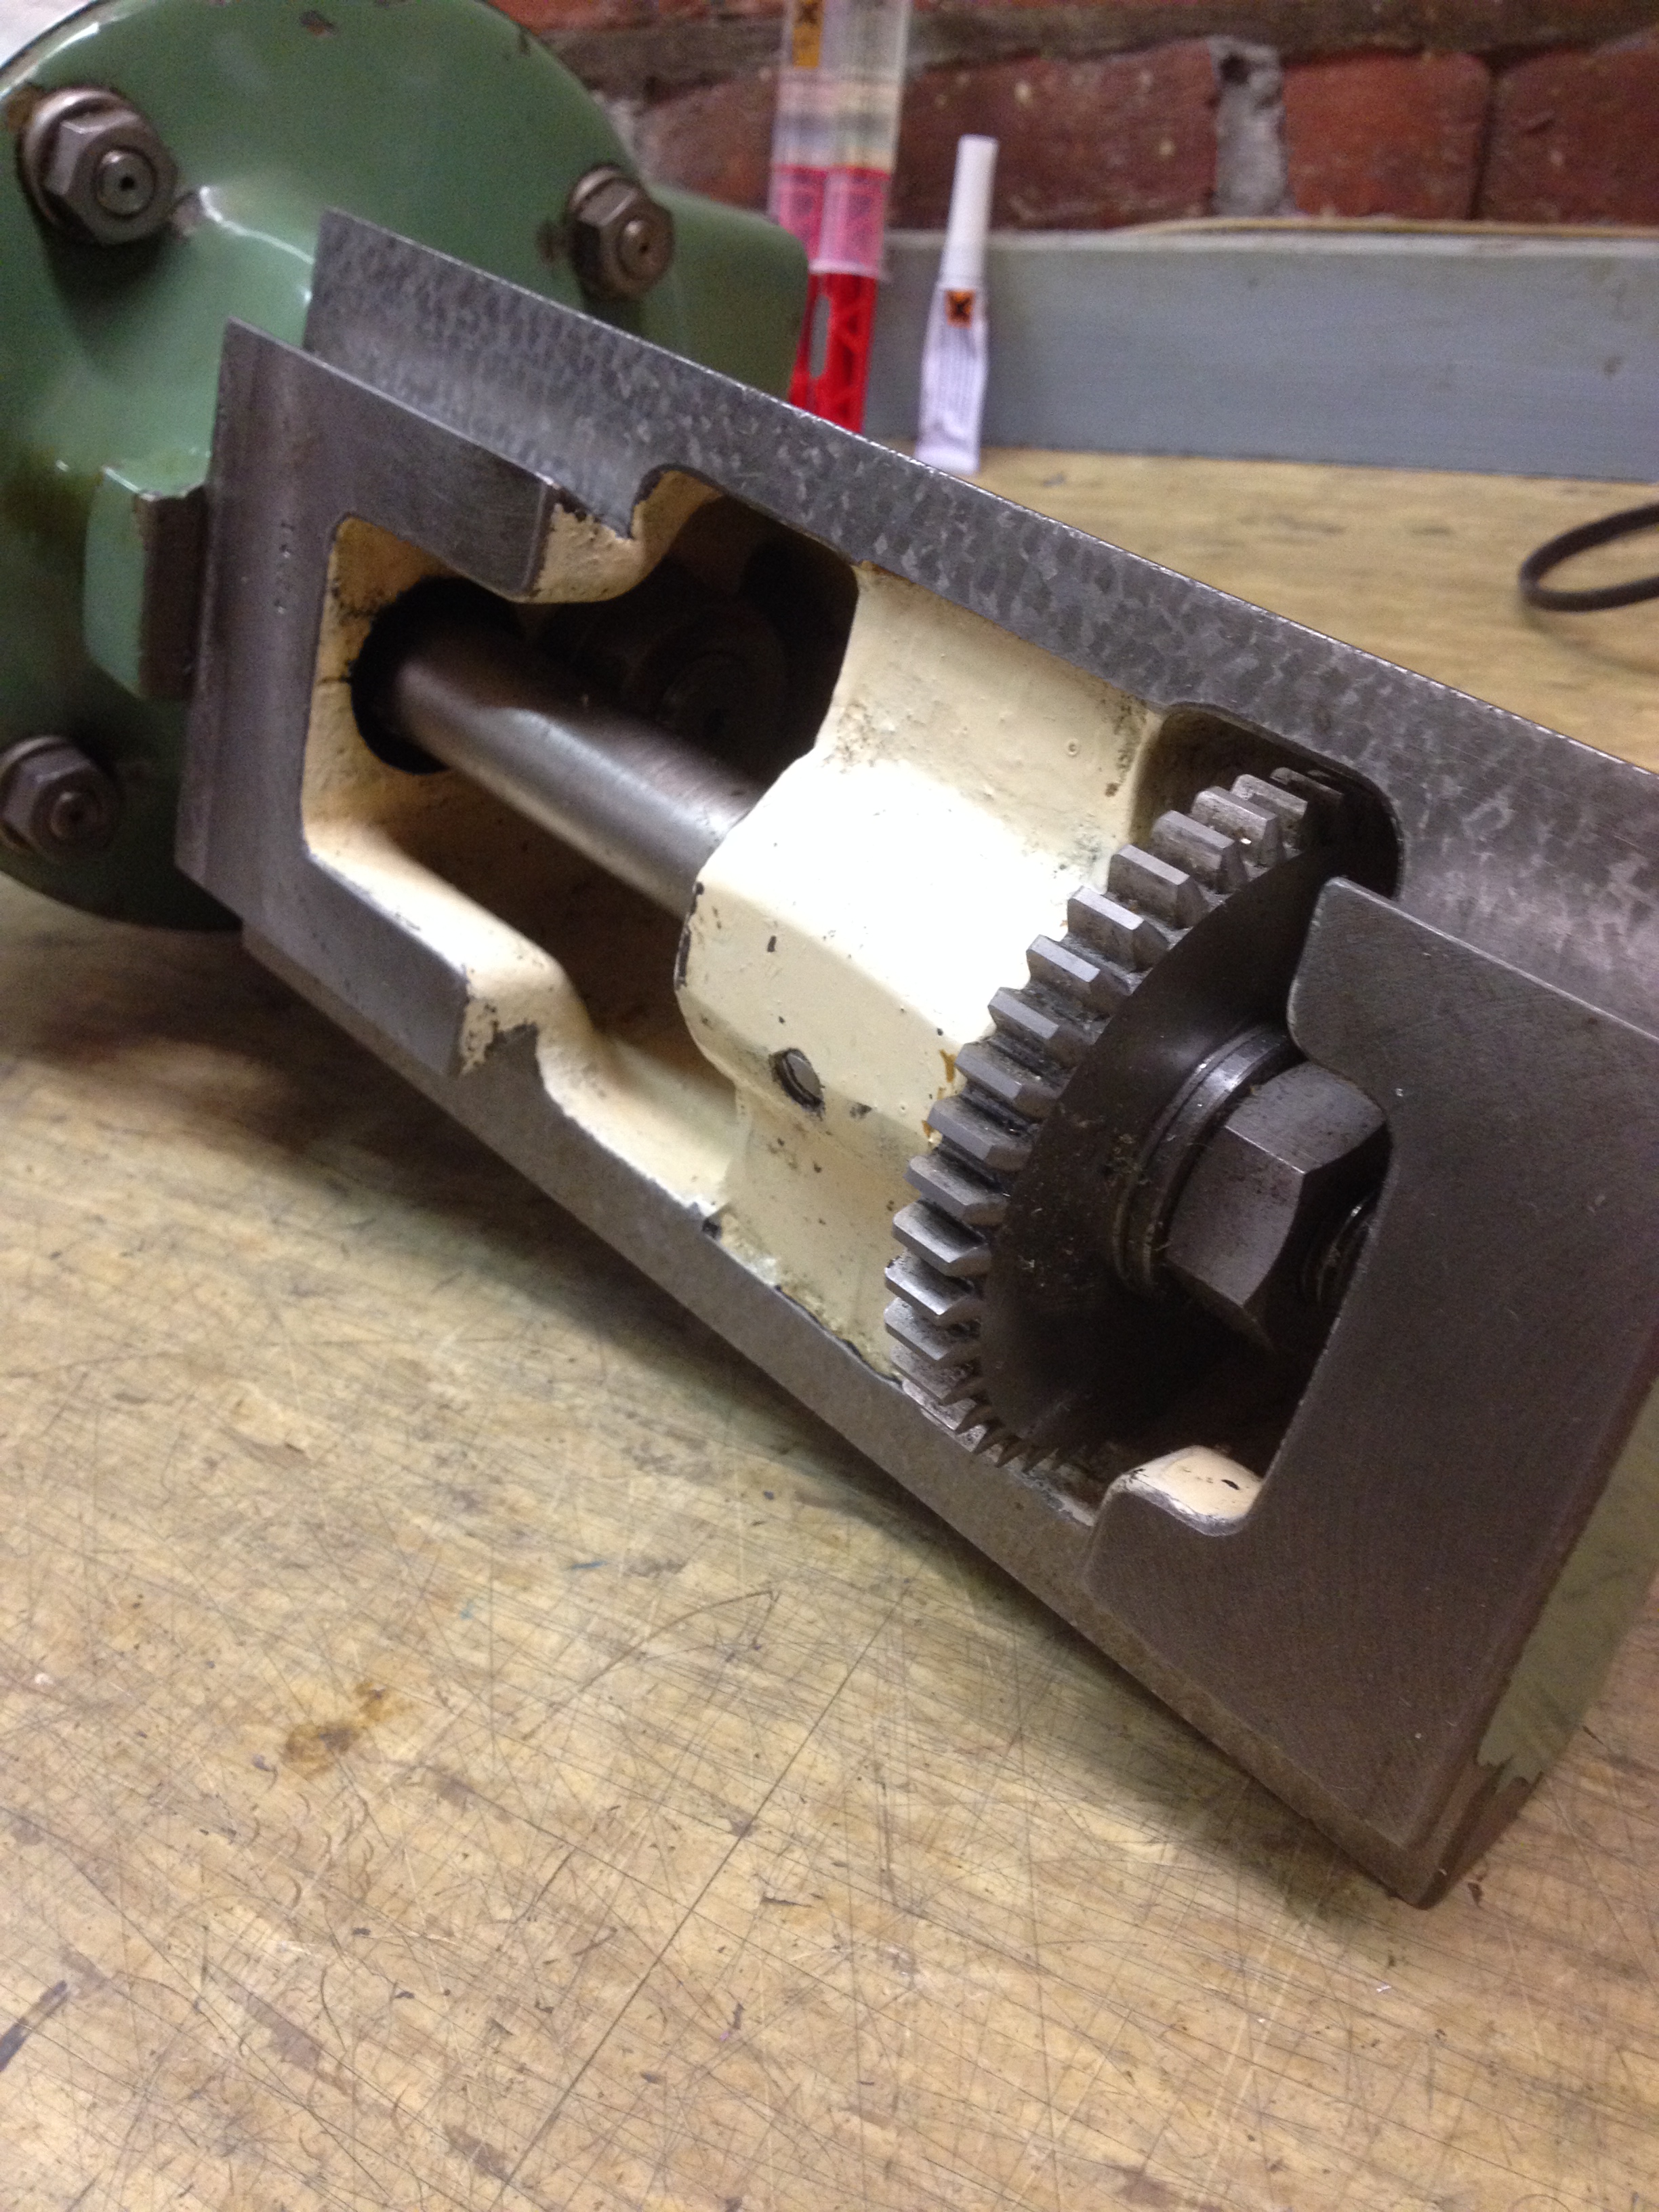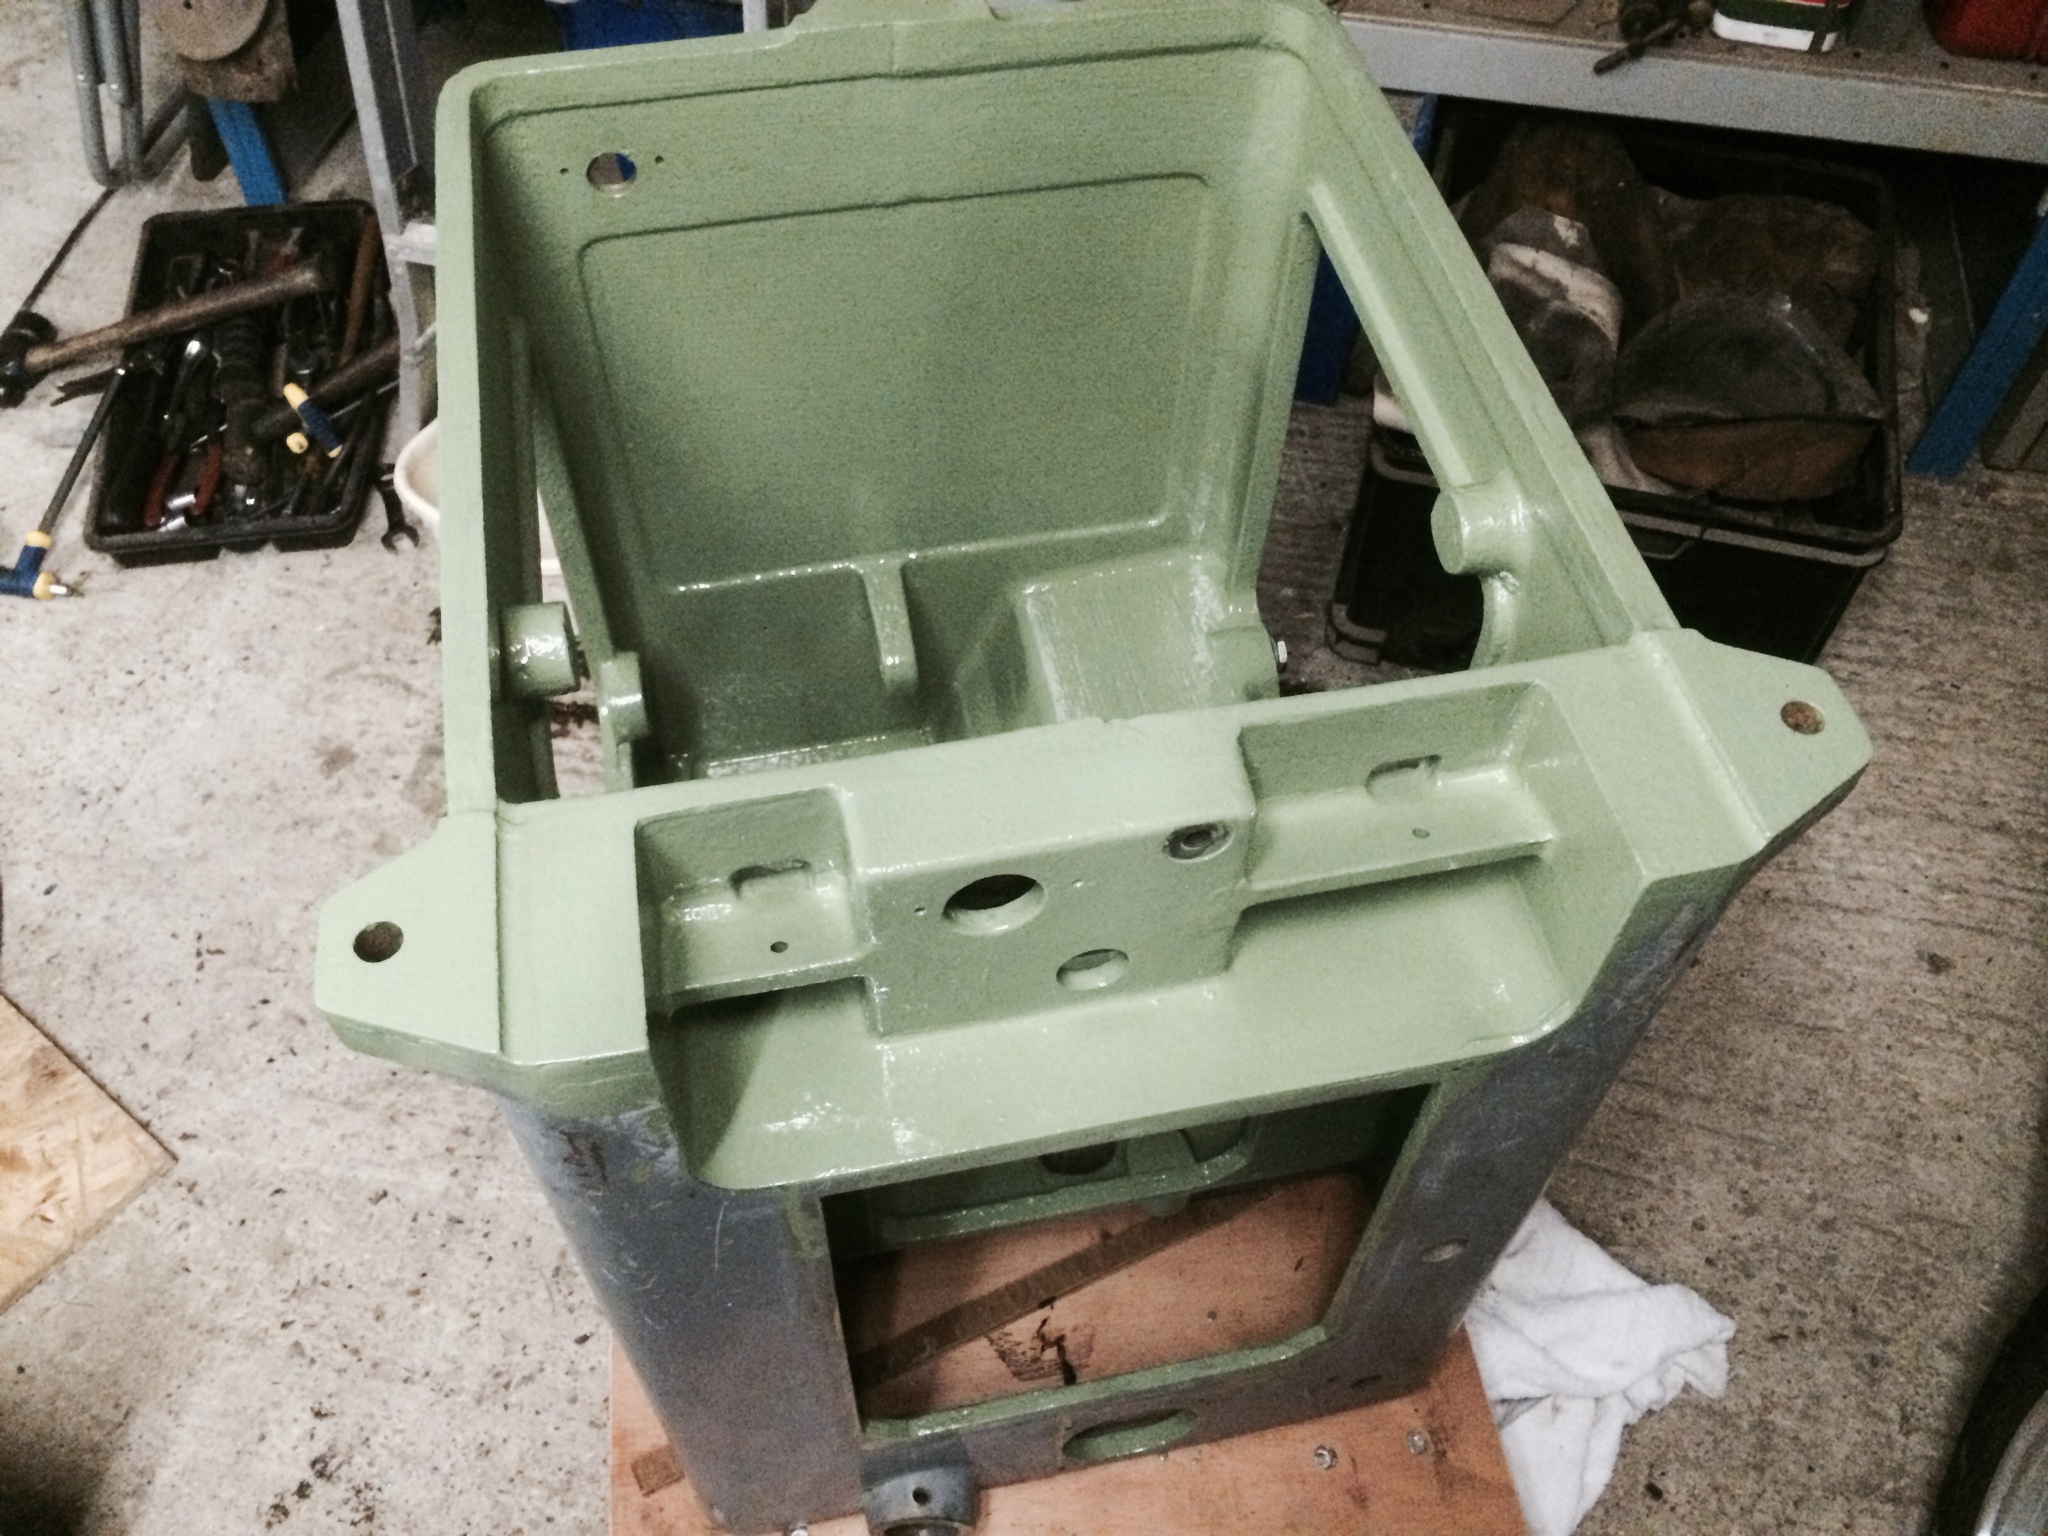
Some parts that are being assembled.

This lever bar to act on the motor platform was surprisingly tricky.

IMG_0609

The sequence was:

  • Move the inner circlip to the centre of the shaft.
  • Leave the outer rubber(?) sleeve on
  • Remove the inner rubber sleeve (on the left as you look at the photo
  • Insert bar into the left hand hole and then manipulate so that it comes back to align with outer hole on the right
  • Push rubber sleeve ove the left hand end of rod (helps to warm a little)
  • Using the bar, order push it so the sleeve is in the recess of the bar
  • Slide bar back into position to align with outer hole.
  • Fit washer and circlip on inner part of bar (right hand of the bar but inside)
  • Gently tap the bar from the left to drift into the 2 holes until fully home. I used a silicone grease to assist this assembly.
  • Fit outer washer and circlip.
  • I think that is how it went!!

A little more paint….

In the daylight, the finish was excellent but there were a few spot where the substrate was bad and I should have prepped it better, so a little sand down with 600 wet and dry and I will use a 2 part filler. Here are the progress photos. The central ‘well’ still needs a little more paint!IMG_0608The oil ‘reservoir’ is painted in a VW off wite 2 pack paint.

IMG_0612

As soon as the main internal are painted, I can get motor back on and the drip tray out of may way!

IMG_0611

A few bits awaiting the motor!

Any paint that creep onto the bare cast metal is easily peeled away with a very sharp Swan Morton scalpel.


The painting starts!

Now that the lower casting is all clean, I did a final clean with a rag soaked in cellulose thinners. Then I mixed up some RAL6011 green (2 pack paint – 2:1 mix) and used that with a brush on the inside of the casting. The pictures look lighter than it actually is. No nook and cranny was left uncovered!photo-p-1 photo-p-2


Other parts that required some primer were sprayed with some etch primer. I have yet to decide whether to hand paint or spray the outer parts. I’ll probably wait until the weather warms up and then spray! 2 coats of 2 pack paint will be given on the inside.

photo-p-3

When I took the larger pin out of the motor platform, I was staggered to see these O-Rings used to counter act the vibration. Its this attention to detail that makes these machines expensive when new.

motor pivot 1

A messy job!

There is one thing I do not like and that is degreasing stuff. Its even worse when it is almost freezing!! Anyway, to progress I need to clean the base casting, paint it and then I can start assembling the machine back together again!

The photos below show how dirty it can get!

clean4


clean1clean3

The casting was then washed with hot soapy water and left to dry (upside down). I cleaned out the important machined areas and will paint it as soon as I get a moment with 2 pack paint. (The inside will painted with a brush)