A little more priming…

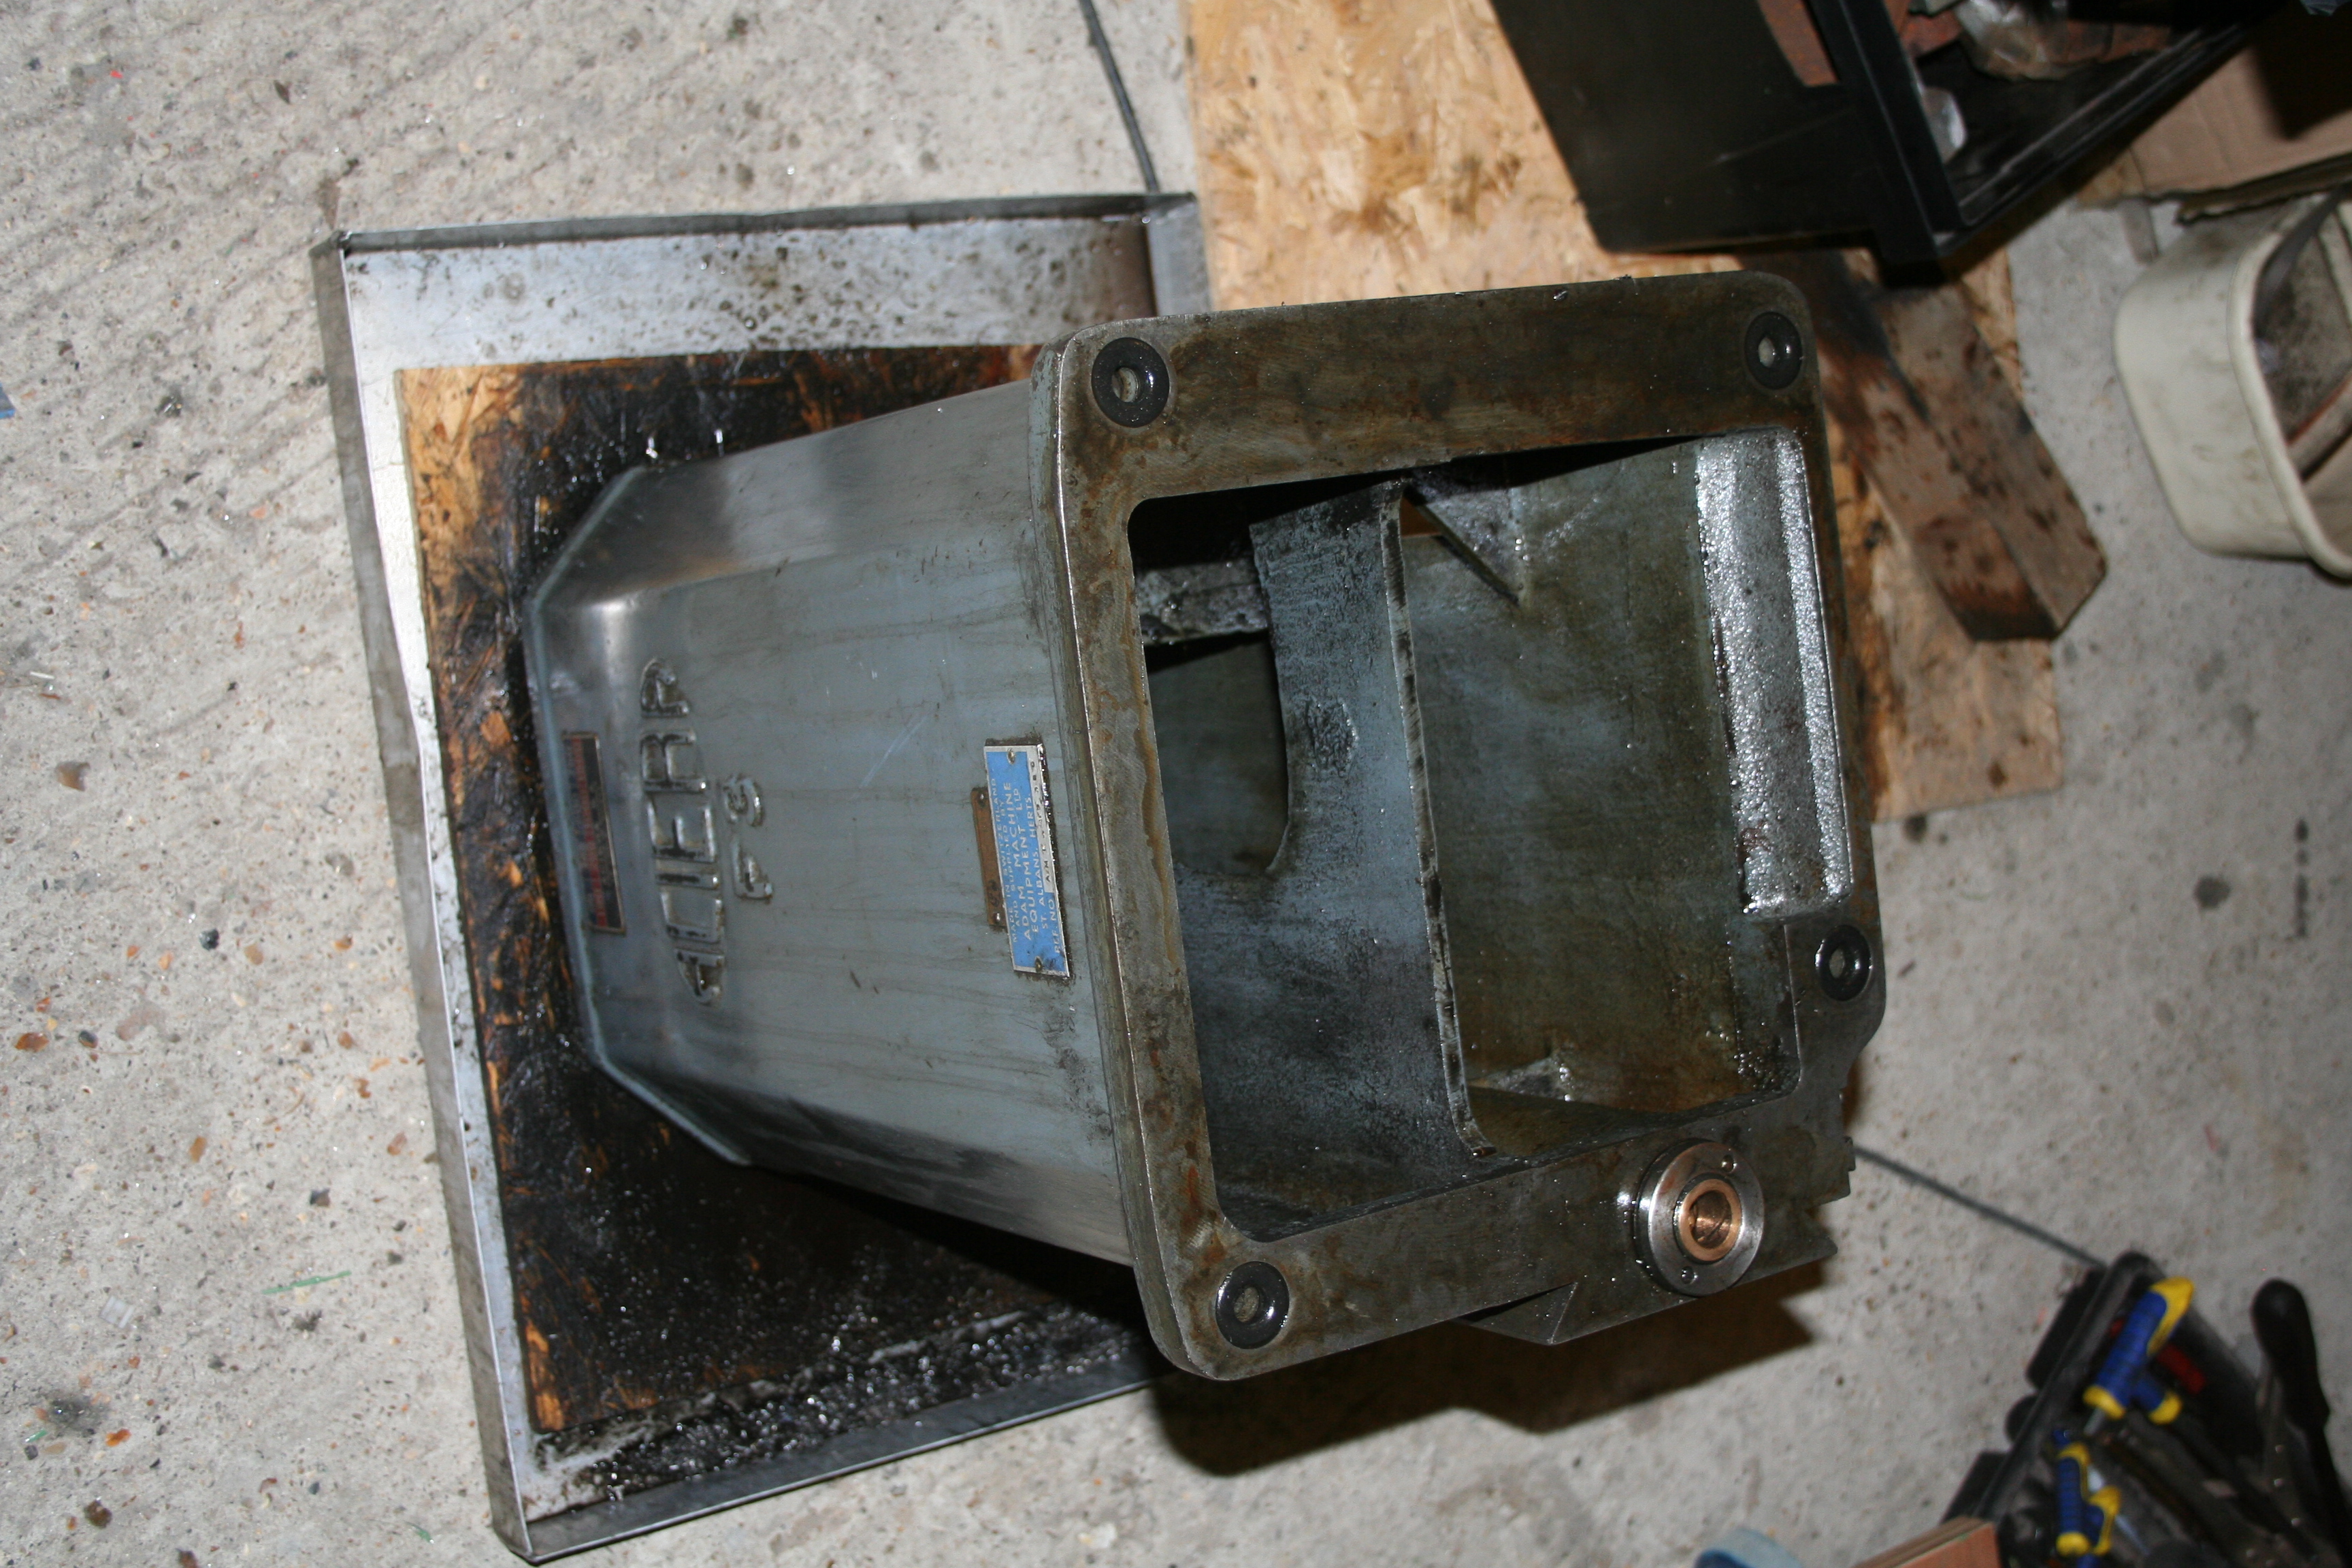
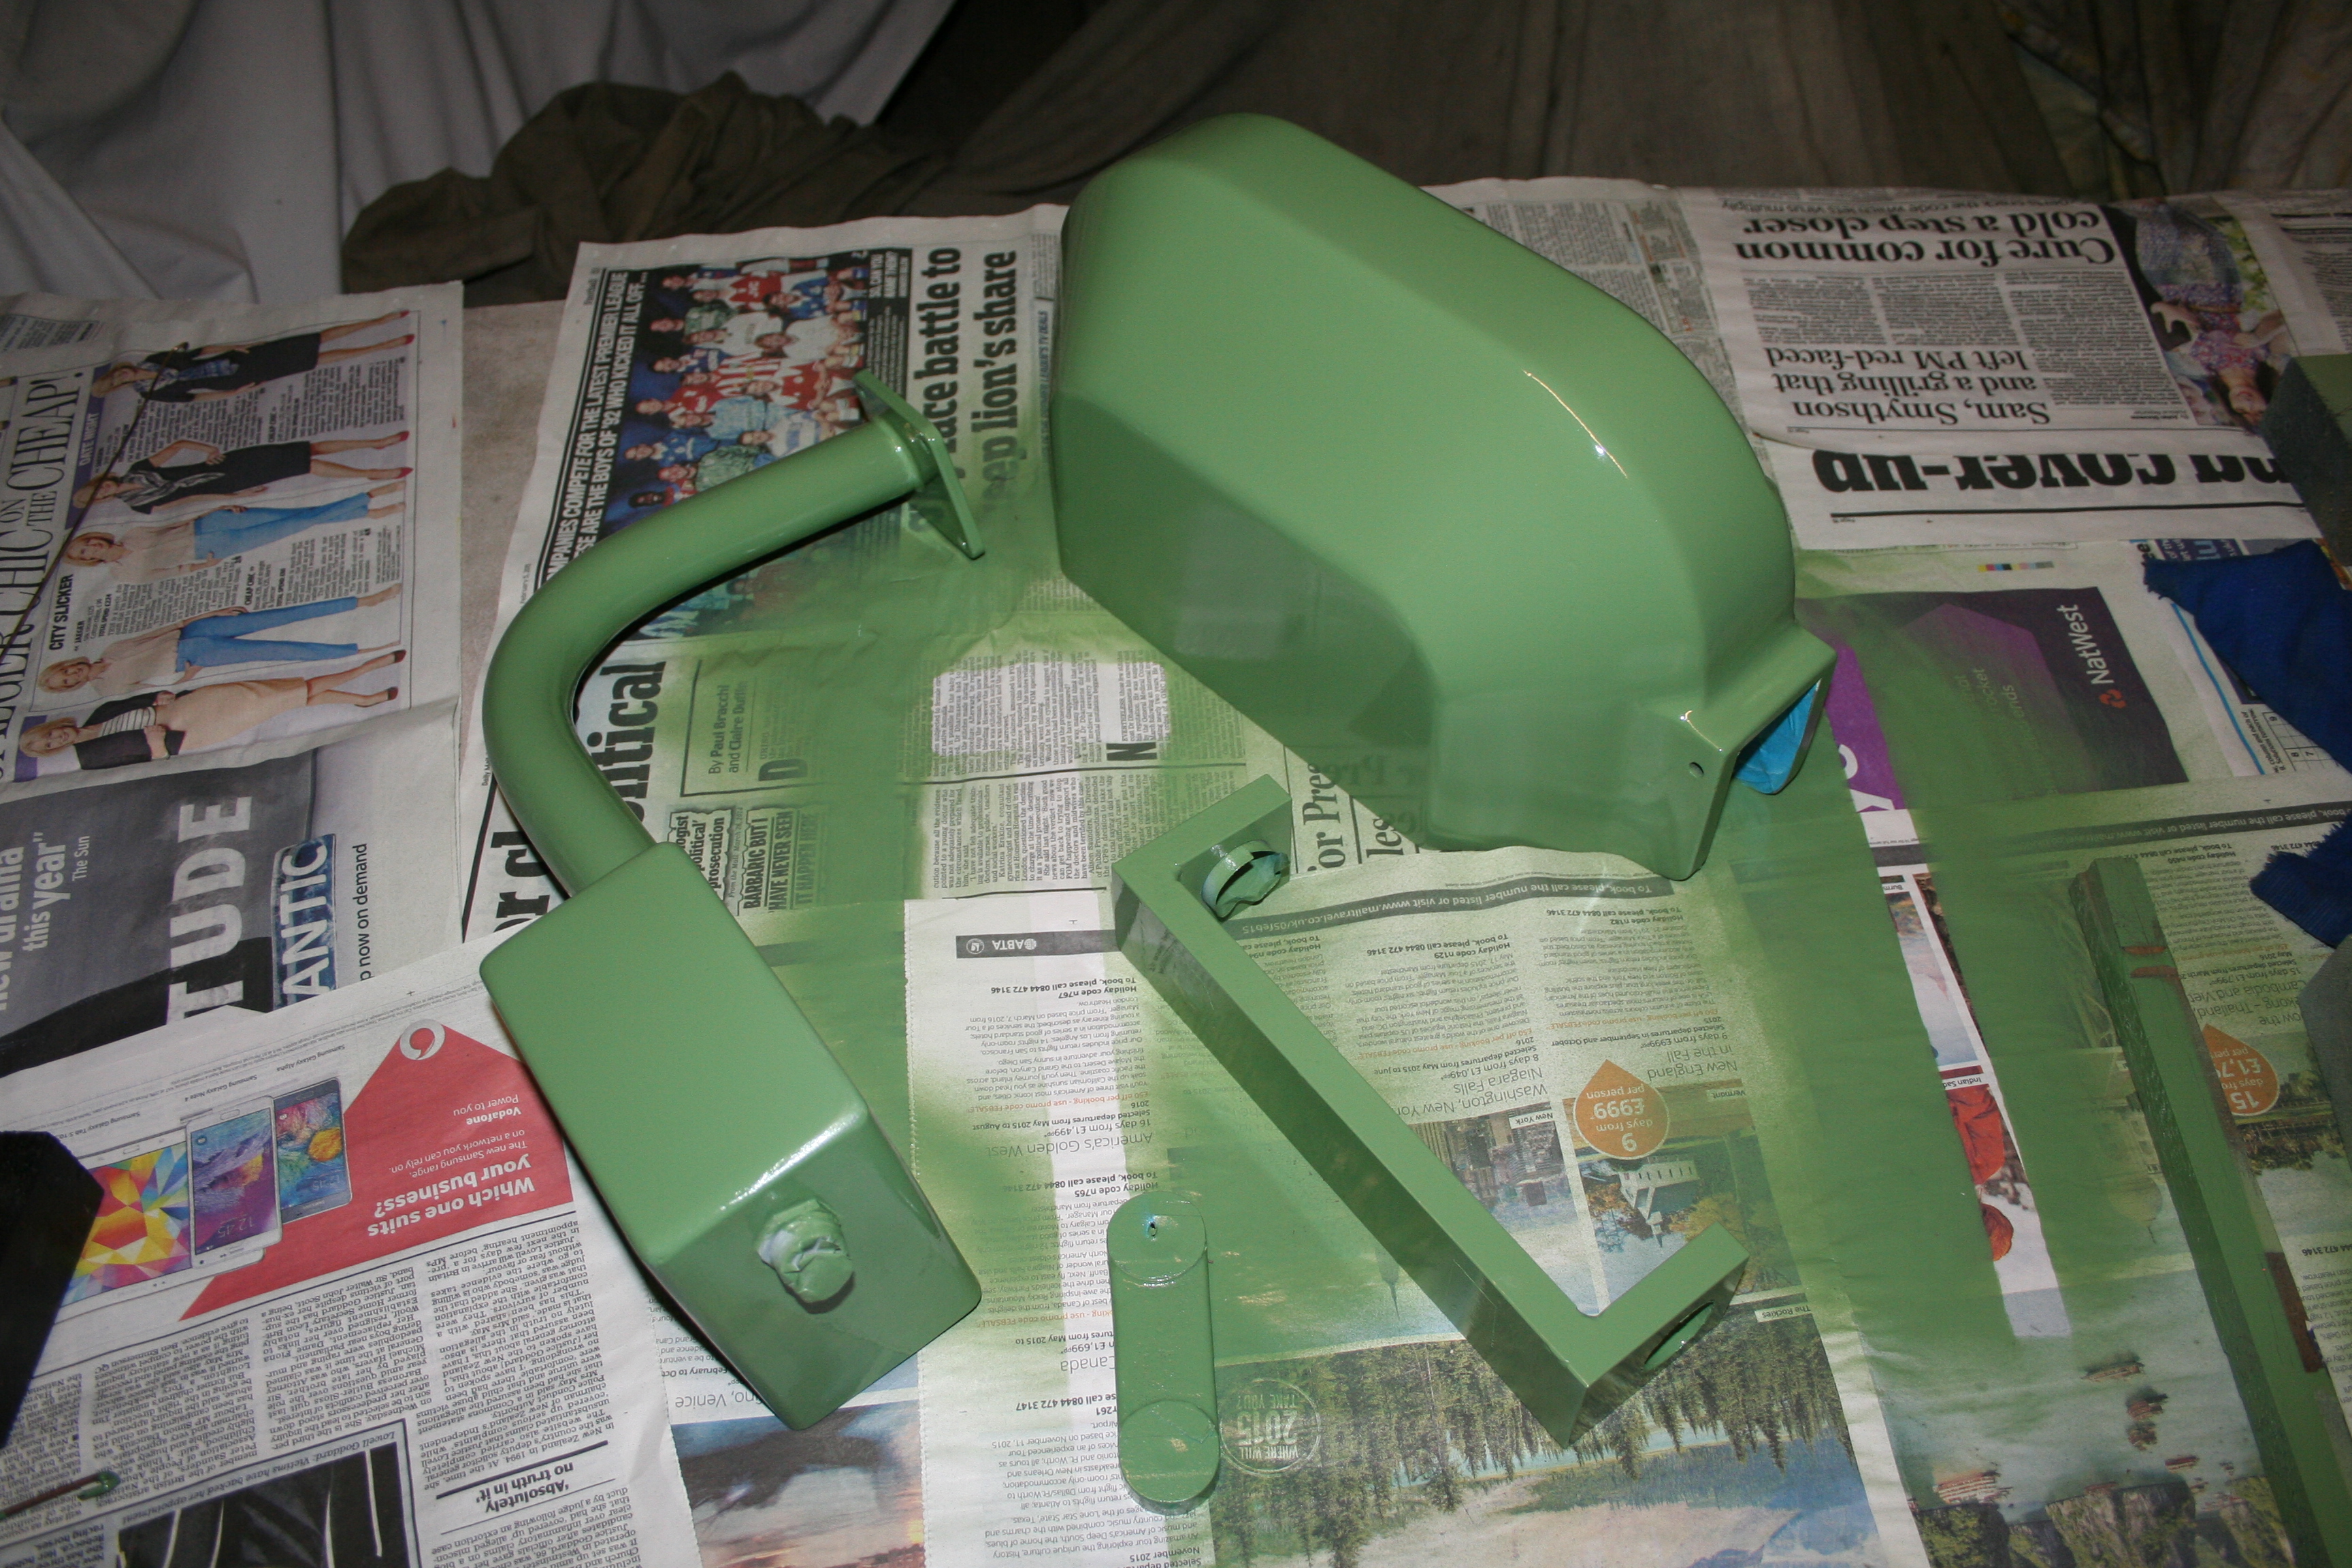
Here we have the vertical head and autofeed control box casting being prepped for primer. They have been filled with a car body type filler ( 2 pack) that is fairly easy to sand. Ideally I would use a filler primer but I have run out and I am reluctant to buy any as we are hopefully moving house soon and I want to transport as little as possible. So an etch primer was used – as this is what I have in abundance.IMG_1029

Once these have cured off we should be ready to put the final coats of 2 pack paint on. I am using an equivalent 2 pack primer to ensure a tough and durable coating. The next job will be to tackle the gearbox for the longitudinal feed. No dought a challenge is in store!

Vertical Head preparation

The vertical head was bably chipped all over and a repaint would have looked awful without a bit of filler.

IMG_1006

Before I split the unit apart I used a 2 pack filler (high metal content) and then ptotected any metal surface from the sander. Once this was done I then hand sanded with 240 wet and dry and did a little more filling in readiness for the etch primer. The disadvantage of the metal based filler is that it sets like rock! It does adhere to metal very well, however.

We’re off again!

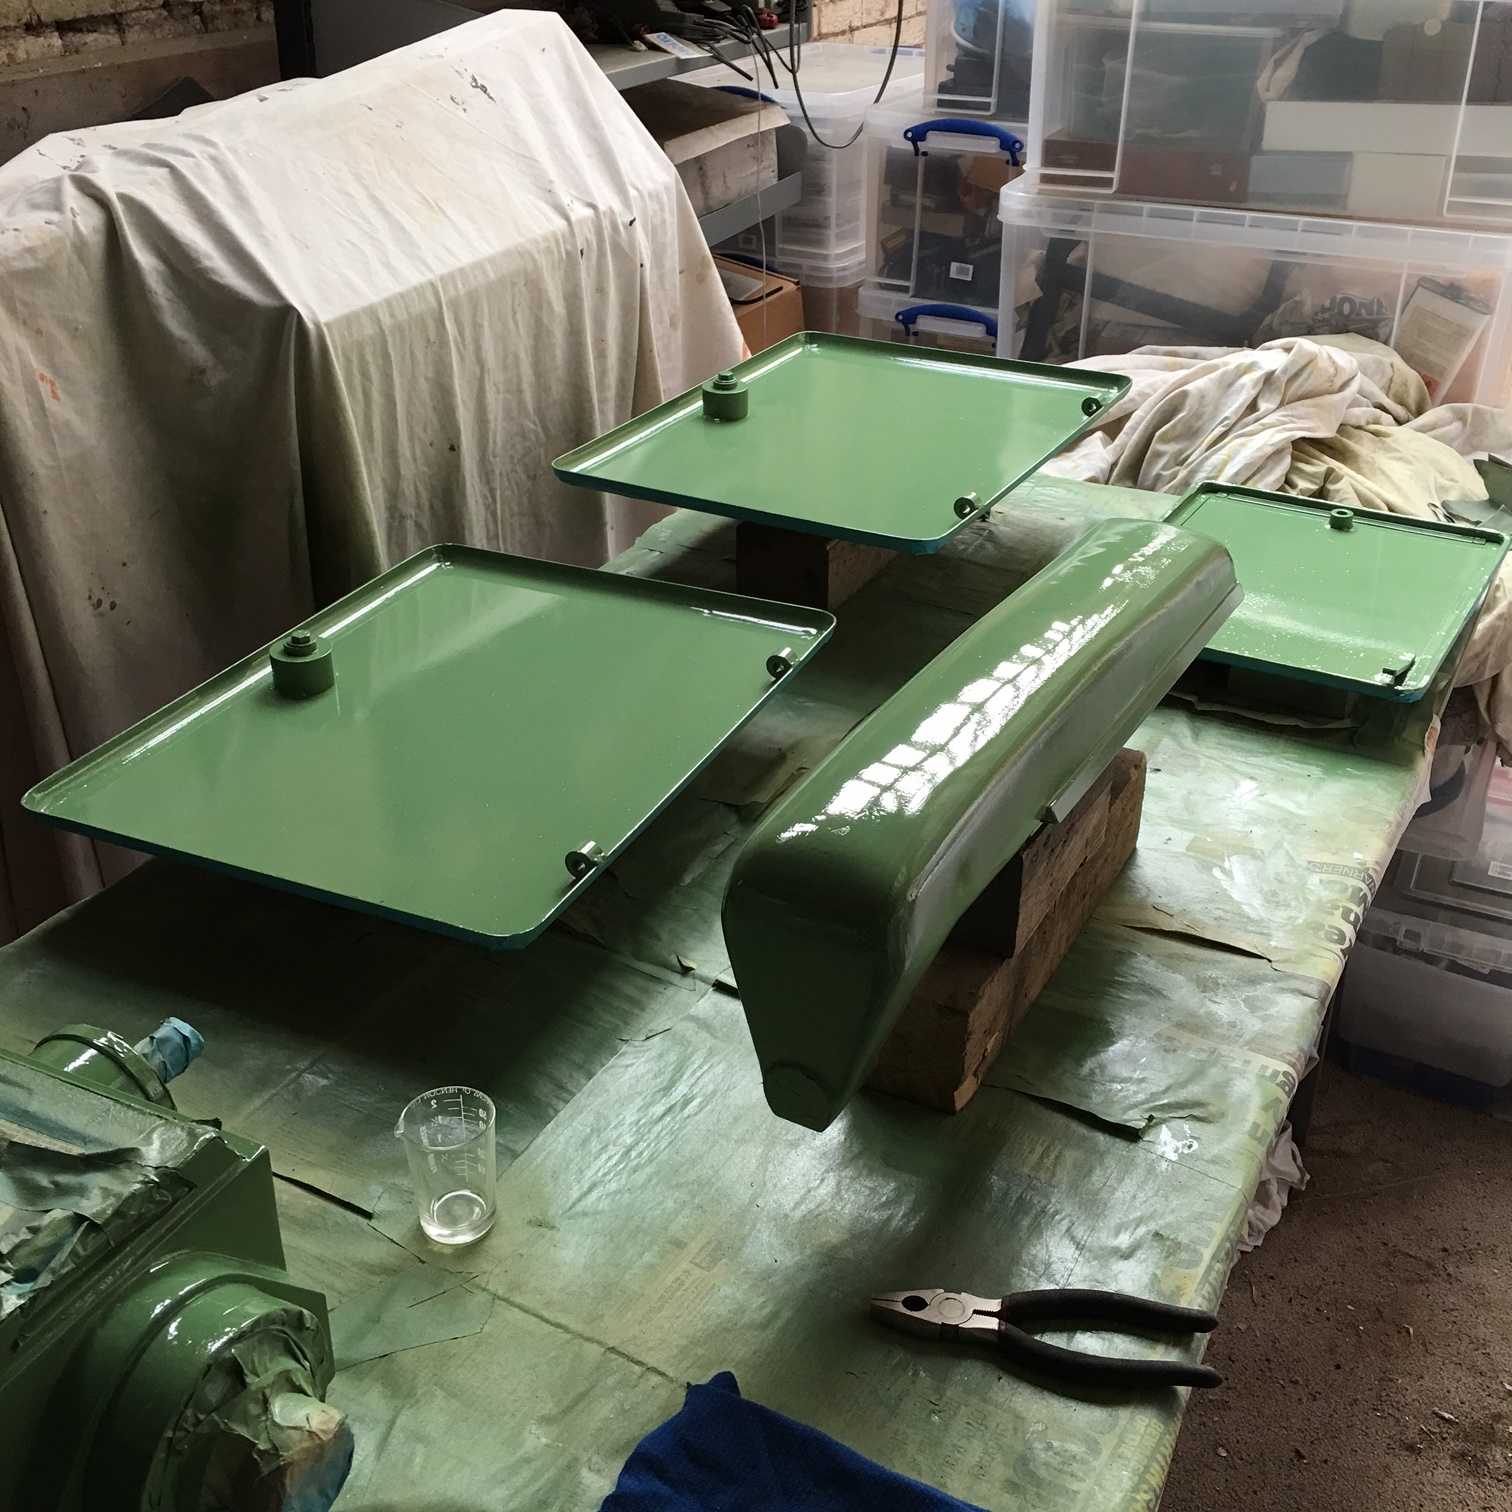
The weather is better and I now have the time to resume the Aciera rebuilt. The last time I looked at it, the doors etc had been painted but the insides had not! So a quick clean up and paint was applied to the doors and a second coat to the other items on the bench!IMG_2637

I’ll let this cure off and then give it a polish. Next up will be the vertical head.

Paint on the upper casting..

As the spray gun was out – I thought I would flood the inside of the casting with the same green paint. It will need inverting to do the other half!! The first picture is after its degrease!

photo15

I find that the colour balance of an iPhone is fairly bad compared to an SLR type digital camera – will have to stick to the latter in future!photo10

Base finished!

I have, at last, finished the base casting. The first photo shows it filled and sanded. I never meant the finish to be like a car but there were quite a few big gouges in the paint – so they got filled.


photo13

The next is after a fist coat (sprayed) of paint.photo12

And the final coat – looking OK and not a run in sight!photo11

Slow progress….

A few more bits painted and some cork washers..

IMG_0619

The initial painting was done by brush. This gives a decent finish but I decided to sand off with 600 wet & dry and then give a final spray coat…


The cork wasjer below were cut from a sheet of rubberised cork – the larger ones are for the fron motor plinth bracket and the smaller ones are for the motor bolts.IMG_0618