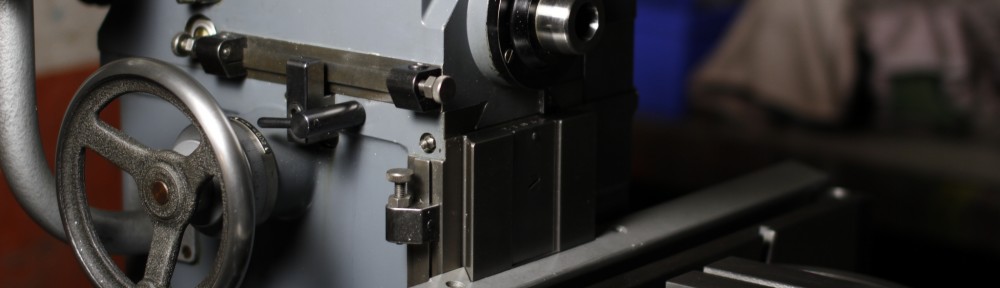
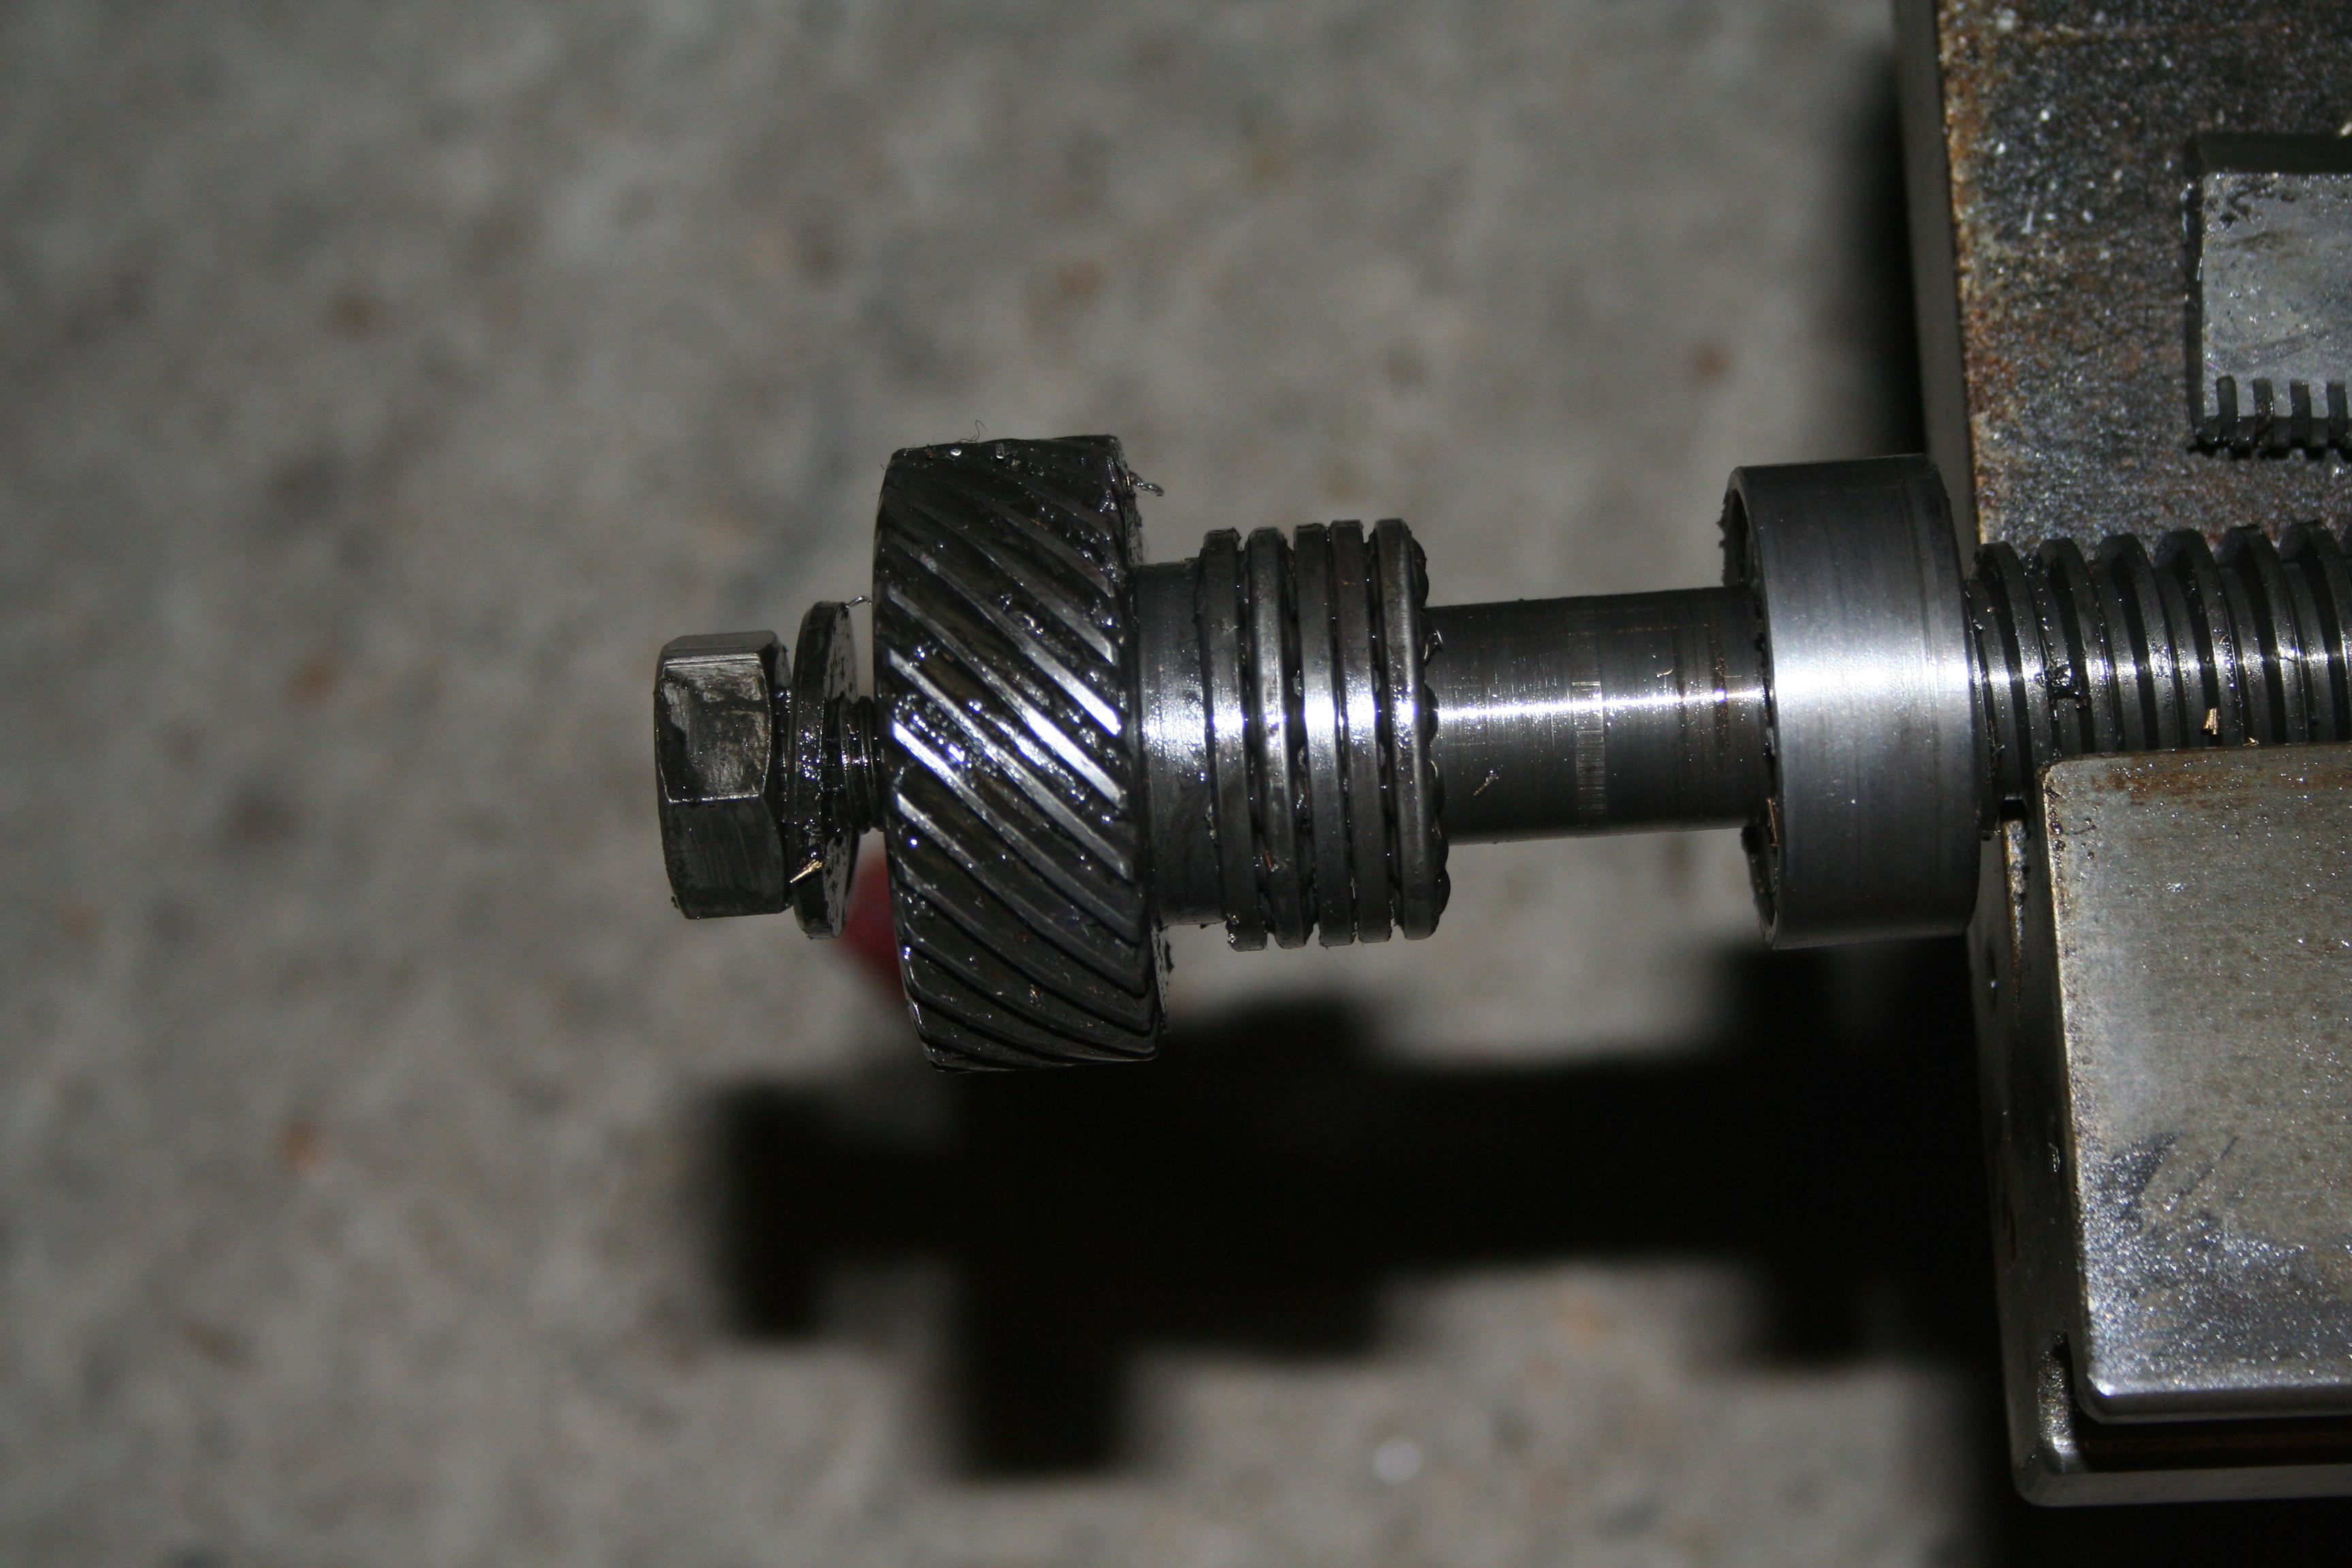
Last night I lifted the upper casting higher so I could get an air impact wrench on the lower nut. It was undone in half a second and I didn’t even need to hold the z-axis screw with anything. (I’ll use the same technique for tightening up!) It was then a simple matter of removing the bearings and collar (using a pin wrench) and lifting the whole unit away from the casting. I made a careful note of the order in which the bearings etc came off and reassembled them onto the screw for cleaning later on.
The upper casting is now bare (except for a few oil nipples) and is ready for a good clean as does the drip tray.
The lower casting oil well is half full of swarf and oil and will need some heavy duty cleaning.

The Y-Axis screw is within a large collar that is mounted into the lower casting at an angle. There are 2 large grub screws that hold this in place. Well, only the lower one on my F3. Even removing the grub screw it seemed pretty much stuck. Some gentle persuasion with a wooden block and hammer got it shifted.

All that now remains to be done is:
- Remove motor and fittings
- Remove electrics and cables
- Remove coolant pump

Once the above has been done, I can move on to the next section of cleaning, inspection and refurbishing before the re-assembly.