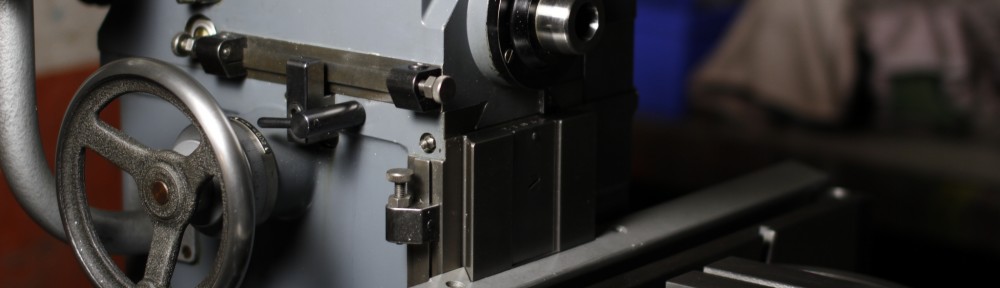
So below is the photo after removing the z-axis carriage.
Last night saw the removal of the auto-feed gearbox. This should have been a simple operation but necessitated me removing the pulley from the shaft – and of course, it didn’t want to budge. Now under normal circumstances it would be easy to put on a puller and then just ease the pulley of its keyed shaft. However, there is no room in the belt ‘cavity’ and so I ended up using wedges behind it. After a little encouragement it moved and I was then able to remove the gearbox with a little turning and twisting (its quite a close fit!).
Thr cables have been now removed from the light & start/stop pod and the arm removed.
Here are a few more photos:


I’m not sure yet how the top casting (main body) comes away from the base/drip tray. So for nothing better to do, I removed the z-axis nut.

So, tonight’s teaser – what the heck is this screw for?:

I really can’t see what purpose it serves!
Hi Matt,
How could you remove the pin from the gear inside the top of the mill that moves the Y axis? Manual says remove it, but I am tired of hammering and the space is so limited I cannot think of a better way.
Thanks!
Hi, I’m not sure I understand your question. Can you send a message with a photo?