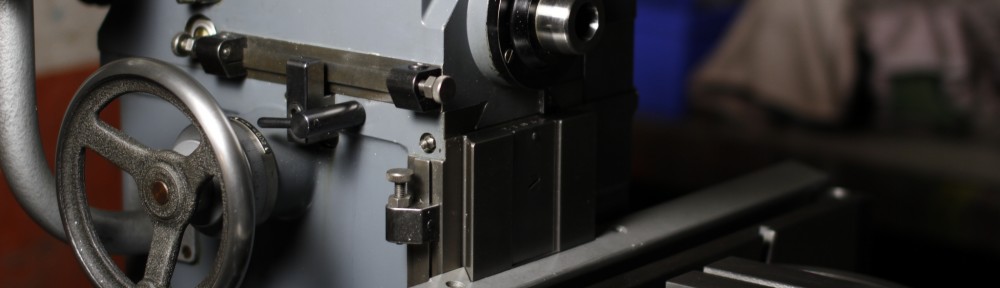
After a little deliberation I decided that to fit the carriage, I would use the column lower blanking plate as a retainer for the ‘scraper & spring’. This is the thin plate in the centre of the photo below. I then left the nut loose on the top of the main vertical screw and fitted the carriage with the jib loose.
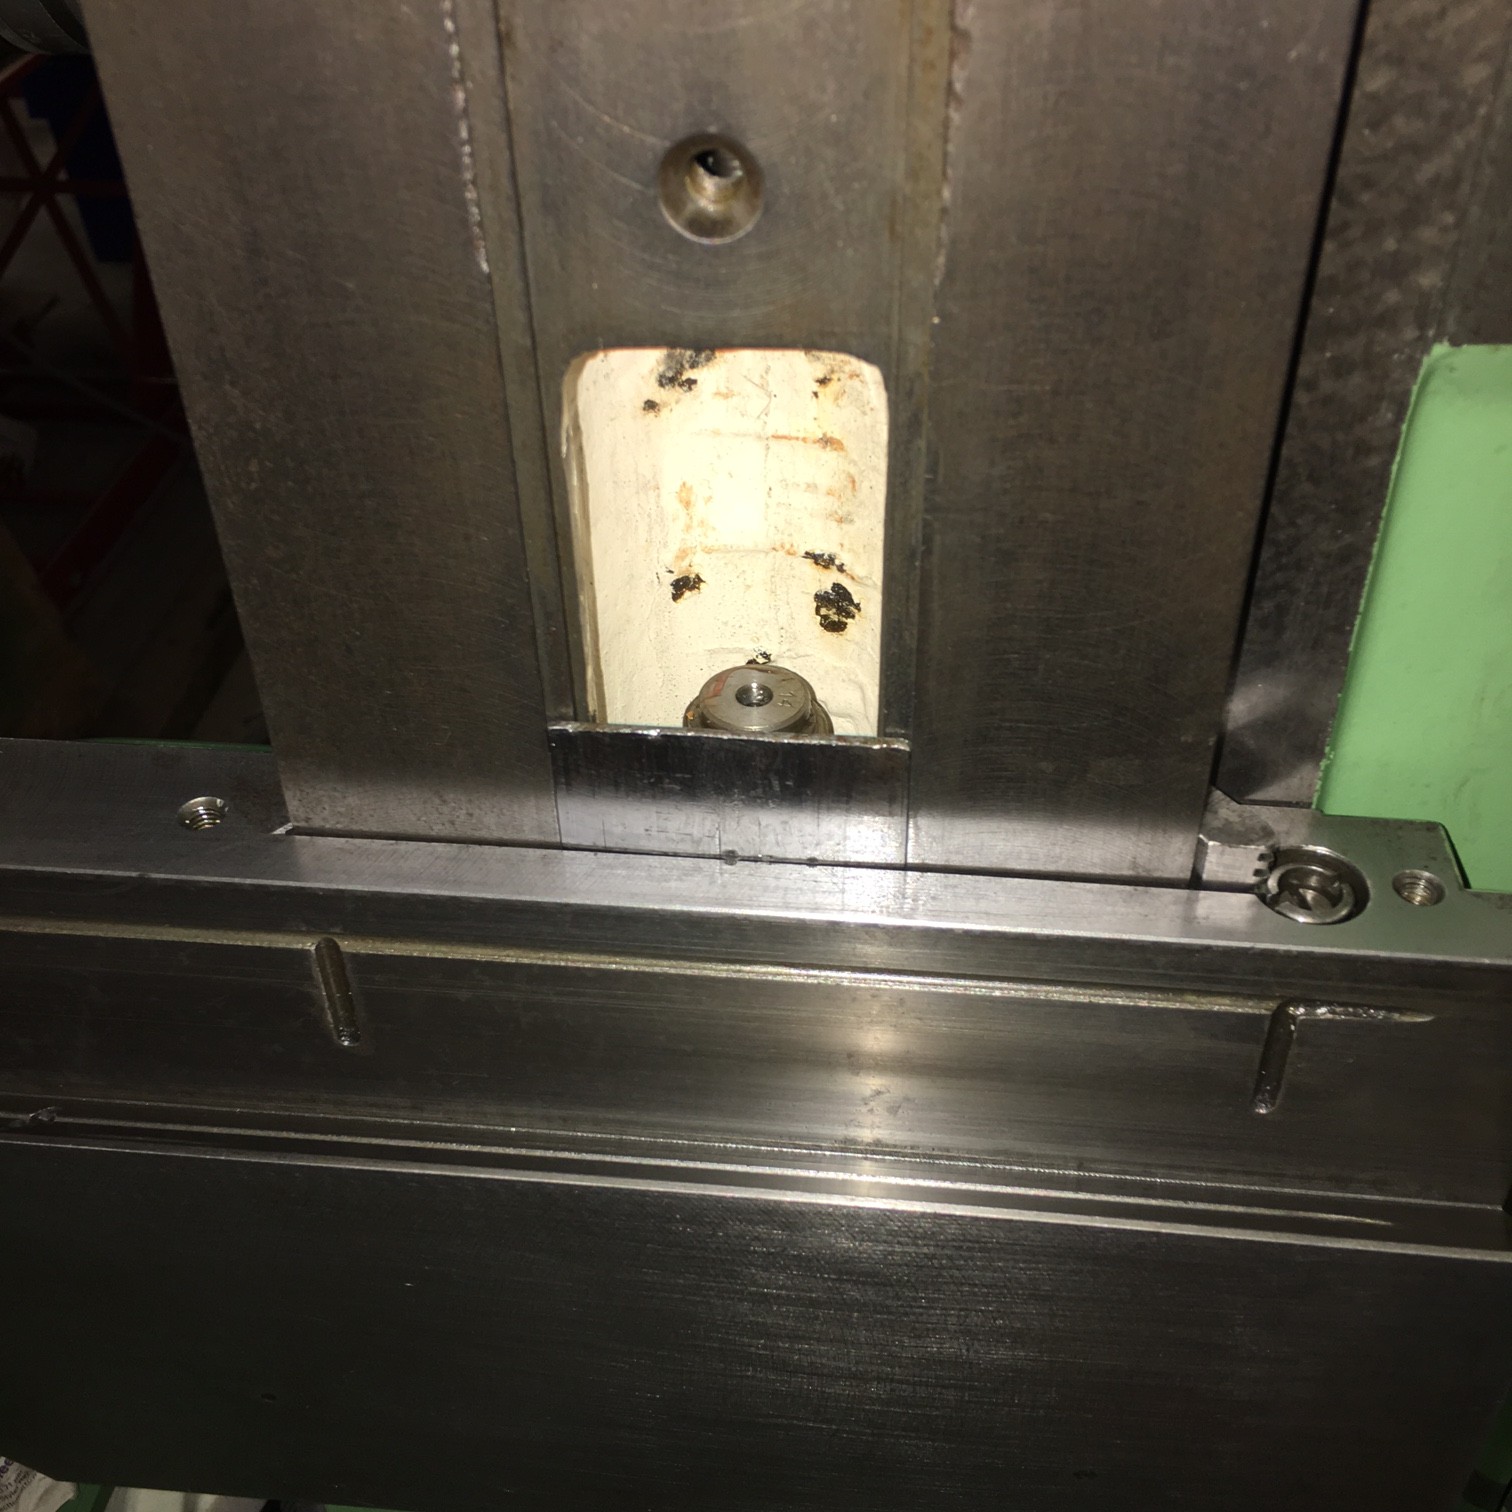
It was then posssible to lift the carriage without worrying about the scraper falling out whilst I positioned the nut in line with the cap head retaining screw. It was a relatively straighforward proceedure. All that was then required was to engage the screw with the nut and then do some initial adjustments. Below is the point where, with decent light, yu can align the saddle with the nut. Once in view it is easily aligned to fit the socket head bolt.

Below is the assembled carriage.

I then put the vertical head on the machine – mainly to get it out of the way!!
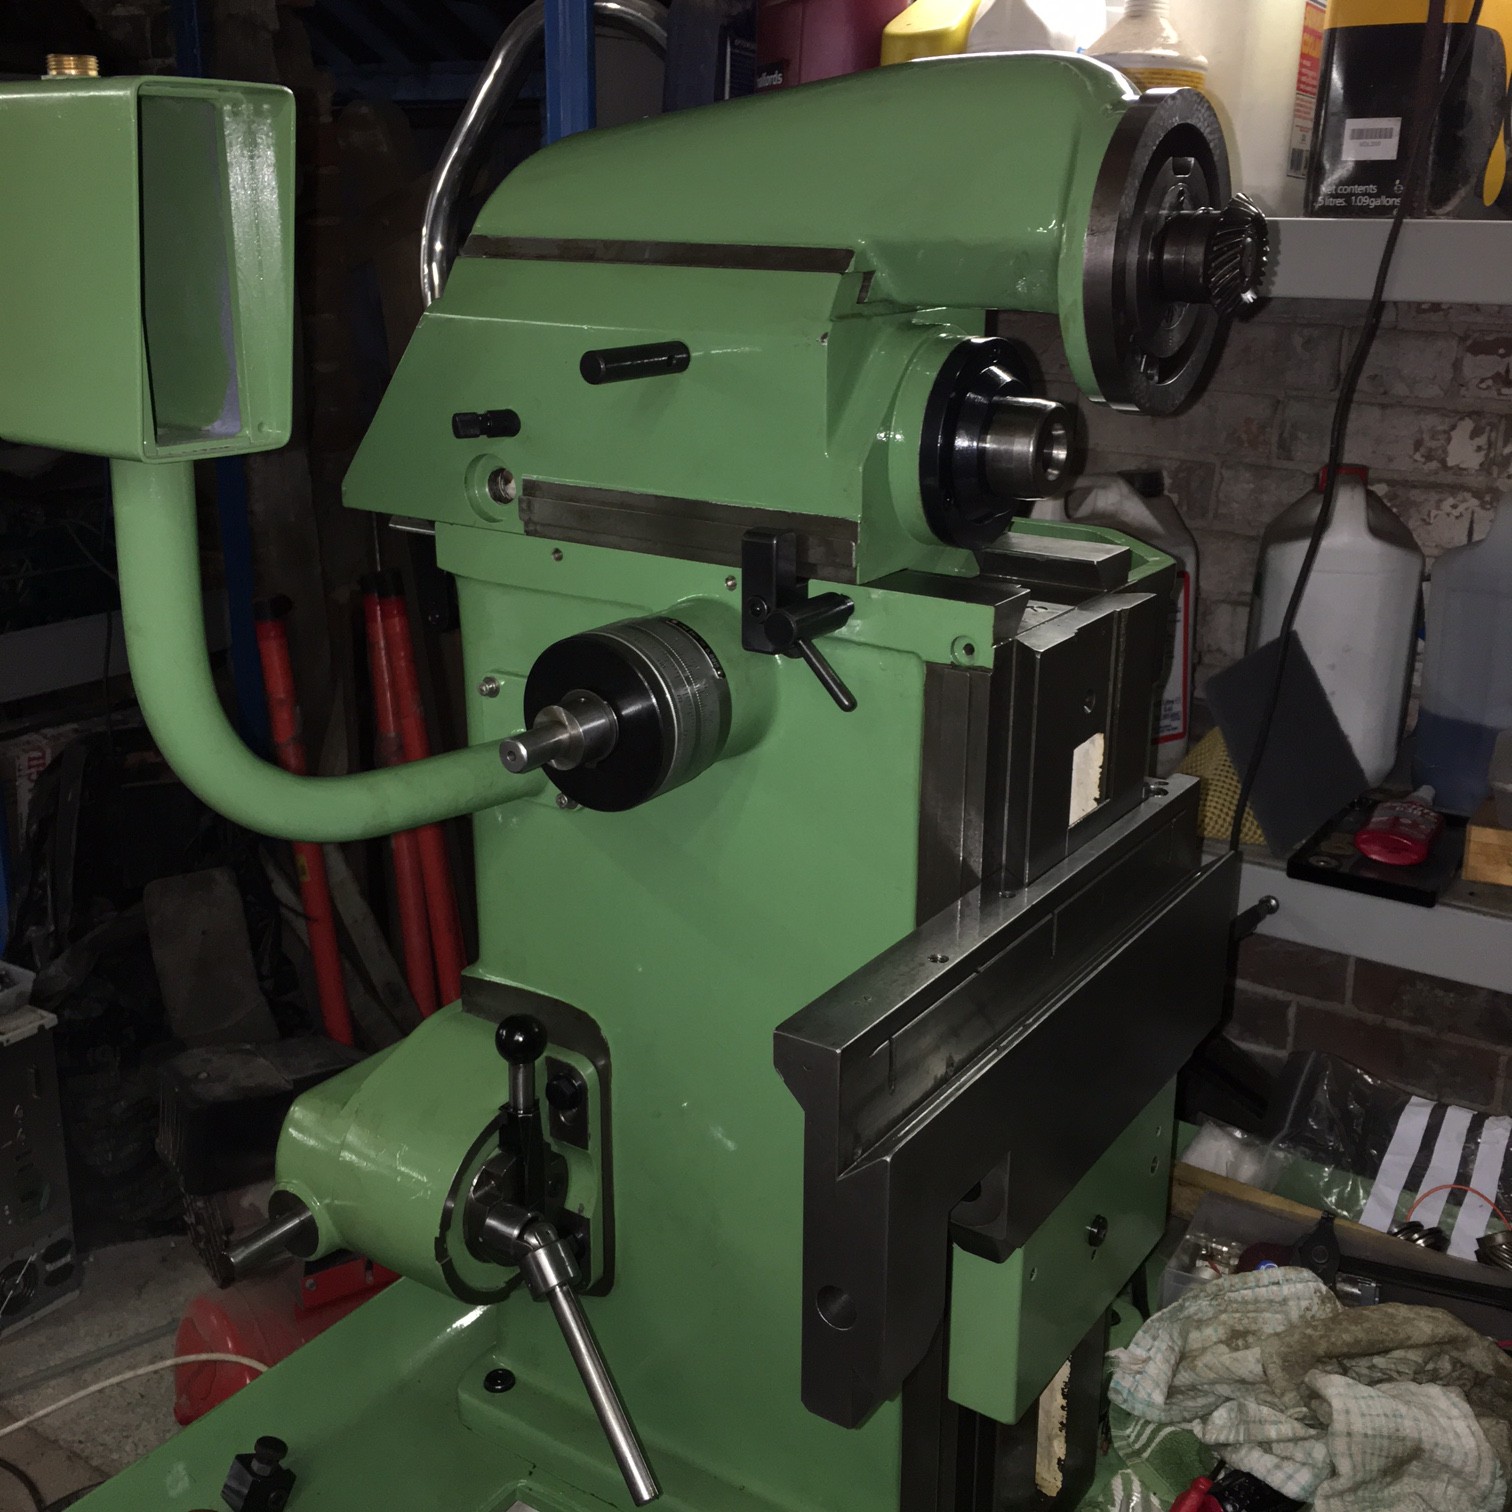
When I was masking up I wan’t sure if the edge of the vertical head was painted. I can now see it was but I shall leave it as is.

The next stage will be to clean up the slide apron and then refit.