Its slow progress at the moment. The weather has been cold and SWMBO dictated that some household DIY was in dire need of doing.
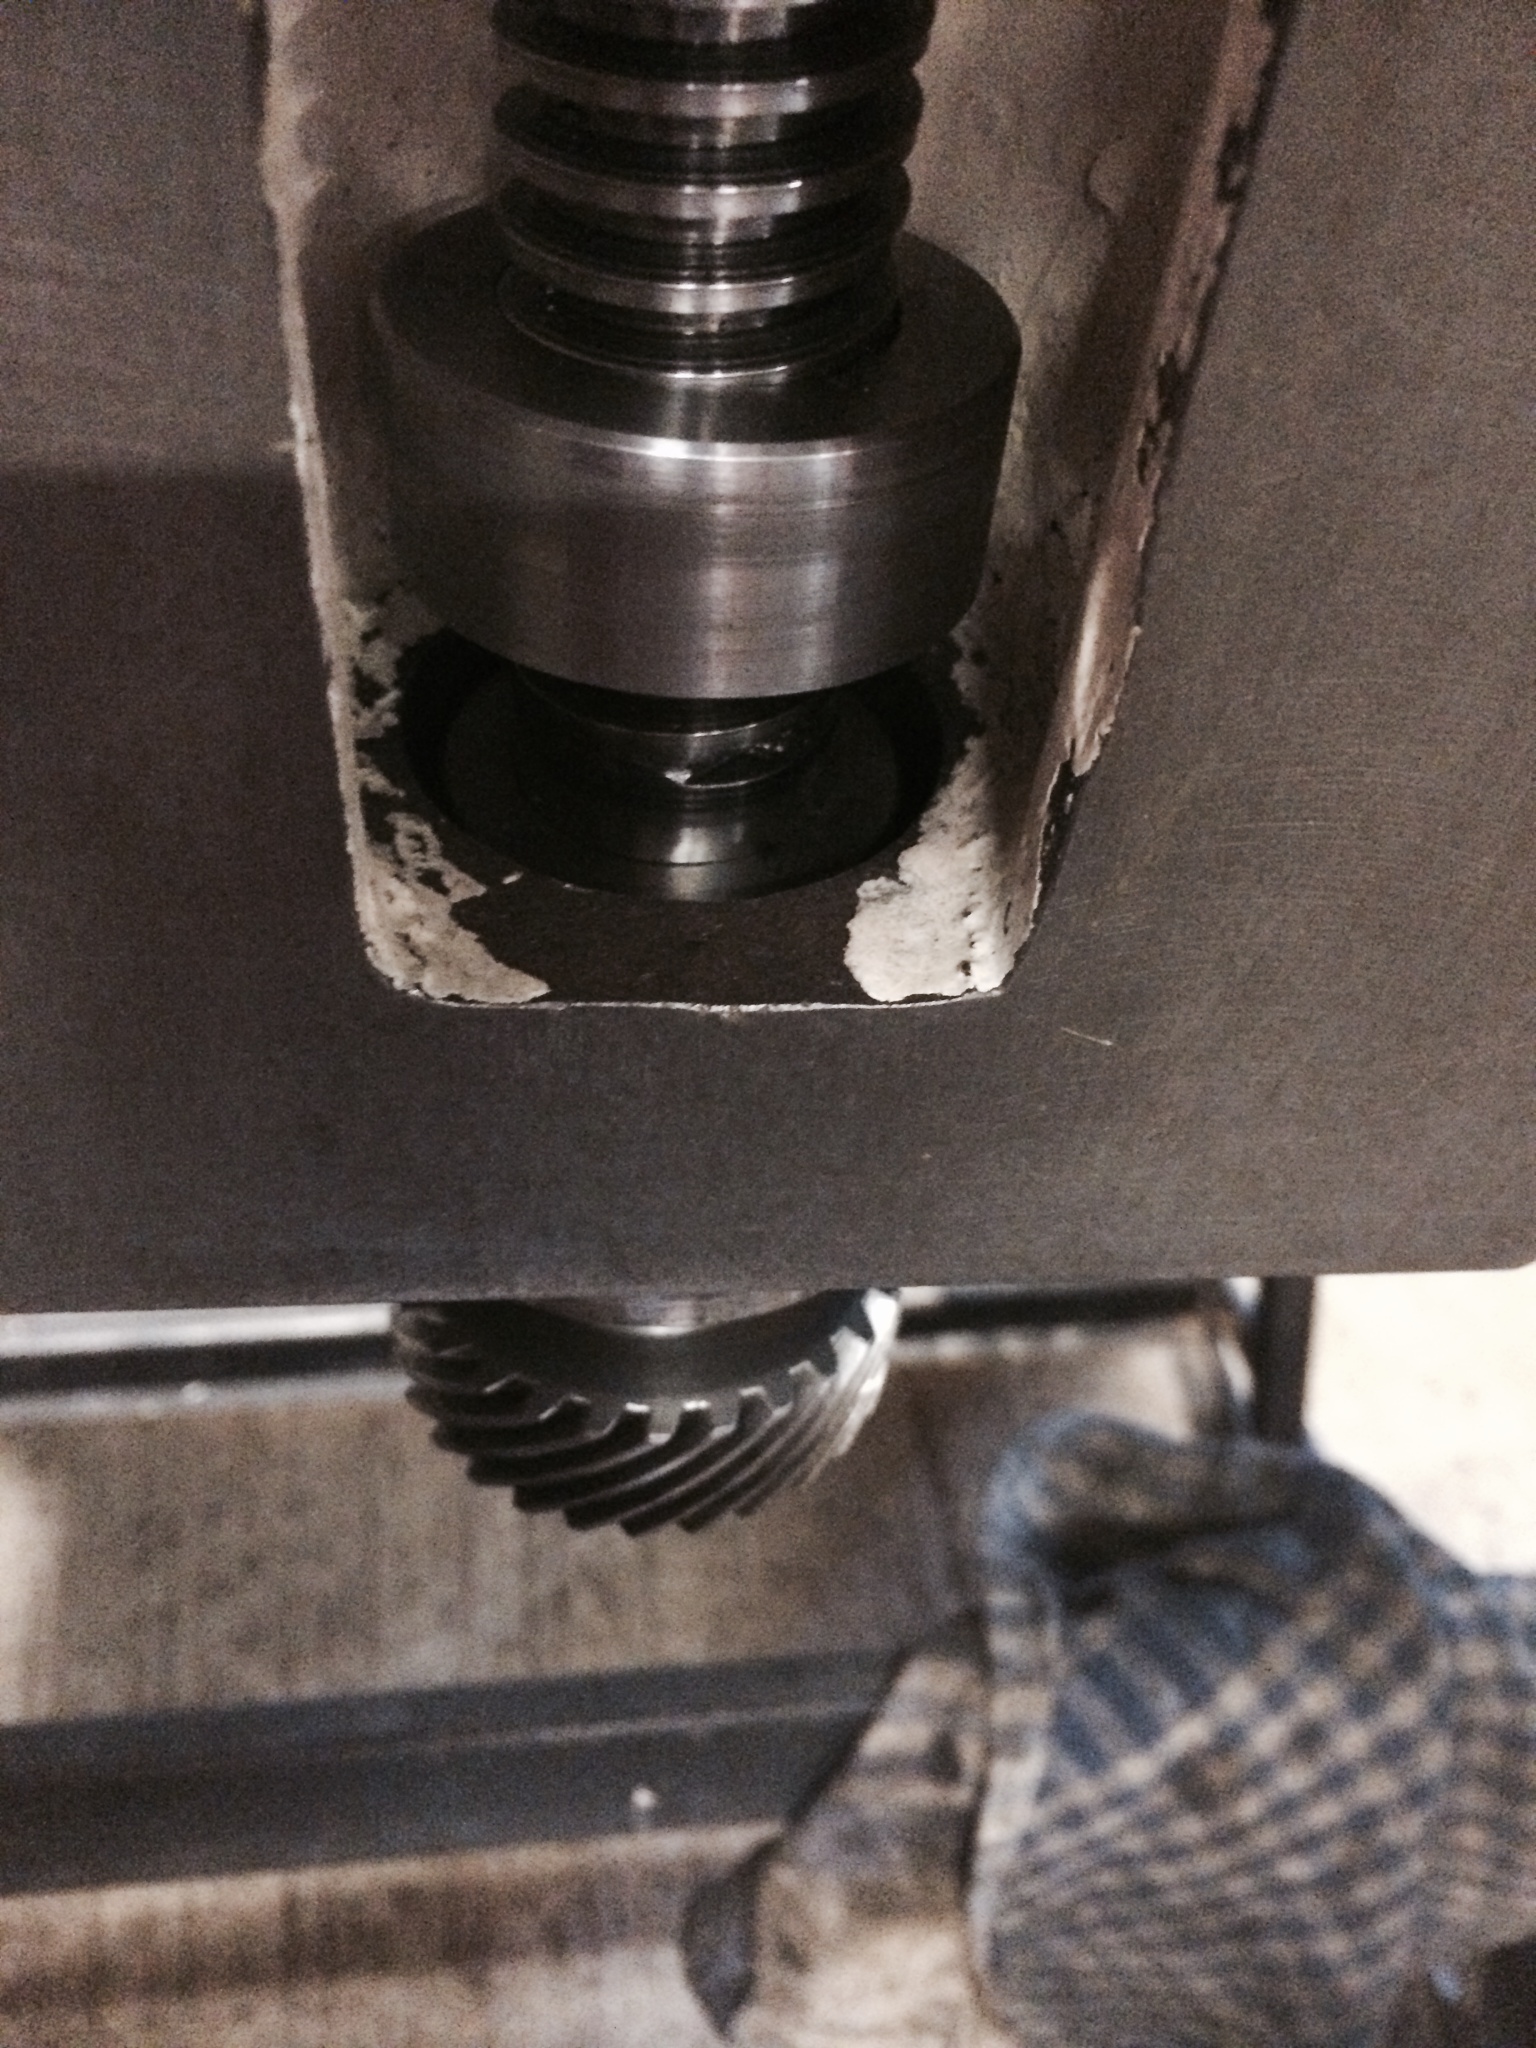
It’s a good job I took a couple of photos of certain items when I dismantled the machine. I was a little puzzled by the lower gear on the z-axis as the gear could fit either way round. (Mind you it may be useable the other way round when it gets more worn!).

This particular shot shows the completed unit (put back the same was before dismantling). Most diagrams I have looked at show a locking nut (i.e. 2 in total) but there was never one fitted and no room for one unless half nuts were fitted. To be safe, I fitted a shake proof washer for good measure. Then I reversed the dismantling procedure using the air impact wrench to tighten up. The upper cap has a O-ring that makes it a little tricky to move down the main screw. So it had to be rotated most of the way. Then a gentle tap to located it in position above the upper thrust bearing.
I’m waiting for the new bearings for the coolant pump and once that is fitted, I can then fit the drip tray and crack on!
Someone who knows which thread (diameter and step) is cut on the clamping bushings? The tube to clamp horizontal milling is missing from the old machine I bought. I want to turn a new one, but the dimensions are a mystery to me. Thank you.
Do you have a manual? Would it be possible for you to show which part you are interested in and I can then measure it for you.
Rgds, Matt