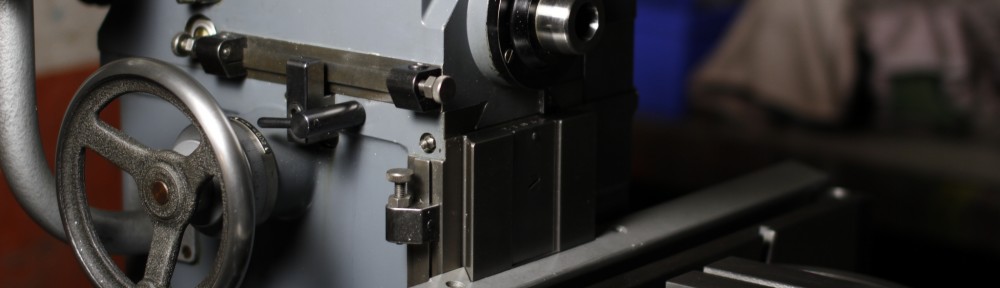
In order to spay certain castings, some ‘modules’ require dismantling. I’m sure it has a better name but I shall call it the power feed control unit!
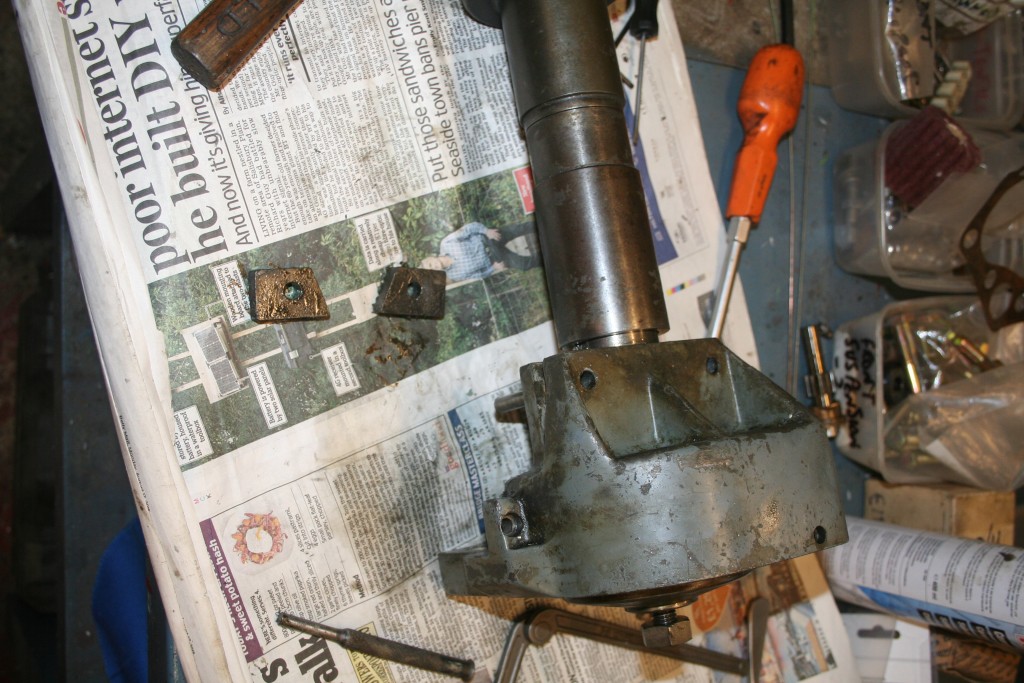
The unit was fairly well gummed up and so a strip down was necessary to clean the gears etc. Firstly you need to remove the input shaft. This is held in place with a caphead screw and once removed you can then tap out the drive. I notice the drive pin is made of brass to make sure that it shears before any damage to gears has been done.

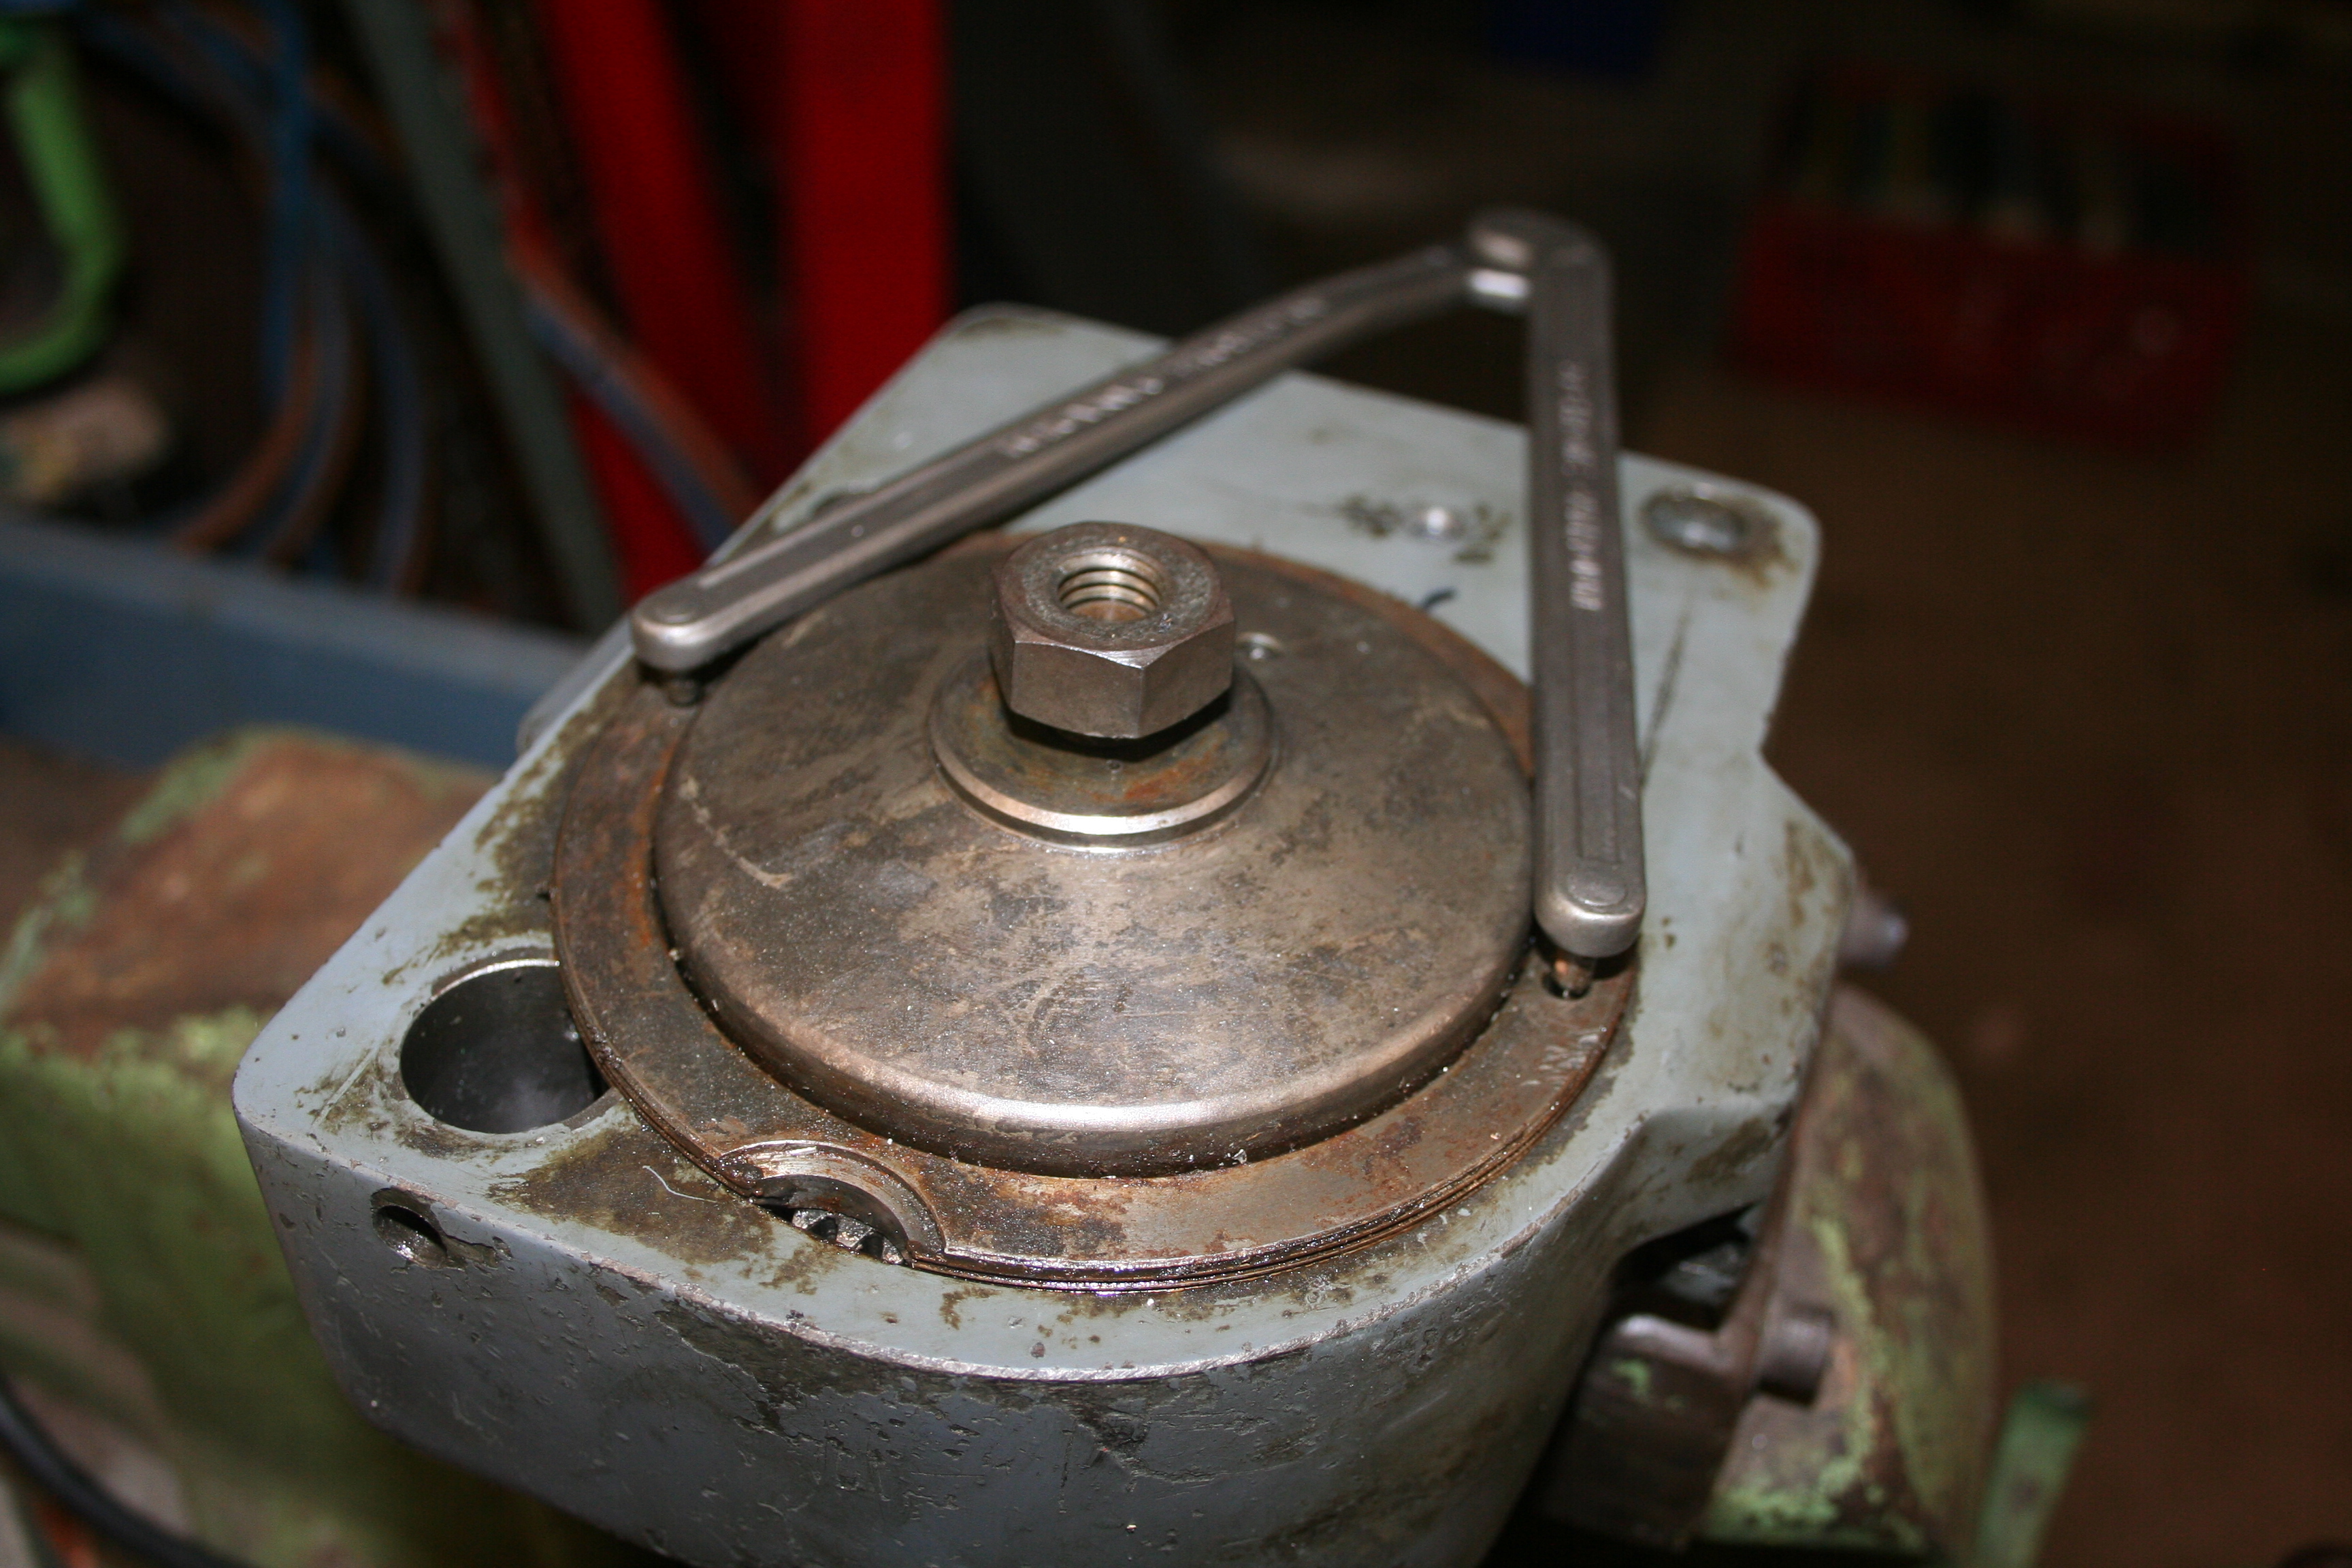
With the aid of a pin wrench, you can then unscrew the backplate. I left the nut loose just in case the spring inside shot items across the workshop – this was not necessary!

The unit can then be taken apart fully. What I have not shown is the inner nut holding the sliding collars together. This nut was a pig to remove and I ended up using a punch and hammer on one of the pin wrench holes. (a pin wrench had no effect on the nut!). By using the oiling hole on the collar, you can line up this hole with one inside on the shaft. This allows a peg to be inserted to ‘lock’ the unit and thus allow you to try and remove the nut! The last photo show the unit completely dismantled ready to be degreased and a primer coat of etch primer applied.